


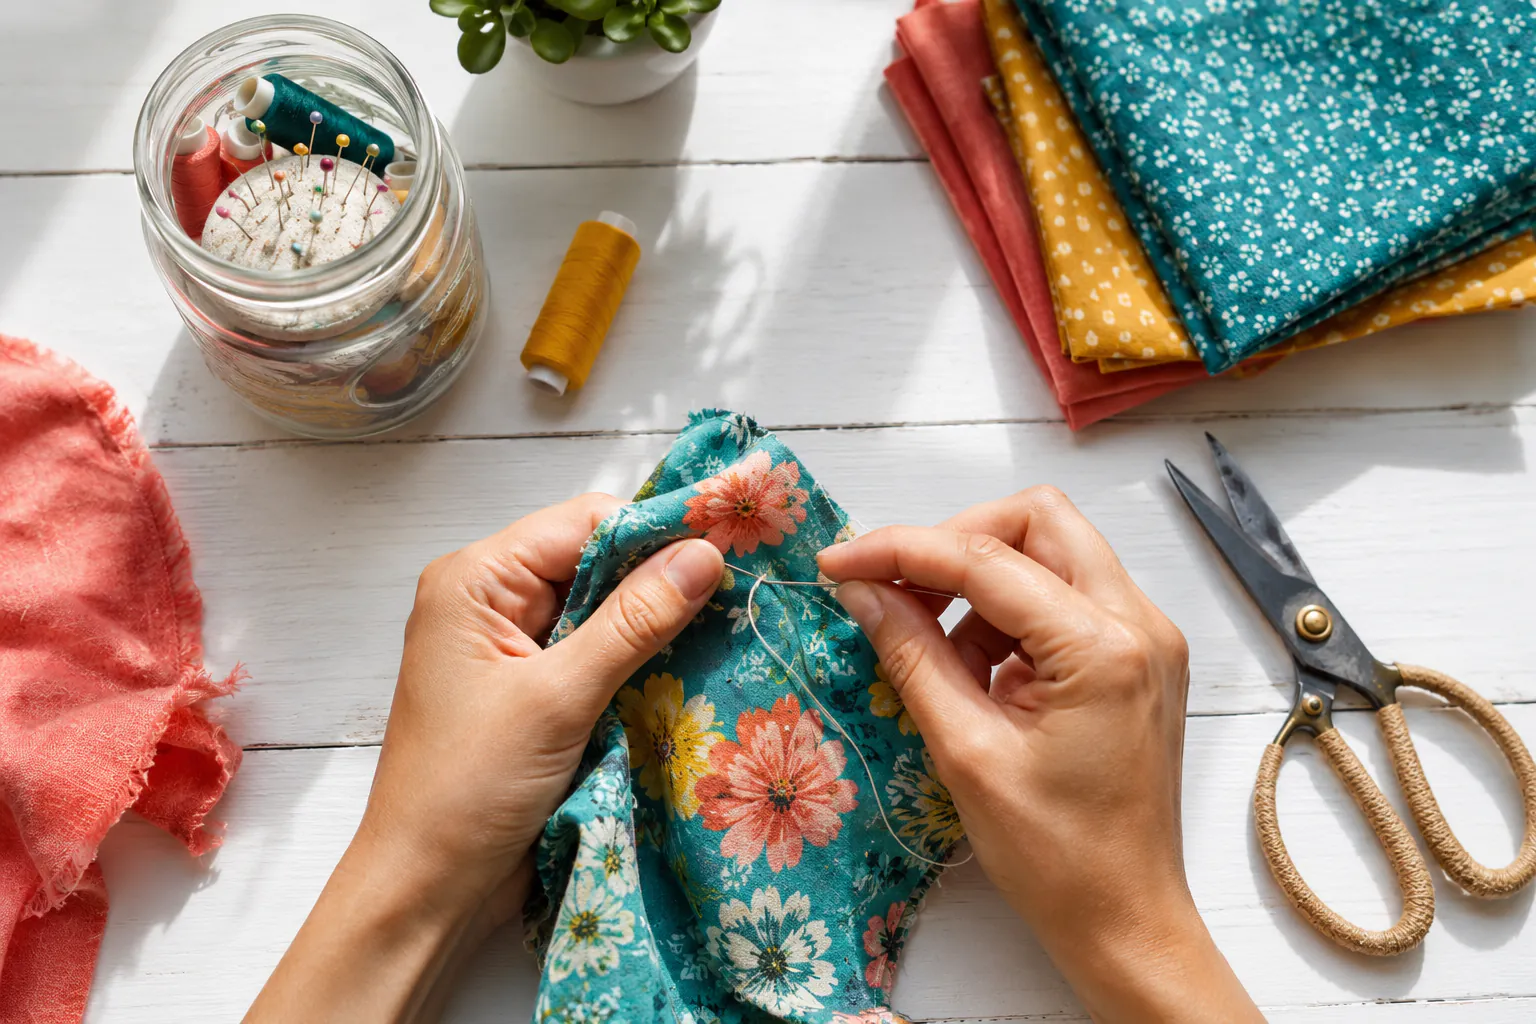
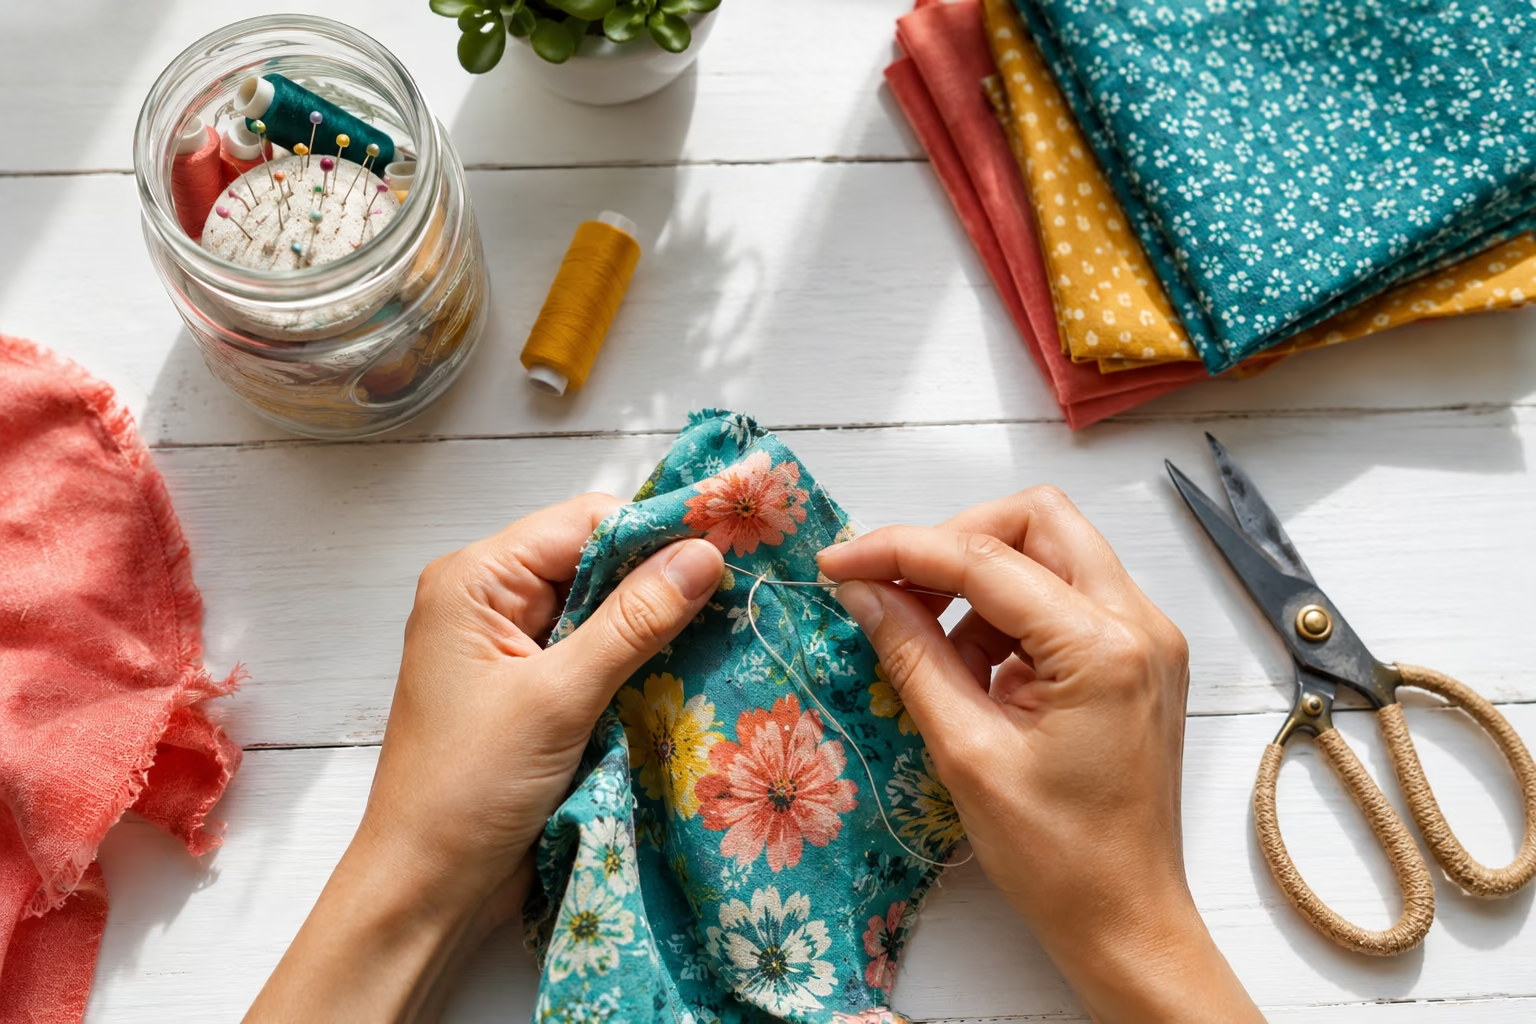
Sewing doesn’t require a four-figure investment or a dedicated craft room. The cheapest way to start sewing in 2026 is to begin with hand-sewing using a basic needle and thread kit (under $10), practice on thrift-store fabric scraps, and learn from free online tutorials before investing in any machine. If you want a machine, a reliable secondhand model from a thrift store or online marketplace typically costs $30-75 and performs just as well as entry-level new machines for beginner projects.
Key Takeaways
- Start with hand-sewing using a $5-10 basic sewing kit to learn fundamental stitches and techniques before buying a machine
- Thrift stores and online marketplaces offer working vintage sewing machines for $30-75, often more durable than new budget models
- Practice fabric costs almost nothing when you use old bedsheets, thrift-store clothing, or fabric remnants from discount bins
- Free learning resources abound on YouTube, library websites, and pattern-sharing communities, eliminating the need for paid classes
- Essential supplies total under $50 when you buy strategically: basic thread, fabric scissors, pins, and practice fabric
- Skip specialty tools initially like cutting mats, rotary cutters, and sergers until you’ve completed several projects
- Simple repairs and alterations require minimal investment and can save hundreds annually compared to professional tailoring
- Hand-sewing remains viable for many projects including mending, hemming, and small crafts without any machine purchase
What Basic Supplies Do I Need to Start Sewing as a Beginner?
You need just five items to start sewing: hand-sewing needles (assorted sizes), all-purpose thread in neutral colors, fabric scissors, straight pins, and practice fabric. This starter kit costs $15-25 total when purchased from discount retailers or dollar stores.
Here’s the bare-minimum shopping list:
- Hand-sewing needles (assorted pack): $2-4 at any craft or dollar store
- All-purpose polyester thread (white, black, and one neutral): $1-2 per spool
- Fabric scissors (7-8 inch): $8-12 for decent quality that will last years
- Straight pins (box of 100+): $2-3
- Practice fabric: $0-10 using old sheets, thrift-store finds, or remnant bins
What you can skip initially: Measuring tape (use a ruler), seam ripper (use a pin carefully), marking tools (use a pencil), and specialty notions. Add these as specific projects require them.
Common mistake: Buying a “complete” sewing kit with 100+ pieces. These often include low-quality tools you’ll never use. Build your collection gradually based on actual project needs instead.
Can I Start Sewing by Hand Without a Machine?
Yes, hand-sewing is completely viable for beginners and requires zero machine investment. Many sewers start with hand-stitching to learn tension control, stitch types, and fabric behavior before ever touching a machine. Hand-sewing works well for mending, hemming, small crafts, and even simple garment construction.
What you can accomplish by hand:
- All clothing repairs (buttons, hems, tears, seams)
- Simple alterations (taking in waists, shortening pants)
- Small projects (pillowcases, tote bags, pouches)
- Quilting and patchwork (traditional method)
- Embroidery and decorative stitching
- Finishing touches on machine-sewn projects
Time consideration: Hand-sewing takes 3-5 times longer than machine sewing for straight seams, but the skill investment pays off. Understanding hand-stitches improves your machine work later and gives you repair capabilities anywhere.
When to consider a machine: If you plan to make multiple garments, work with heavy fabrics regularly, or want to sew professionally, a machine becomes worthwhile after you’ve mastered basic hand-stitches. For occasional repairs and simple projects, hand-sewing remains the most economical choice indefinitely.
How Much Does a Beginner Sewing Machine Cost?
New beginner sewing machines range from $80-200, while used machines from thrift stores or online marketplaces cost $30-75 and often provide better build quality. The cheapest reliable option is a vintage all-metal machine from the 1960s-1980s, which typically outlasts modern plastic entry-level models.
Price breakdown by source:
| Source | Price Range | Pros | Cons |
|---|---|---|---|
| Thrift stores | $20-60 | Very cheap, often all-metal construction | May need cleaning/servicing |
| Online marketplace (Facebook, Craigslist) | $40-100 | Can test before buying, see it running | Requires pickup, limited selection |
| New budget models (Walmart, Amazon) | $80-150 | Warranty, modern features | Plastic parts, shorter lifespan |
| New entry-level brand names (Singer, Brother) | $150-250 | Reliable, good support | Higher initial cost |
What features matter for beginners: Straight stitch, zigzag stitch, adjustable stitch length, and reverse stitch. Everything else is optional. Many vintage machines offer only these basics and perform beautifully for decades.
Budget sweet spot: A used Singer, Brother, or Kenmore from the 1970s-1990s for $40-60 provides the best value. These machines are repairable, have readily available parts, and handle everything from lightweight cotton to denim. If buying new, expect to spend at least $120 for a machine that will last beyond your first year of regular use.
For guidance on maintaining any machine you purchase, see our guide on how often to service a sewing machine.
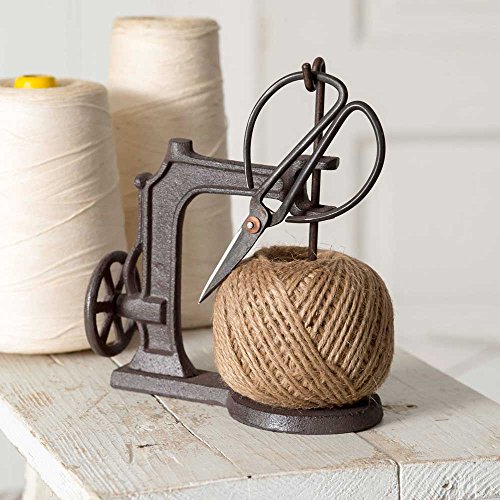
Material: the twine holder is made of heavy duty cast iron, the twine string is made of natural jute, the scissors is made of carbon steel;

Vintage Sewing Machine Charm – Wear Your Passion: At the heart of this bracelet is a delicately detailed vintage sewing machine, a sweet nod to your love for sewing. It’s like carrying a little piece of your craft with you, perfect for showing off your creative spirit

Sufficient quantity: Each set has 25 metal spools, enough to meet your daily sewing needs.
Thrift Store Sewing Machine vs New One: Which Is Better?
A thrift-store vintage machine is better for budget-conscious beginners because older all-metal models (1960s-1980s) are more durable, easier to repair, and cost 60-80% less than comparable new machines. New machines make sense only if you need a warranty, modern computerized features, or can’t find a working used model locally.
Vintage machine advantages:
- All-metal internal parts last decades longer than modern plastic gears
- Simpler mechanics mean fewer things can break and easier DIY repairs
- Widely available parts for popular brands like Singer, Kenmore, and Brother
- Cost: $30-75 versus $150+ for equivalent new quality
- Proven longevity: Many 50+ year-old machines still run perfectly
New machine advantages:
- Warranty coverage (typically 1-5 years) for defects and repairs
- Modern features like automatic needle threaders and digital displays
- Lighter weight (though often due to plastic construction)
- Immediate availability without hunting thrift stores
What to check before buying used:
- Test it running – bring fabric scraps and thread to the store
- Check for smooth operation – no grinding, squealing, or jamming
- Verify needle moves up and down properly when hand-wheel turns
- Inspect for rust on needle plate and bobbin area (light surface rust is fine)
- Confirm all parts present – foot pedal, power cord, bobbin case, presser feet
Red flags to avoid: Heavy rust, cracked plastic parts, bent needle bar, missing bobbin case, or machines that won’t power on. These often cost more to repair than they’re worth.
If you’re comparing older and newer machines more broadly, our article on whether old sewing machines are better than new ones provides additional perspective.

VINTAGE ANTIQUE FASHION: Stand out with this sewing-themed cuff that captures the essence of antique fashion. Its versatile appeal makes it a suitable accessory for both casual DIY days and formal events


Used Book in Good Condition
What Fabric Is Cheapest for Practice Sewing Projects?
Cotton bedsheets from thrift stores are the cheapest practice fabric at $2-5 per sheet (yielding 5-8 yards of material), followed by fabric remnants from discount bins at craft stores ($1-3 per pound) and worn clothing you already own. These options cost 80-90% less than buying new fabric by the yard.
Budget fabric sources ranked by cost:
- Old bedsheets and pillowcases (thrift stores): $2-5 per sheet = $0.30-0.60 per yard equivalent
- Your own worn clothing: Free – cut up stained or damaged items for practice pieces
- Thrift store clothing: $1-3 per garment – provides pre-washed, ready-to-use fabric
- Fabric store remnant bins: $1-3 per pound or 50-75% off regular price
- Quilting cotton scraps (craft store clearance): $2-4 per yard on sale
- New budget fabric (Walmart, Joann): $3-6 per yard regular price
Why bedsheets are ideal for learning:
- Pre-washed and soft – easy to handle and sew
- Large pieces – no need to piece together scraps for bigger projects
- Consistent weave – behaves predictably while you learn tension and stitch length
- Forgiving – cotton hides beginner mistakes better than slippery or stretchy fabrics
- Variety available – solid colors work best for seeing your stitches clearly
Fabrics to avoid as a beginner: Silk, satin, velvet, knits, and anything stretchy or slippery. These require experience to handle properly and will frustrate new sewers. Stick with woven cotton until you’ve completed 5-10 practice projects.
Pro tip: Ask at fabric stores if they sell or give away selvage scraps (the trimmed edges of fabric bolts). Many stores accumulate these and offer them free or very cheap to sewers who ask.
Do I Need Special Thread or Can I Use Any Kind?
All-purpose polyester thread works for 90% of beginner projects and costs $1-2 per spool. You don’t need specialty threads initially – start with white, black, and one neutral color (gray or beige) in standard weight, which will handle everything from lightweight cotton to medium-weight denim.
Why all-purpose polyester is best for beginners:
- Works with all common fabrics – cotton, polyester, blends, and lightweight denim
- Strong and durable – won’t break easily while you’re learning tension
- Widely available – every store carries it in dozens of colors
- Affordable – $1-2 per spool versus $4-8 for specialty threads
- Forgiving – hides minor tension issues better than cotton thread
Thread you can skip initially:
- Heavy-duty thread (for upholstery and canvas)
- Cotton quilting thread (unless specifically quilting)
- Embroidery thread (different purpose entirely)
- Invisible/monofilament thread (tricky for beginners)
- Metallic or decorative threads (require tension adjustments)
When thread quality matters: For projects you’ll wash frequently or items that need strength (like bag handles), invest in name-brand thread (Gutermann, Coats & Clark) at $2-3 per spool. Dollar-store thread works fine for practice but may break or fray on finished projects you want to keep.
Color-matching tip: When starting out, don’t buy thread to match every fabric. Use neutral colors (white, black, gray, beige) that blend with most projects. As you advance, build your thread collection based on fabrics you actually use.
Understanding proper threading technique helps prevent thread-related issues regardless of which type you choose.
Free Sewing Patterns for Beginners: Where to Find Them
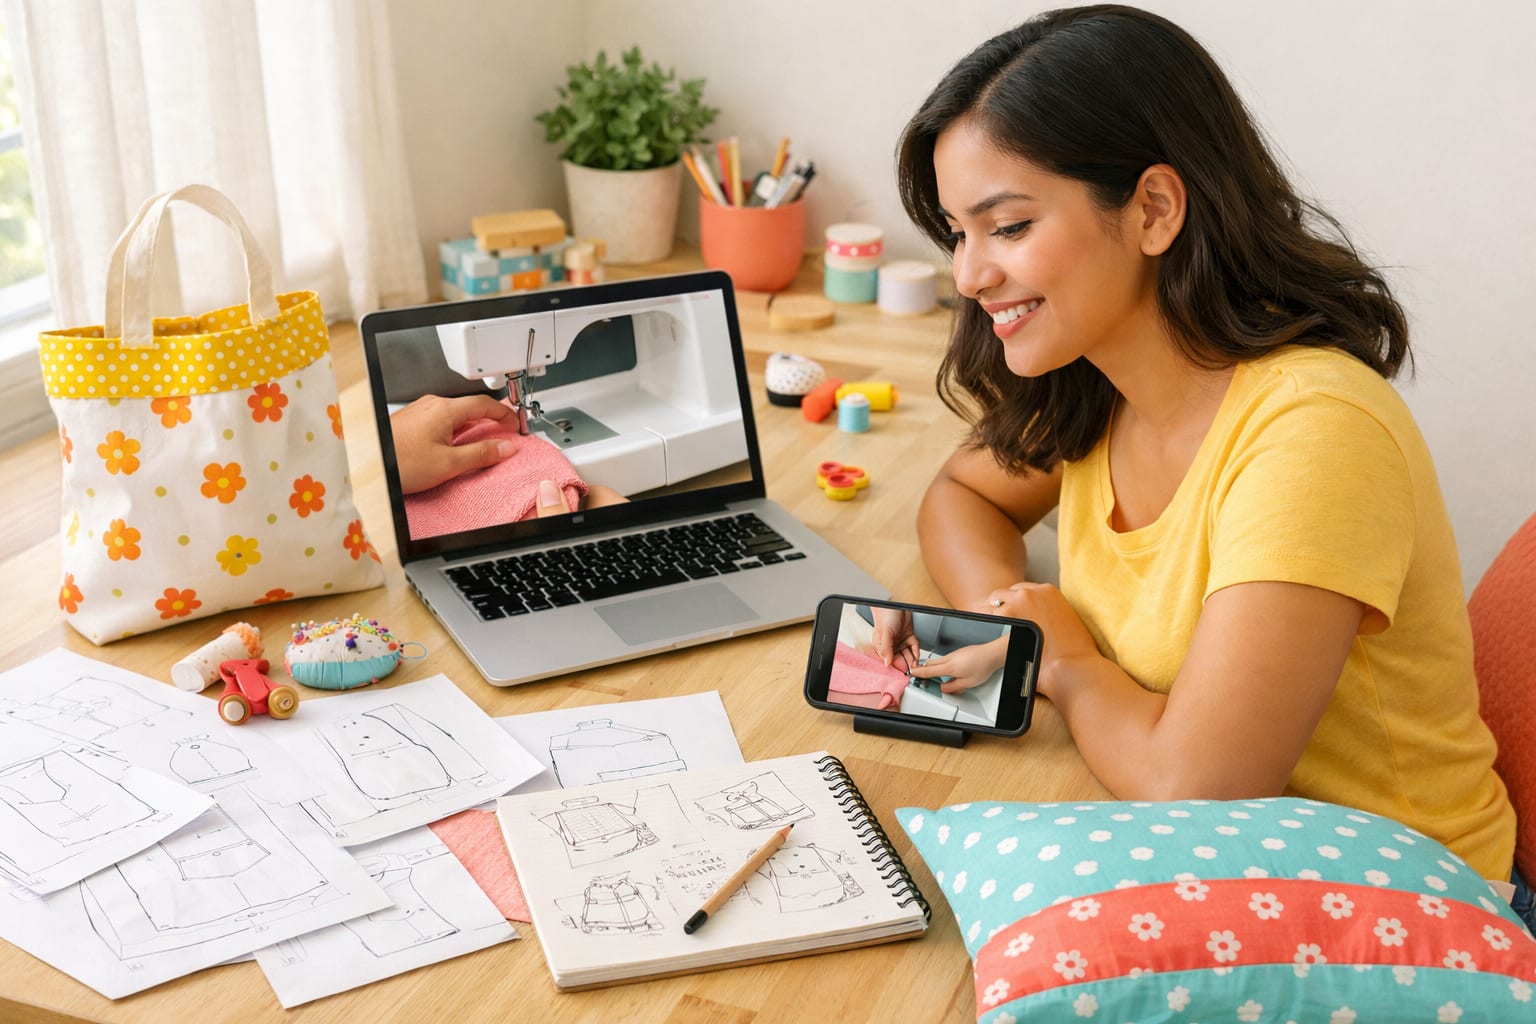
Free beginner sewing patterns are available on YouTube (video tutorials with downloadable patterns), Pinterest (linking to blogs with free PDFs), and dedicated sites like AllFreeSewing.com and SoSewEasy.com. Public libraries also offer free access to pattern databases through services like Creativebug and Craftsy.
Top free pattern sources:
YouTube channels with free patterns:
- Sew Anastasia (beginner-friendly garments)
- Professor Pincushion (children’s clothing)
- Made to Sew (modern basics)
- The Crafty Gemini (quick projects)
Websites offering free downloads:
- AllFreeSewing.com – hundreds of free patterns, all skill levels
- SoSewEasy.com – beginner tutorials with free patterns
- Mood Fabrics blog – free patterns with detailed instructions
- Peppermint Magazine – free modern patterns quarterly
Library resources:
- Creativebug (free with many library cards) – video classes with downloadable patterns
- Library pattern collections – many libraries lend physical pattern books
- Hoopla and Libby – digital sewing books often include patterns
What to look for in beginner patterns:
- Minimal pieces (4-6 pattern pieces maximum)
- Simple shapes (rectangles and basic curves)
- No zippers or buttonholes initially
- Clear instructions with photos or diagrams
- Forgiving fit (loose-fitting items hide construction mistakes)
Best first projects: Pillowcase, simple tote bag, elastic-waist skirt, infinity scarf, or fabric basket. These teach fundamental skills without overwhelming complexity.
Common mistake: Starting with a fitted garment like a shirt or dress. These require precise measurements and fitting adjustments that frustrate beginners. Build skills with home décor and accessories first, then progress to clothing.
How to Learn Sewing for Free Online or YouTube
YouTube offers the most comprehensive free sewing education in 2026, with thousands of channels teaching everything from threading a needle to advanced garment construction. Supplement video learning with free written tutorials from sewing blogs and library-access platforms like Creativebug for structured courses.
Best free learning path:
Week 1-2: Hand-sewing basics
- Search “hand sewing for beginners” on YouTube
- Learn running stitch, backstitch, whip stitch, and slip stitch
- Practice on scrap fabric until stitches are even and consistent
Week 3-4: Machine basics (if you have one)
- Watch “how to thread [your machine brand]” tutorials
- Learn straight stitch, reverse stitch, and zigzag
- Practice stitch length and tension adjustments on scraps
Week 5-6: First simple project
- Follow a complete project tutorial (pillowcase or tote bag)
- Pause and rewind as needed – video learning’s biggest advantage
- Complete the project even if imperfect
Week 7-8: Second project with new skills
- Choose a project that adds one new technique (curved seam, elastic, or topstitching)
- Build skills incrementally rather than jumping to complex projects
Recommended YouTube channels by learning style:
- Visual learners: Professor Pincushion (clear close-ups, slow pace)
- Fast learners: Evelyn Wood (efficient, no-fluff tutorials)
- Detailed instruction: Sew Anastasia (thorough explanations)
- Quick projects: The Crafty Gemini (15-30 minute makes)
Free structured courses:
- Creativebug (free with library card) – organized class series
- Seamwork Magazine (free articles) – technique deep-dives
- Threads Magazine online (some free content) – professional techniques
Learning advantage of free resources: You can learn at your own pace, rewatch difficult sections unlimited times, and skip content you already understand. This often produces better results than paid classes that move at a fixed pace.
If you encounter issues while learning, our troubleshooting guides for skipping stitches and thread bunching can help.
Is Sewing Actually Cheaper Than Buying Clothes?
Sewing simple items like tote bags, pillowcases, and basic repairs is significantly cheaper than buying equivalents, but sewing your own clothing typically costs the same or more than fast fashion unless you use thrift-store fabric or make high-end garments. The real savings come from repairs, alterations, and home décor projects rather than basic garment construction.
Where sewing saves money:
Repairs and alterations (biggest savings):
- Hemming pants: $10-15 at tailor vs. $0 DIY
- Replacing buttons: $5-8 at tailor vs. $0 DIY
- Taking in waists: $15-25 at tailor vs. $0 DIY
- Annual savings potential: $100-300 if you do your own alterations
Home décor:
- Throw pillows: $20-40 retail vs. $3-8 DIY
- Curtains: $30-100 retail vs. $10-25 DIY
- Table runners: $15-30 retail vs. $4-8 DIY
Accessories:
- Tote bags: $15-40 retail vs. $3-10 DIY
- Zipper pouches: $10-25 retail vs. $2-5 DIY
Where sewing costs more:
Basic clothing (when using new fabric):
- Simple t-shirt: $10-20 retail vs. $12-18 DIY (fabric + notions)
- Basic dress: $25-50 retail vs. $30-60 DIY
- Casual pants: $20-40 retail vs. $25-45 DIY
Why garment sewing costs more: New fabric typically runs $8-15 per yard, and a simple dress requires 2-3 yards ($16-45) plus thread, interfacing, and notions ($3-8). Fast fashion benefits from bulk fabric pricing you can’t access.
When garment sewing saves money:
- Using thrift-store fabric (bedsheets, tablecloths)
- Making high-end styles (retail $100+, DIY $30-50)
- Creating custom-fit items (avoiding alteration costs)
- Sewing for children (retail markup is high, fabric needs are low)
The real value: Sewing’s primary benefit isn’t always cost savings – it’s getting exactly what you want in terms of fit, style, and quality. The financial payoff comes from extending the life of your existing wardrobe through repairs and alterations.
Common Mistakes When Buying Your First Sewing Machine
The most common mistake is buying the cheapest possible new machine (under $80), which typically features plastic internal parts that break within 6-12 months of regular use. Other frequent errors include choosing a machine with too many features you won’t use, skipping the test-sew before purchase, and ignoring used options that offer better quality for less money.
Top mistakes and how to avoid them:
1. Prioritizing features over build quality
- Mistake: Buying a machine with 50+ stitches and computerized controls for $100
- Reality: More features at low prices mean cheaper construction
- Better choice: Simple machine with 10-15 stitches and metal internal parts
2. Not testing before buying
- Mistake: Ordering online without seeing the machine run
- Reality: Many budget machines arrive with defects or poor performance
- Better choice: Buy from stores with return policies or test used machines in person
3. Ignoring the feed dog mechanism
- Mistake: Not checking if fabric feeds smoothly under the presser foot
- Reality: Poor feed dogs cause puckering and uneven stitches
- Better choice: Test with multiple fabric weights before purchasing
Learn more about feed dogs and their importance to avoid this issue.
4. Buying a machine that’s too heavy or too light
- Mistake: Choosing based on appearance rather than stability
- Reality: Too-light machines vibrate and skip stitches; too-heavy machines are hard to move for storage
- Better choice: 12-18 pounds for portability with stability
5. Skipping the manual and accessories check
- Mistake: Not verifying the manual and basic presser feet are included
- Reality: Replacement manuals and feet cost $10-30 each
- Better choice: Confirm all accessories are present before finalizing purchase
6. Falling for “heavy-duty” marketing on light machines
- Mistake: Believing a $90 plastic machine can sew denim and canvas
- Reality: True heavy-duty machines cost $300+ and weigh 20+ pounds
- Better choice: Stick with medium-weight fabrics on budget machines
Understanding different presser feet helps you evaluate what accessories you actually need versus marketing gimmicks.
What Can I Sew Without a Serger or Overlock Machine?
You can sew virtually everything without a serger, including all garments, home décor, bags, and quilts. A serger is a finishing tool that makes seams look professional and prevents fraying, but a regular sewing machine’s zigzag stitch or French seams accomplish the same goals for beginners. Sergers are optional upgrades, not requirements.
What a regular machine does instead of a serger:
Seam finishing options:
- Zigzag stitch along raw edges (prevents fraying)
- Pinking shears (cut with zigzag edge to reduce fraying)
- French seams (enclose raw edges inside the seam)
- Bias tape binding (covers raw edges decoratively)
- Turned and stitched hem (fold edge twice and stitch)
Projects that work perfectly without a serger:
- All woven fabric garments (dresses, shirts, pants)
- Quilts and patchwork
- Home décor (pillows, curtains, table linens)
- Bags and accessories
- Simple knit items (with stretch stitch or narrow zigzag)
When a serger becomes worthwhile:
- You’re sewing garments weekly or more
- You work primarily with knit fabrics
- You want professional-looking seam finishes
- You’re sewing for sale or gift-giving where appearance matters
- You’ve outgrown your regular machine’s capabilities
Cost consideration: Sergers start at $200-300 for entry-level models and require four thread cones ($15-25 total) plus specialty needles. This investment makes sense only after you’ve completed 20+ projects on a regular machine and identified serging as a genuine bottleneck in your workflow.
Common misconception: “I can’t make clothes without a serger.” False. Home sewers made beautiful, durable garments for over a century before sergers became available for home use in the 1980s. A serger is a convenience, not a necessity.
Is Sewing Worth It If I Only Want to Do Simple Repairs?
Yes, learning basic hand-sewing for repairs is absolutely worth it and requires minimal investment ($5-10 for supplies) while saving $100-300 annually on professional alterations and extending the life of clothing by years. You don’t need a machine for repairs – hand-sewing handles all common fixes effectively.
What you can repair with basic hand-sewing:
Most common repairs (in order of frequency):
- Reattaching buttons (5-minute fix, saves $5-8 per repair)
- Hemming pants (15-30 minutes, saves $10-15 per pair)
- Fixing small tears (10-20 minutes, saves $8-12 per repair)
- Repairing seams (15-25 minutes, saves $10-15 per repair)
- Replacing elastic in waistbands (30-45 minutes, saves $15-20)
Skills needed: Three basic stitches cover 95% of repairs:
- Backstitch (for strong seams)
- Slip stitch (for invisible hems)
- Whip stitch (for edges and quick fixes)
Time investment to learn: 2-3 hours of practice on scrap fabric makes you competent at basic repairs. Watch 3-4 YouTube tutorials, practice each stitch for 20-30 minutes, then tackle real repairs.
Annual savings calculation:
- Average household: 8-12 repair needs per year
- Professional repair cost: $8-15 per item
- DIY cost: $0-1 per repair (thread and needle wear)
- Net savings: $100-180 per year
Additional benefits:
- Extend clothing life by 2-5 years per garment
- Customize fit (take in waists, shorten straps)
- Repair items with sentimental value
- Immediate fixes (no waiting for tailor appointments)
When professional repair makes sense: Complex alterations (resizing jackets, replacing zippers in coats), formal wear alterations, and repairs on expensive items where you want guaranteed professional results.
For machine-based repairs, understanding proper needle insertion and when to change needles prevents common issues.
Cheapest Place to Buy Fabric for Beginner Projects
Thrift stores offer the cheapest fabric through bedsheets ($2-5 for 5-8 yards equivalent), tablecloths, and curtains, followed by fabric store remnant bins at 50-75% off regular prices. Online, Fabric Wholesale Direct and fabric destash groups on Facebook provide new fabric at $2-5 per yard compared to $8-15 retail.
Budget fabric sources ranked:
In-person shopping:
- Thrift stores – bedsheets, tablecloths, curtains: $2-5 per large piece
- Estate sales and garage sales – fabric stashes: $0.25-2 per yard
- Fabric store remnant bins (Joann, Hobby Lobby): $1-4 per yard
- Walmart fabric section – basic cotton: $3-5 per yard
- Fabric store sales (40-60% off coupons): $4-6 per yard after discount
Online shopping:
- Facebook fabric destash groups – sewers selling excess: $2-5 per yard plus shipping
- Fabric Wholesale Direct – wholesale prices: $2-6 per yard
- Spoonflower sample packs – test prints: $5 for multiple swatches
- eBay fabric lots – bulk purchases: $1-3 per yard in large quantities
- Amazon basics – cotton by the yard: $5-8 per yard with Prime shipping
Money-saving strategies:
Timing your purchases:
- Shop fabric stores on Wednesdays (new ad/coupon day)
- Buy during Black Friday sales (50-70% off)
- Check clearance sections first, always
- Join store email lists for exclusive coupons (often 50% off one item)
Maximizing thrift store finds:
- Look for king-size sheets (most fabric per dollar)
- Choose solid colors or simple patterns (more versatile)
- Check tablecloths for large pieces of quality fabric
- Inspect curtains (often 4-6 yards of fabric for $3-5)
What to avoid:
- Fabric subscription boxes (expensive per yard)
- Specialty quilting shops for practice fabric (save these for final projects)
- Buying full-price fabric for learning projects (use scraps and sales only)
Quality consideration: For practice projects, any woven cotton works regardless of source. For finished projects you’ll keep, invest in better fabric from sales or mid-range sources ($5-8 per yard) to ensure your time investment results in something durable.

Package Includes: You will receive a 63-inch wide and 2-yard (1.8m) long muslin fabric; the suitable size design provides plenty of material for your sewing and creative projects; Note: order QTY more than 1, receive several separate packs

High quality cotton fabric, 100%cotton

Fat Quarter Quilting Fabric Bundles
Do I Really Need a Cutting Mat and Rotary Cutter to Start?
No, you don’t need a cutting mat or rotary cutter to start sewing. Fabric scissors and a ruler or yardstick work perfectly for beginners and cost $10-15 total compared to $30-50 for a mat and rotary cutter set. Add these tools later if you start quilting or cutting many straight lines regularly.
What you actually need for cutting:
Essential (under $15 total):
- Fabric scissors (7-8 inch): $8-12 for decent quality
- Ruler or yardstick: $2-3 (or use what you have at home)
- Marking tool: $1-2 (or use a regular pencil)
Optional (add later if needed):
- Cutting mat (24×36 inch): $20-30
- Rotary cutter: $10-15
- Quilting ruler (clear acrylic): $8-12
When scissors work better:
- Cutting curves and circles
- Cutting around pattern pieces
- Small projects with few cuts
- Detailed work requiring precision
- Any project with fewer than 10 cuts
When rotary cutters are worth it:
- Quilting (cutting many strips and squares)
- Cutting long straight lines repeatedly
- Working with multiple fabric layers
- Production sewing (making multiples of the same item)
- After you’ve completed 15-20 projects and identified cutting as a bottleneck
Scissors care tips to maximize your investment:
- Use fabric scissors ONLY on fabric (paper dulls them quickly)
- Store in a drawer or case (prevents blade damage)
- Have them sharpened annually if you sew regularly ($5-10 service)
- Buy the best scissors you can afford initially (they last decades with care)
Common beginner mistake: Buying a complete cutting setup before starting. Many beginners discover they prefer hand-sewing or simple projects that don’t require specialized cutting tools. Invest in these tools only after you’ve identified a genuine need through actual project experience.
Understanding proper seam allowances matters more than cutting tools for beginner success.
Frequently Asked Questions
How much money do I need to start sewing? You can start hand-sewing for $10-15 (needles, thread, scissors, and thrift-store fabric). With a machine, expect $50-100 total for a used machine, basic supplies, and practice fabric. This covers everything needed to complete your first 5-10 projects.
Can I teach myself to sew without classes? Yes, most successful sewers are self-taught using free YouTube tutorials, library books, and online patterns. Video tutorials let you learn at your own pace, pause and rewind difficult sections, and skip content you already understand – often more effective than fixed-pace classes.
What’s the easiest thing to sew for a beginner? A pillowcase is the easiest first project, requiring only straight seams and basic measuring. It teaches fundamental skills (cutting, pinning, sewing straight lines, finishing edges) while producing a useful finished item in 30-60 minutes.
Is a $50 sewing machine worth buying? A $50 used vintage machine from a thrift store can be excellent if it’s all-metal and runs smoothly. A $50 new machine will likely have plastic internal parts that break quickly. Test any machine before buying and prioritize build quality over price alone.
How long does it take to learn basic sewing? Basic hand-sewing takes 2-3 hours of practice to become competent. Machine sewing basics require 4-6 hours spread over 1-2 weeks. Completing your first simple project (pillowcase or tote bag) typically takes 2-4 hours including learning time.
What fabric should I absolutely avoid as a beginner? Avoid silk, satin, velvet, knits, and anything stretchy or slippery. These fabrics require experience to handle properly and will frustrate new sewers. Stick with woven cotton (including bedsheets) for your first 5-10 projects.
Do I need to buy patterns or can I use free ones? Free patterns work perfectly for beginners and are available on YouTube, Pinterest, AllFreeSewing.com, and through library services like Creativebug. Save money on patterns and invest in better fabric or tools instead.
Can I sew clothes that actually look good as a beginner? Yes, but start with loose-fitting items like elastic-waist skirts, simple dresses, or pajama pants. Fitted garments require advanced skills in measuring, fitting, and construction. Build skills with 5-10 simple projects before attempting fitted clothing.
What’s the difference between a sewing machine and a serger? A sewing machine creates stitches that join fabric pieces together. A serger trims, stitches, and finishes seam edges in one step, creating professional-looking seams. Sergers are optional finishing tools – you can sew everything on a regular machine using zigzag stitches or other finishing methods.
Is sewing a dying skill? No, sewing is experiencing a resurgence in 2026 as people seek sustainable fashion alternatives, custom-fit clothing, and creative hobbies. Online communities, YouTube tutorials, and fabric accessibility have made sewing more popular and accessible than it’s been in decades.
How do I know if a used sewing machine is worth buying? Test it running with fabric and thread, check for smooth operation without grinding or squealing, verify the needle moves properly, inspect for rust (light surface rust is okay), and confirm all parts are present (foot pedal, power cord, bobbin case). Avoid machines with heavy rust, cracked parts, or that won’t power on.
What’s the most important skill to learn first? Learning to sew a straight seam with even tension is the most important foundational skill. This applies to both hand-sewing and machine sewing. Practice on scrap fabric until your stitches are consistent before starting projects.
Conclusion
Starting sewing on a budget in 2026 is entirely achievable with smart choices and strategic spending. The cheapest way to start sewing is to begin with hand-sewing using a basic $10 needle and thread kit, practice on thrift-store fabric scraps, and learn from free YouTube tutorials. If you want a machine, a vintage all-metal model from a thrift store or online marketplace ($30-75) provides better quality and longevity than new budget machines.
Focus your initial investment on three areas: decent fabric scissors ($8-12), all-purpose thread in neutral colors ($3-6 total), and practice fabric from thrift stores ($5-10). Skip specialty tools like cutting mats, rotary cutters, and sergers until you’ve completed enough projects to identify genuine needs. The total startup cost for hand-sewing is $10-15, or $50-100 if you include a used machine.
Your action plan:
- This week: Buy a basic sewing kit (needles, thread, pins) and fabric scissors for under $20
- Practice: Spend 2-3 hours learning basic hand-stitches on scrap fabric using free YouTube tutorials
- First project: Complete a simple pillowcase or tote bag using a thrift-store bedsheet
- Evaluate: After 3-5 projects, decide if you want to invest in a machine based on your actual usage
- Build gradually: Add tools and supplies only as specific projects require them
The beauty of starting sewing cheaply is that every skill you learn saves money immediately through repairs and alterations while opening possibilities for creative projects. Whether you stick with hand-sewing for repairs or progress to garment construction, the initial investment is minimal and the returns – both financial and creative – are substantial.
Start with what you have, learn from free resources, and let your actual sewing practice guide your purchases. The cheapest way to start sewing is also the smartest: begin small, practice consistently, and invest incrementally as your skills and interests develop.


