

Quick Answer
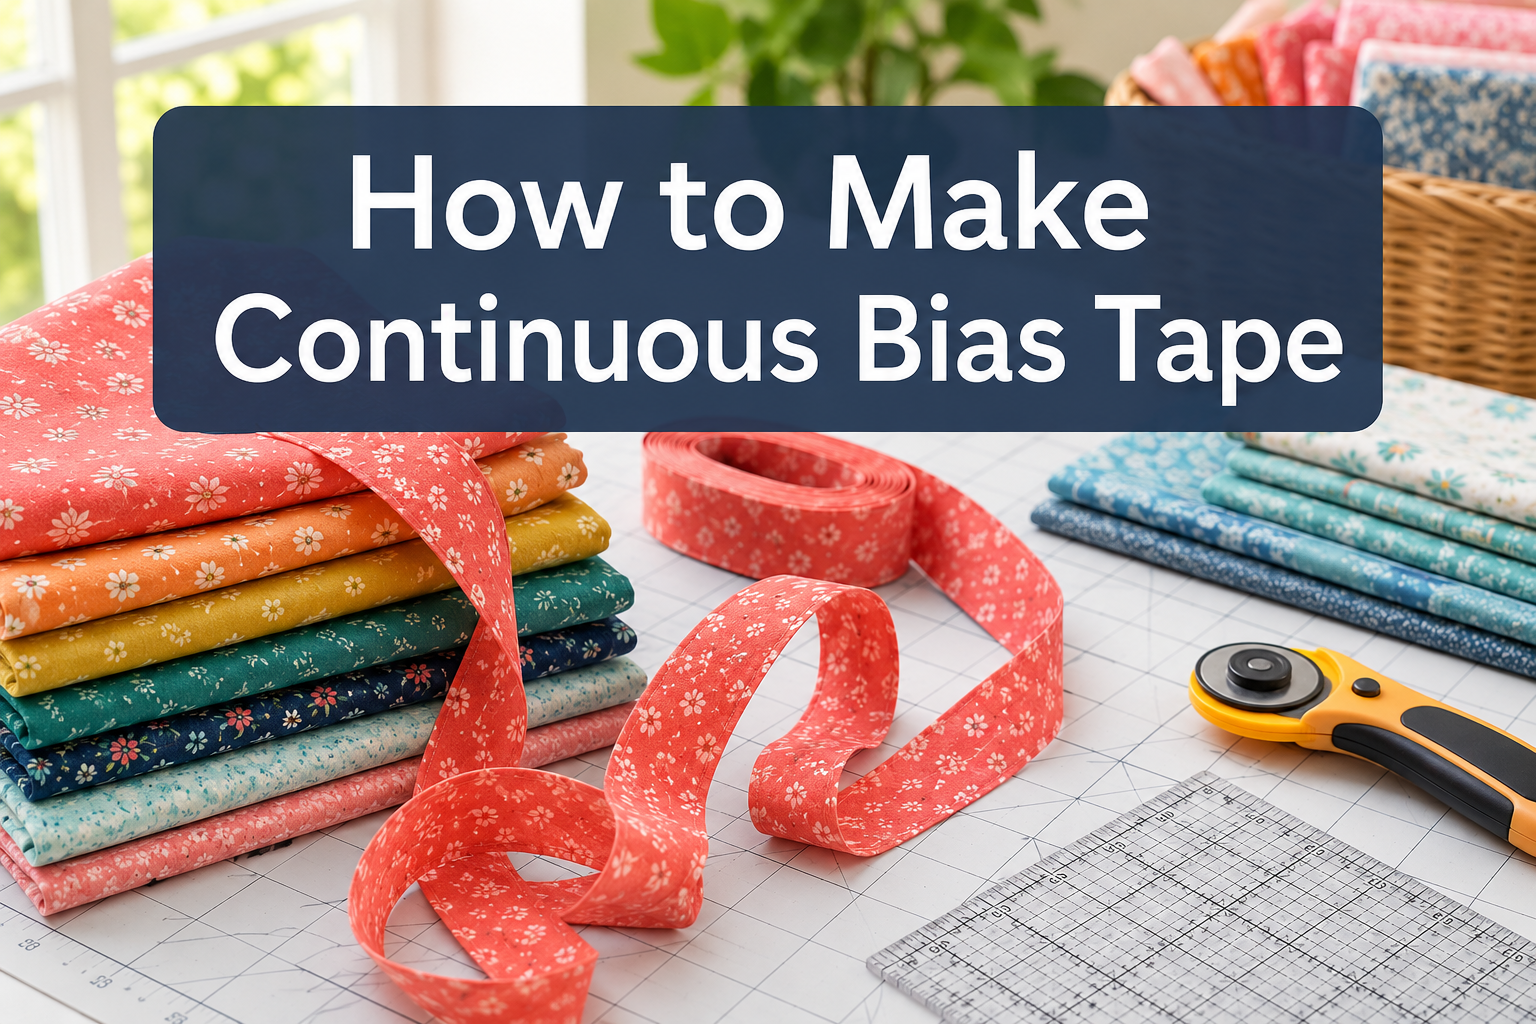
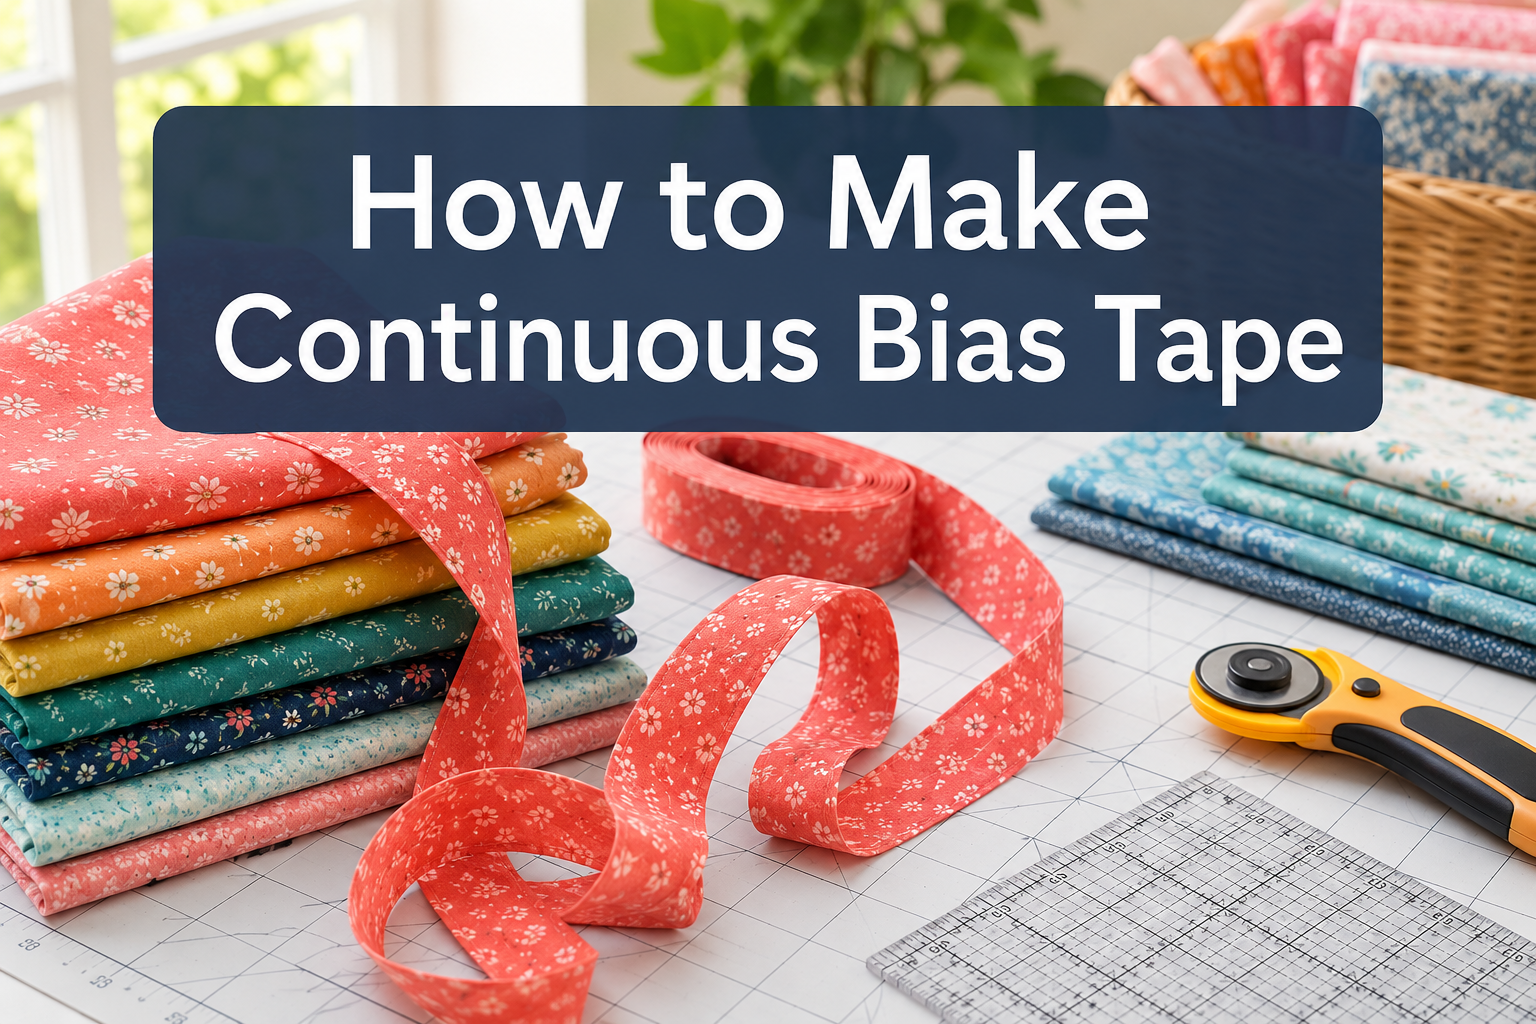
Continuous bias tape is made by cutting a fabric square on the diagonal, sewing it into a tube, and then cutting it in one long spiral strip. This method produces yards of bias tape from a single piece of fabric without joining multiple short strips, making it faster and less bulky than traditional methods. The technique works best with woven cotton fabrics and requires basic math to calculate how much fabric you need for your desired length and width.
Key Takeaways
- Continuous bias tape is cut from a fabric tube in one spiral strip, eliminating multiple seam joins
- A 20-inch fabric square typically yields about 10 yards of 2-inch-wide bias tape
- The method requires cutting fabric at a 45-degree angle to the grain for maximum stretch
- You can make bias tape without special tools by folding and pressing strips manually
- Woven cotton fabrics work best; stretchy knits are not recommended for this technique
- Common mistakes include incorrect grain alignment and sewing the tube inside-out
- The continuous method saves time on projects requiring long lengths like quilt binding
- Calculate yardage using the formula: (fabric square size × fabric square size) ÷ strip width
What Is Continuous Bias Tape and How Is It Different from Regular Bias Tape
Continuous bias tape is a long strip of fabric cut on the bias (45-degree angle to the grain) using a tube method that creates one uninterrupted piece. Regular bias tape is typically made by cutting individual strips and joining them end-to-end, which creates multiple seams and bulk. The continuous method produces a single spiral-cut strip from a sewn fabric tube, resulting in fewer joins and a smoother finish.
The key difference lies in construction efficiency. When you make regular bias tape, you cut straight strips at a 45-degree angle and sew them together with diagonal seams. Each join adds thickness and a potential weak point. With continuous bias tape, you transform a fabric square into a tube first, then cut it in one continuous spiral, producing yards of tape with minimal seaming.
Why the bias angle matters: Fabric cut on the bias has natural stretch and drapes smoothly around curves, making it perfect for binding curved edges on quilts, necklines, and armholes. Straight-grain strips would pucker and resist curves.
When to choose continuous over regular:
- Projects requiring 5+ yards of bias tape (quilts, large garments)
- When you want minimal bulk from seam joins
- If you’re working with expensive or special fabric and want to maximize yardage
- When consistent width is important throughout the project
How Much Fabric Do I Need to Make Continuous Bias Tape
To calculate fabric needs, use this formula: multiply your desired finished length of bias tape by the strip width you’ll cut, then find the square root of that number. For example, if you need 10 yards (360 inches) of tape cut at 2 inches wide, you need a fabric square approximately 27 inches on each side (360 × 2 = 720; √720 ≈ 27).
Here’s a quick reference table for common projects:
| Finished Tape Needed | Cut Strip Width | Fabric Square Size |
|---|---|---|
| 5 yards | 2 inches | 19 inches |
| 10 yards | 2 inches | 27 inches |
| 15 yards | 2 inches | 33 inches |
| 10 yards | 2.5 inches | 30 inches |
| 8 yards | 1.5 inches | 21 inches |
Important considerations:
- Always add 10-15% extra fabric for seam allowances and trimming
- The cut width is typically 4× the finished width for double-fold bias tape
- For single-fold tape, cut strips 2× the finished width plus seam allowances
- Fabric squares must be true squares (equal length and width) for the method to work
Common mistake: Buying fabric by the yard without converting to square dimensions. A half-yard of 44-inch-wide fabric gives you approximately a 22-inch square after trimming selvages, which yields about 5 yards of 2-inch bias tape.
How to Calculate Yardage for Continuous Bias Tape from a Square
The mathematical relationship between fabric square size and bias tape output follows this formula: (square size × square size) ÷ strip width = total length of bias tape. A 20-inch square yields (20 × 20) ÷ 2 = 200 inches, or about 5.5 yards of 2-inch-wide strips.
Step-by-step calculation:
- Determine your finished tape width (the width after folding and pressing)
- Multiply by 4 for double-fold tape or by 2 for single-fold to get cut width
- Measure your project to find total length needed (add 10% for joins and corners)
- Apply the reverse formula: √(desired length × cut width) = square size needed
Practical example: You’re binding a baby quilt that measures 36 × 45 inches and want ½-inch finished double-fold binding.
- Perimeter: (36 + 45) × 2 = 162 inches, plus 10% = 178 inches needed
- Cut width: 0.5 × 4 = 2 inches
- Square size: √(178 × 2) = √356 ≈ 19 inches
You’ll need a 19-inch fabric square, which fits easily within a half-yard of fabric.
Pro tip: Online bias tape calculators can speed up this math, but understanding the formula helps you adjust on the fly when fabric dimensions don’t match perfectly.
What Is the Easiest Method for Making Bias Tape at Home
The continuous method is the easiest approach for making large quantities of bias tape at home because it eliminates repetitive cutting and joining of individual strips. You cut once, sew twice, and then spiral-cut the entire length in one session. The process takes about 30 minutes for a beginner to produce 10 yards of tape.
Basic continuous bias tape method:
- Cut a fabric square to your calculated size
- Cut the square diagonally from corner to corner, creating two triangles
- Sew the triangles together along the straight grain (not the bias edges) with a ¼-inch seam to form a parallelogram
- Mark cutting lines parallel to the bias edges at your desired strip width
- Form a tube by bringing the two bias edges together, offsetting by one strip width
- Sew the tube with a ¼-inch seam
- Cut along the marked line in one continuous spiral
Why this method wins for beginners:
- Fewer steps than cutting and joining dozens of individual strips
- Less precision required than matching multiple diagonal seams
- Produces consistent width throughout the entire length
- Reduces fabric waste compared to cutting straight strips
Alternative for small amounts: If you only need 1-2 yards, cutting individual bias strips and joining them with diagonal seams is faster than setting up the continuous method. The continuous technique pays off when you need 5+ yards. For quick projects, check out basic sewing tips to improve your efficiency.

Can You Make Continuous Bias Tape Without a Bias Tape Maker
Yes, you can make continuous bias tape without a bias tape maker by folding and pressing the strips manually with an iron. A bias tape maker is a small metal or plastic tool that automatically folds the raw edges inward as you pull the fabric through, but careful hand-folding produces identical results. The manual method takes slightly longer but requires no special equipment.
Manual folding technique:
- Press the strip flat to remove wrinkles
- Fold both long edges toward the center so they meet in the middle (for double-fold tape)
- Press with a hot iron to set the creases
- Fold in half lengthwise so the raw edges are enclosed inside
- Press again to create the final double-fold tape
Tips for neat hand-folding:
- Work in 12-18 inch sections rather than trying to fold the entire length at once
- Use a ruler or template to ensure consistent fold widths
- Press with steam for sharper, longer-lasting creases
- Pin the folds in place before pressing if the fabric is slippery
When a bias tape maker is worth it: If you make bias tape regularly or need perfectly consistent folds for professional projects, a $5-15 bias tape maker saves significant time. They come in standard sizes (¼-inch, ½-inch, ¾-inch, 1-inch finished widths) and pay for themselves after a few projects.
Budget alternative: Create a cardboard template cut to your desired finished width with fold lines marked. Use it as a guide to fold the fabric edges consistently.
Do I Need Special Tools to Make Continuous Bias Tape
The only essential tools for making continuous bias tape are a rotary cutter or scissors, a ruler, an iron, and a sewing machine. Everything else is optional convenience. You can complete the entire process with basic sewing supplies found in most beginner sewing kits, though a few specialized items make the work faster and more accurate.
Essential tools (required):
- Rotary cutter or sharp fabric scissors
- Clear quilting ruler (at least 18 inches)
- Iron and ironing board
- Sewing machine with straight stitch capability
- Fabric marking pen or chalk
Helpful but optional tools:
- Self-healing cutting mat (protects surfaces when using a rotary cutter)
- Bias tape maker (speeds up folding)
- Fabric clips or pins
- Seam gauge for measuring strip widths
Tool substitutions that work:
- Use a yardstick instead of a quilting ruler
- Mark lines with a regular pencil on light fabrics
- Press on a towel-covered table if you don’t have an ironing board
- Cut with scissors if you don’t own a rotary cutter (just takes longer)
If you’re experiencing issues with your machine during the sewing steps, such as fabric not feeding through properly, address those problems before starting this project to ensure smooth seams.

SEWING, ARTS, AND CRAFTS STAPLE: This Fiskars Quick Change Rotary Cutter can cut multiple layers of fabric, felt, vinyl, and quilting materials; Ideal for doing arts and crafts; Great addition to your sewing accessories and quilting supplies

♡【 Complete Rotary Cutter Set – What‘s Included】This fabric cutter set comes with everything you need to start cutting right away: 1× 45mm rotary cutter, 5× premium replacement rotary blades, 1× A3 self-healing cutting mat (17.7'' x 11.8'' grid, 3mm thick), 1× 6.5'' x 12'' quilting ruler, 1× craft knife with 10 replacement blades, and 20× sewing clips. A comprehensive quilting kit for all your sewing and crafting projects.

✿ Professional Kit Tailored for You » Especially for quilting or sewing lovers. This package includes one 45mm rotary cutter with 4 exrta replace blades,one 28mm rotary cutter with 4 replace blades,one high-strength self healing cutting mat,one 6"x12" quilting ruler & one 2.5"x12" quilting ruler combo,20 pcs sewing clips.Nicecho rotary cutter set will become one of your unique craft tools,and we sincerely hope the wonderful color combination will bring you more fun and passion for craftsmanship.
Continuous Bias Tape vs Single Fold Bias Tape: Which Is Better
“Continuous” refers to the construction method (spiral-cut from a tube), while “single fold” describes how the tape is folded. You can make either single-fold or double-fold bias tape using the continuous method. Single-fold tape has raw edges folded to the center once; double-fold tape is then folded in half again, enclosing all raw edges. Double-fold is better for most binding applications because it’s stronger and hides raw edges completely.
Single-fold bias tape uses:
- Piping (cord is inserted in the fold)
- Decorative trim where both sides show
- Appliqué (raw edge is hidden under the appliqué piece)
- When you need a thinner, less bulky finish
Double-fold bias tape uses:
- Quilt binding (most common application)
- Finishing raw edges on garments (necklines, armholes)
- Seam binding on unlined jackets
- Any application where raw edges must be completely enclosed
Width considerations:
- Single-fold: Cut strips 2× finished width plus ½ inch for seam allowances
- Double-fold: Cut strips 4× finished width (standard ratio)
The continuous method works for both types. The only difference is how you fold and press the strips after cutting them from the tube. Make your choice based on the project requirements, not the construction method. For projects with curved edges that need clean finishing, double-fold provides more durability and a professional appearance.

Edging Fabric Bias Tape: The polyester double bias tape or cinta bies de tela holds shape better than cotton bias tape and has no sheen like satin bias tape & silk bias tape. The colorfast thin bias tape is washable, and makes the perfect flat bias tape sewing trim.

Edging Fabric Bias Tape: The polyester double bias tape or cinta bies de tela holds shape better than cotton bias tape and has no sheen like satin bias tape & silk bias tape. The colorfast thin bias tape is washable, and makes the perfect flat bias tape sewing trim.

Edging Fabric Bias Tape: The polyester double bias tape or cinta bies de tela holds shape better than cotton bias tape and has no sheen like satin bias tape & silk bias tape. The colorfast thin bias tape is washable, and makes the perfect flat bias tape sewing trim.
What Projects Is Continuous Bias Tape Best For
Continuous bias tape is best for projects requiring long lengths of binding or trim, particularly quilts, large garments, and home décor items where you need 5+ yards of tape. The method becomes inefficient for small projects needing only a yard or two, where cutting a few individual strips is faster than setting up the tube construction.
Ideal projects for continuous bias tape:
Quilting:
- Bed quilt binding (queen-size quilts need 10-12 yards)
- Table runners and placemats (when making sets)
- Wall hangings with curved edges
Garment sewing:
- Coat or jacket binding (collar, front edges, hem)
- Circle skirts (bias tape stabilizes the waistline)
- Multiple garments from the same fabric (make extra for future projects)
Home décor:
- Curtain ties (need many identical pieces)
- Pillow trim (especially for multiple pillows)
- Slipcovers with piping
When to skip the continuous method:
- Projects needing less than 3 yards of tape
- When you need multiple colors (make separate batches or cut individual strips)
- Patchwork projects where you want different fabrics in the binding
- Quick repairs or single small items
Efficiency tip: If you’re making bias tape from expensive or special fabric, the continuous method maximizes yield and minimizes waste compared to cutting individual strips that leave odd-shaped remnants.

The product has a wide range of applications, perfect for your bias tape maker kit, machine and hand; Satisfies your needs for sewing, trimming, binding straight and curved raw edges, hemming, garment making and sewing,Christmas aprons, hats, ties, Different requirements for quilts, placemats, cups, and tent materials.

The product has a wide range of applications, perfect for your bias tape maker kit, machine and hand; Satisfies your needs for sewing, trimming, binding straight and curved raw edges, hemming, garment making and sewing,Christmas aprons, hats, ties, Different requirements for quilts, placemats, cups, and tent materials.

Edging Fabric Bias Tape: The polyester fabric bias tape or cinta bies de tela holds shape better than cotton bias tape and has no sheen like satin bias tape & silk bias tape. The colorfast thin bias tape is washable, and makes perfect flat bias tape sewing trim.
Why Is My Continuous Bias Tape Twisting When I Sew It
Continuous bias tape twists during sewing when the fabric grain is misaligned, the strips are stretched while cutting or pressing, or the tube seam was sewn incorrectly. Bias-cut fabric has natural stretch, and any pulling or uneven tension during preparation causes the strip to spiral. The most common culprit is stretching the fabric while pressing or sewing it onto your project.
Main causes and fixes:
Grain misalignment:
- Problem: The initial square wasn’t cut on true grain, or the diagonal cut wasn’t at exactly 45 degrees
- Fix: Always press and square your fabric before cutting; use a quilting ruler to ensure accurate 45-degree angles
Stretching during pressing:
- Problem: Pulling the bias strip taut while ironing stretches one edge more than the other
- Fix: Press with an up-and-down motion rather than sliding the iron; let the fabric relax before moving to the next section
Incorrect tube construction:
- Problem: The tube was sewn with the wrong edges joined or with too much offset
- Fix: Double-check that you’re joining the bias edges (not straight edges) and offsetting by exactly one strip width
Tension while sewing:
- Problem: Pulling the bias tape as you attach it to your project
- Fix: Let the machine feed the fabric naturally; use pins or clips to hold the tape in place without stretching
Fabric choice issues:
- Problem: Very lightweight or loosely woven fabrics are more prone to distortion
- Fix: Choose medium-weight quilting cotton for best results; stabilize lightweight fabrics with spray starch before cutting
If you’re also experiencing thread bunching or tension issues while sewing the bias tape, resolve those machine problems first to eliminate variables.
Can I Make Continuous Bias Tape with Stretchy Fabric Like Knit
No, continuous bias tape should not be made with stretchy knit fabrics because they lack the stability needed for binding and will distort when sewn. Bias tape requires fabric that holds its shape after being cut and folded, and knits stretch in all directions, making them unsuitable for this technique. Always use woven fabrics like cotton, linen, or lightweight canvas for bias tape.
Why knits don’t work:
- Knit fabric already has stretch in all directions; cutting on the bias adds excessive stretch
- The edges curl and roll, making folding and pressing nearly impossible
- Knit bias tape won’t provide the structure needed to stabilize edges
- The tape will ripple and wave when sewn, creating an unprofessional finish
Best fabric choices for continuous bias tape:
- Quilting cotton: Most popular choice; easy to work with, holds creases well
- Lightweight cotton lawn: Creates delicate, fine bias tape for garments
- Linen or linen blends: Durable for home décor projects
- Cotton voile: Soft and drapey for lightweight garments
Fabric characteristics to look for:
- Tight, stable weave (not loose or open)
- Minimal stretch when pulled on the bias
- Holds a pressed crease without springing back
- Medium weight (too heavy is bulky; too light is flimsy)
Special case: If you need stretchy binding for knit garments, use purchased knit binding tape or fold-over elastic instead of making bias tape. These products are specifically designed for stretch applications. For more guidance on working with knit fabrics, check specialized techniques for stretch materials.
How to Join Bias Tape Strips Without Bulk
Join bias tape strips by sewing them together at a 45-degree angle (diagonal seam) rather than straight across, which distributes the seam allowance and reduces bulk. This technique works for both individual strips and for closing the final join when attaching continuous bias tape to a project. The diagonal seam is less noticeable and creates a smoother transition than a straight seam.
Step-by-step joining technique:
- Place two strip ends right sides together at a 90-degree angle, overlapping by about ½ inch
- Draw a diagonal line from the upper left corner to the lower right corner of the overlap
- Pin the strips to hold them in place
- Sew along the drawn line with a straight stitch
- Trim the seam allowance to ¼ inch
- Press the seam open (not to one side) to distribute bulk evenly
Why diagonal seams matter:
- Straight seams create a thick lump where four layers of fabric meet
- Diagonal seams spread the bulk over a longer distance
- The angled join is less visible on the finished project
- Pressing the seam open (rather than to one side) further reduces thickness
Common joining mistakes:
- Sewing strips at the wrong angle (creates twisted tape)
- Pressing seams to one side instead of open (doubles the bulk)
- Trimming seam allowances too narrow (causes seams to pull apart)
- Not checking that the strips align properly before sewing
Finishing the continuous tape loop: When you’ve cut the entire spiral from your tube, you’ll have one very long strip with two ends. If your project requires a closed loop (like quilt binding), join these ends using the same diagonal seam method after measuring and fitting the tape around your project.
What Width Should I Cut Fabric Strips for Half-Inch Bias Tape
For half-inch finished double-fold bias tape, cut fabric strips 2 inches wide. The standard ratio is to cut strips 4× the desired finished width for double-fold tape. This allows for two folds (each raw edge folds to the center, then the tape folds in half) plus seam allowances when attaching the tape to your project.
Standard cutting widths for common finished sizes:
| Finished Width | Cut Width (Double-Fold) | Cut Width (Single-Fold) |
|---|---|---|
| ¼ inch | 1 inch | ¾ inch |
| ½ inch | 2 inches | 1¼ inches |
| ¾ inch | 3 inches | 1¾ inches |
| 1 inch | 4 inches | 2½ inches |
Why the 4× ratio works:
- Each raw edge folds to the center (uses 2× the finished width)
- The tape then folds in half (maintains the width)
- Slight ease is built in for the thickness of the fabric layers
Adjustments for fabric weight:
- Lightweight fabrics: Use the standard 4× ratio
- Medium-weight fabrics: Add ⅛ inch to the cut width for ease
- Heavy fabrics: Add ¼ inch or consider using single-fold instead
Testing your width: Before cutting your entire fabric square into strips, cut one test strip and fold it to the finished size. If it’s too tight or too loose, adjust your cutting width by ⅛-inch increments. Different fabric weights and weaves behave differently, so testing saves fabric waste.
Bias tape maker compatibility: If using a bias tape maker tool, check the manufacturer’s recommendations. Most tools specify the cut width needed to produce their rated finished width, and this may vary slightly from the 4× standard ratio.
Common Mistakes When Cutting Fabric on the Bias for Tape
The most common mistakes when cutting fabric on the bias are not squaring the fabric first, cutting at the wrong angle, stretching the fabric while cutting, and using dull tools that drag and distort the fabric. These errors result in wavy, twisted bias tape that won’t lie flat or bind edges smoothly.
Top mistakes and how to avoid them:
1. Skipping the fabric prep:
- Mistake: Cutting fabric straight from the bolt without pressing or squaring
- Fix: Press out all wrinkles and folds; trim selvages; ensure the fabric is perfectly square before measuring
2. Incorrect angle:
- Mistake: Eyeballing the 45-degree angle instead of measuring
- Fix: Use a quilting ruler with a 45-degree line marked; align it with the fabric grain and double-check before cutting
3. Stretching while cutting:
- Mistake: Pulling the fabric taut or letting it hang off the table edge
- Fix: Support the entire fabric piece on a flat surface; let the rotary cutter do the work without applying pressure that stretches the fabric
4. Dull cutting tools:
- Mistake: Using a dull rotary blade or scissors that require sawing motions
- Fix: Replace rotary blades regularly (every 3-4 projects or when you feel resistance); use sharp fabric scissors designated for fabric only
5. Inconsistent strip width:
- Mistake: Not using a ruler for each cut or letting the ruler slip
- Fix: Measure and mark all cutting lines before cutting; use a ruler with non-slip backing or apply grip dots
6. Wrong grain alignment:
- Mistake: Confusing the lengthwise and crosswise grain when positioning the fabric
- Fix: Identify the selvage edge (lengthwise grain) and cut perpendicular to it for the crosswise grain; the bias runs at 45 degrees to both
Prevention tip: Work slowly and methodically. Rushing the cutting stage causes most errors, and mistakes here affect the entire project since you can’t easily fix bias tape that’s already cut incorrectly. Taking an extra five minutes to measure carefully saves hours of frustration later.
Is Continuous Bias Tape Worth Making or Should I Just Buy It
Making continuous bias tape is worth the effort when you need large quantities, want to match specific fabric to your project, or enjoy the cost savings of DIY. Buying pre-made bias tape makes sense for small projects, quick repairs, or when you need standard colors immediately. The break-even point is typically around 5 yards, below that, buying is more time-efficient; above that, making your own saves money and offers customization.
When to make your own:
- Fabric matching: You want bias tape that exactly matches or coordinates with your project fabric
- Large quantities: Projects requiring 5+ yards (store-bought tape costs $3-8 per 3-yard package)
- Custom widths: You need a size not available in stores
- Special fabrics: You want to use unique prints, vintage fabrics, or designer materials
- Cost savings: Making 10 yards costs about $3-5 in fabric vs. $10-25 for pre-made
When to buy pre-made:
- Time constraints: You need to finish the project quickly
- Small amounts: Projects requiring less than 3 yards
- Standard colors: Basic black, white, or neutral colors that match anything
- Convenience: You don’t have the tools or space to make bias tape
- Specialty types: Packaged bias tape with finished edges or special treatments
Cost comparison example:
- Homemade: 10 yards from a $4 fat quarter = $0.40 per yard
- Store-bought: 3-yard package at $5 = $1.67 per yard
- Savings: $12.70 for 10 yards
Quality considerations: Homemade bias tape from quality quilting cotton often exceeds the quality of budget store-bought tape, which may be made from thinner, less durable fabric. However, premium pre-made bias tape from specialty suppliers can match or exceed homemade quality.
The verdict: If you sew regularly and have basic tools, learning to make continuous bias tape is a valuable skill that pays off over time. Keep a few packages of store-bought tape in basic colors for emergency repairs and small projects, but make your own for major projects where quality and customization matter.
Conclusion
Making continuous bias tape transforms a simple fabric square into yards of professional-quality binding through a clever spiral-cutting technique. The method eliminates the tedious work of cutting and joining dozens of individual strips, producing smooth, consistent tape with minimal bulk. While the process requires basic math and careful cutting, the payoff is significant for quilters and sewers who regularly need large quantities of bias tape.
Your next steps:
- Calculate your fabric needs using the formula provided and buy a fabric square 10% larger than calculated
- Gather your tools: rotary cutter, ruler, iron, and sewing machine
- Practice with a small square first (12-15 inches) to master the technique before cutting expensive fabric
- Cut, sew, and spiral-cut following the step-by-step method
- Press and fold your bias tape, with or without a bias tape maker
- Store unused tape rolled around a cardboard tube or folded loosely to prevent creasing
The continuous bias tape method is one of those techniques that seems complicated at first but becomes second nature after making it once or twice. The time investment in learning pays dividends across countless projects, from quilt binding to garment finishing. Start with a simple project that needs 5-10 yards of tape, and you’ll quickly see why experienced sewers prefer this method over buying pre-made tape or cutting individual strips.
For more foundational sewing techniques that improve your projects, explore our guides on proper seam allowances and understanding presser feet to expand your sewing skills.
Frequently Asked Questions
How long does it take to make continuous bias tape?
Making continuous bias tape takes 20-30 minutes for a beginner to produce 10 yards, including cutting, sewing the tube, and spiral-cutting the strips. Folding and pressing the tape adds another 15-20 minutes if done manually, or 5-10 minutes with a bias tape maker.
Can I use directional print fabric for continuous bias tape?
Yes, but the print will appear at various angles throughout the tape because bias cutting rotates the design 45 degrees. Small-scale or non-directional prints work best; large directional prints (like text or one-way images) will look random and may appear upside-down in sections.
What’s the minimum fabric square size for continuous bias tape?
A 10-inch fabric square is the practical minimum, yielding about 2 yards of 2-inch-wide bias tape. Smaller squares become difficult to handle and don’t produce enough tape to justify the setup time. For most projects, start with at least a 15-inch square.
Do I need to pre-wash fabric before making bias tape?
Yes, pre-wash fabric if your finished project will be washed, especially for quilts and garments. Unwashed fabric may shrink differently than your project fabric, causing puckering. Press the fabric after washing and before cutting to ensure accurate measurements.
Can I make continuous bias tape with flannel or fleece?
Flannel works for continuous bias tape but creates bulkier tape due to the fabric thickness; use it for projects where extra cushioning is desired. Fleece is not recommended because it’s too thick to fold neatly and doesn’t hold pressed creases well.
How do I store leftover continuous bias tape?
Roll leftover bias tape around a cardboard tube (like a paper towel roll) or a piece of cardboard cut to size, securing the end with a pin or clip. Store flat in a drawer or box to prevent creasing. Properly stored bias tape lasts indefinitely.
Why is my continuous bias tape different widths along its length?
Inconsistent width results from inaccurate marking of cutting lines on the tube or from the ruler slipping while cutting. Always measure from the same edge and mark all lines before cutting any. Use a ruler with non-slip backing for better accuracy.
Can I make continuous bias tape on a serger instead of a regular sewing machine?
Yes, you can sew the tube seams on a serger, but a regular sewing machine with a straight stitch is actually better for this project. The tube seams need to be precise and flat, which a straight stitch provides more easily than a serged seam.
What’s the best way to attach continuous bias tape to curves?
Pin or clip the bias tape around the curve at 1-2 inch intervals, easing the tape to match the curve without stretching. Sew slowly, stopping with the needle down to adjust the fabric as needed. The natural stretch of bias-cut fabric allows it to conform to curves smoothly.
How much does homemade continuous bias tape cost compared to store-bought?
Homemade continuous bias tape costs approximately $0.30-0.50 per yard when made from quilting cotton, compared to $1.50-2.50 per yard for store-bought. A $5 fat quarter yields about 10 yards of tape, saving $10-20 compared to purchasing the same amount.
Can I dye or paint continuous bias tape after making it?
Yes, you can dye or paint bias tape after construction, but do it before folding and pressing for best results. Use fabric dye or paint suitable for your fabric type, and heat-set according to the product instructions before folding the tape to its final shape.
What do I do if my continuous bias tape tube won’t lay flat?
If the tube won’t lay flat, you likely sewed the wrong edges together or offset incorrectly. Check that you joined the two bias edges (not the straight-grain edges) and that you offset by exactly one strip width. If the error is caught early, carefully unpick the seam and re-sew correctly.


