Quick Answer: Fabric fails to feed through a sewing machine when feed dogs are lowered, clogged with lint, or malfunctioning, when presser foot pressure is too low, when the stitch length is set to zero, or when the fabric type doesn’t match the machine settings. Most feeding problems stem from simple mechanical issues that can be fixed in minutes with basic cleaning and adjustment.
Key Takeaways
- Feed dogs must be raised and clean, lowered or lint-clogged feed dogs are the #1 cause of feeding failure
- Presser foot pressure matters, too little pressure prevents fabric grip, too much causes drag on delicate materials
- Stitch length at zero stops feeding, always check your stitch length dial isn’t accidentally set to 0
- Different fabrics need different settings, thick materials need higher pressure and longer stitches than thin fabrics
- Regular cleaning prevents 80% of feed issues, lint buildup under the throat plate blocks feed dog movement
- One-sided feeding usually means uneven pressure, check for bent needle plates or damaged feed dog teeth
- Professional repair costs $50-150, but most feed problems can be fixed at home for free
- Tension problems look different, bunching from tension creates loops, while feed issues cause fabric to stall completely
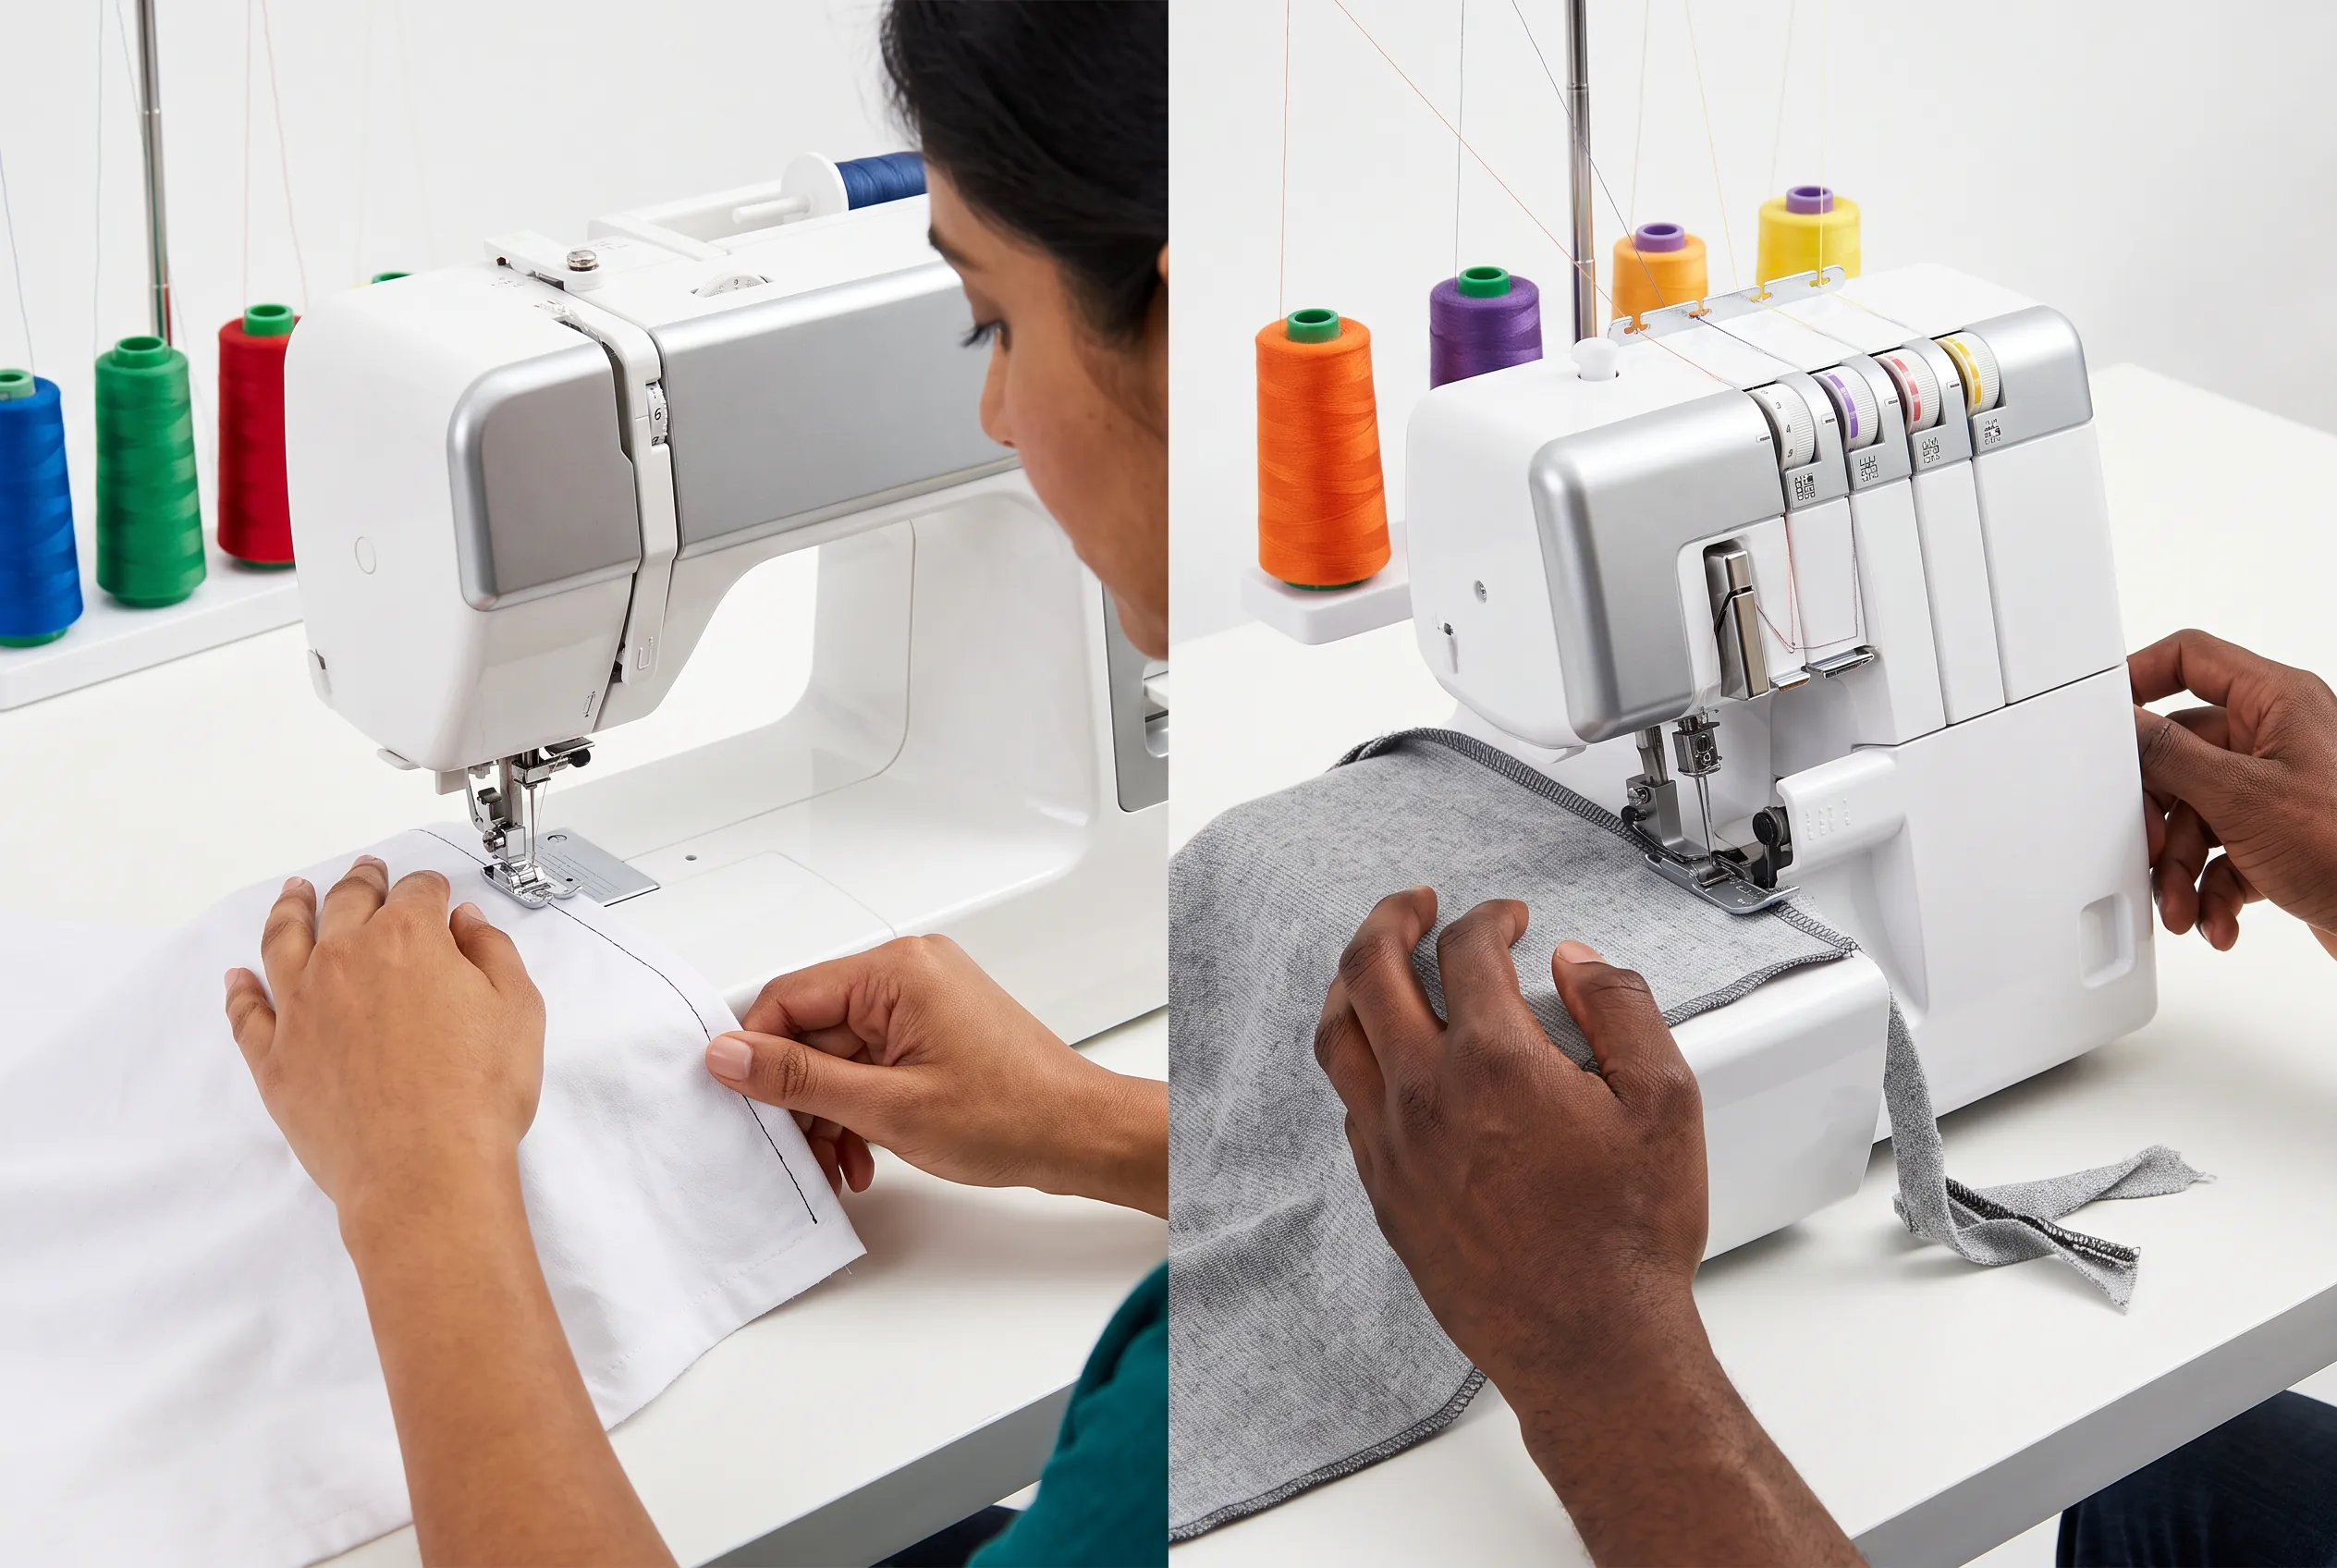
What Causes Fabric to Not Feed Through a Sewing Machine?
Fabric stops feeding when the mechanical grip system between your presser foot and feed dogs fails. The feed dogs (those metal teeth under your needle) must rise, grip the fabric, pull it forward, then drop and reset, if any part of this cycle breaks down, your fabric won’t move.
The most common culprits include:
- Lowered feed dogs, many machines have a drop-feed lever for free-motion quilting that accidentally gets switched
- Lint and thread buildup, accumulated debris physically blocks feed dog movement
- Incorrect presser foot pressure, too light and there’s no grip, too heavy and friction stops movement
- Zero stitch length setting, tells the machine not to advance fabric between stitches
- Worn or damaged feed dog teeth, smooth or broken teeth can’t grip fabric properly
- Wrong needle or thread for fabric weight, creates drag that overpowers the feed mechanism
- Timing issues, feed dogs and needle must coordinate; if timing is off, fabric jams
Choose cleaning and adjustment first if: your machine was working recently and the problem started suddenly. Choose professional repair if: you’ve cleaned everything, checked all settings, and the feed dogs still don’t move or move unevenly.
How to Fix Fabric Feed Dogs Not Moving
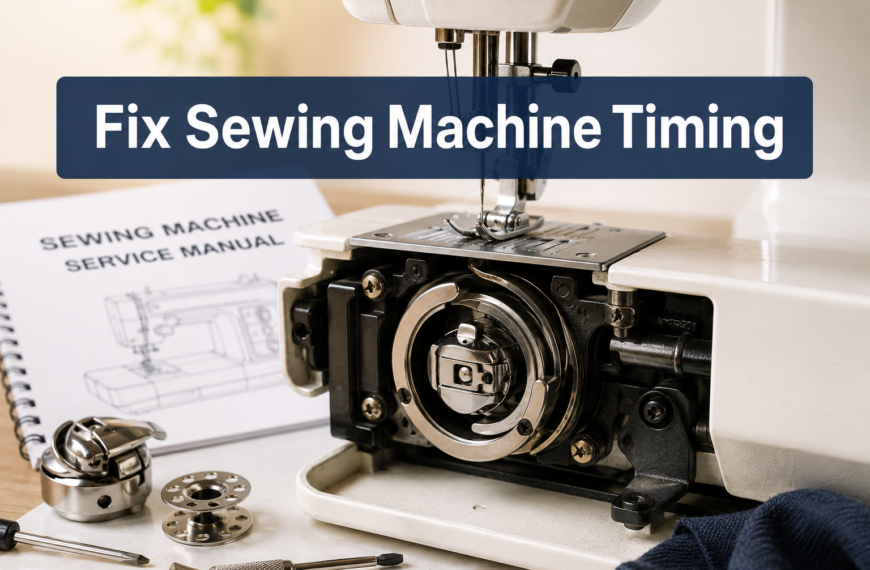
Feed dogs that don’t move at all usually indicate either a switched-off mechanism or a mechanical failure. Start by checking the drop-feed control, this lever, button, or dial (location varies by brand) raises and lowers the feed dogs for different sewing techniques.
Step-by-step fix:
- Locate your drop-feed control, check near the free-arm, on the back of the machine, or in the stitch selection panel (consult your manual)
- Ensure feed dogs are in “up” position, you should see the metal teeth poking through the throat plate holes
- Remove the throat plate, unscrew or pop off the metal plate around your feed dogs
- Clean thoroughly, use a stiff brush to remove all lint from feed dog teeth and the cavity below
- Manually test movement, turn the handwheel slowly and watch feed dogs rise and fall through their cycle
- Check for obstructions, look for broken needle pieces, thread tangles, or fabric scraps jamming the mechanism
- Oil if needed, some machines require oil on feed dog pivot points (check your manual first)
Common mistake: Assuming feed dogs are “up” when they’re actually raised but not high enough. Feed dog height is adjustable on many machines, if teeth barely peek through the plate, they won’t grip fabric effectively.
If feed dogs still don’t move after cleaning and checking the drop-feed control, the drive mechanism (gears or belt connecting the motor to feed dogs) may be broken. This requires professional repair.
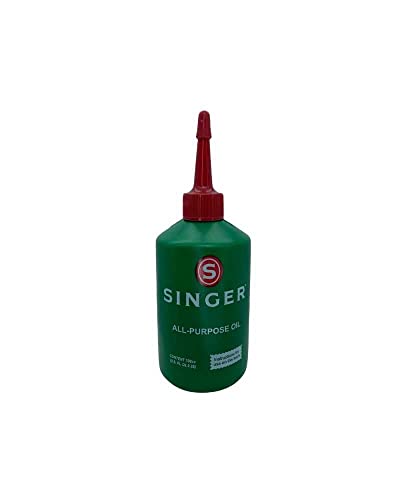

KEEPS MACHINES RUNNING SMOOTH - Crystal-clear, non-staining light oil (ISO VG-10) made from highly refined mineral oil; odorless, resists gumming; quiets hook/bobbin, shafts & bearings.

Liberty Oil comes in a 4-fluid-oz bottle with a stainless steel needle tip dispenser. Because it is premium quality 100% clear non-staning oil it easily outperforms all other oils on the market.
Difference Between Feed Dog Problems and Tension Problems
Feed dog issues and tension problems both cause fabric bunching, but they create distinctly different symptoms. Feed problems stop fabric movement entirely or make it advance unevenly, while tension problems let fabric feed normally but create loops, puckers, or thread nests.
Feed dog problem symptoms:
- Fabric doesn’t move at all when you sew
- Fabric moves in jerks or stops mid-seam
- One side of fabric feeds faster than the other
- Needle sews in place, creating thread buildup in one spot
- You have to manually pull fabric through (never do this, it breaks needles)
Tension problem symptoms:
- Fabric feeds smoothly but stitches look wrong
- Loops of thread appear on top or bottom of fabric
- Seam puckers or gathers even though fabric moved through
- Thread breaks frequently
- Bobbin thread pulls to the top or vice versa
Quick test: Set your machine to a straight stitch with normal settings and place fabric under the presser foot without threading the machine. Lower the presser foot and run the machine. If fabric moves smoothly, your feed system works, the problem is tension. If fabric doesn’t move, you have a feed issue.
Why Does My Fabric Bunch Up Instead of Feeding Smoothly?
Fabric bunching happens when the feed dogs advance material faster than the presser foot releases it, or when uneven pressure causes one layer to move while another stays put. This creates accordion-like gathers instead of smooth feeding.
Primary causes of bunching:
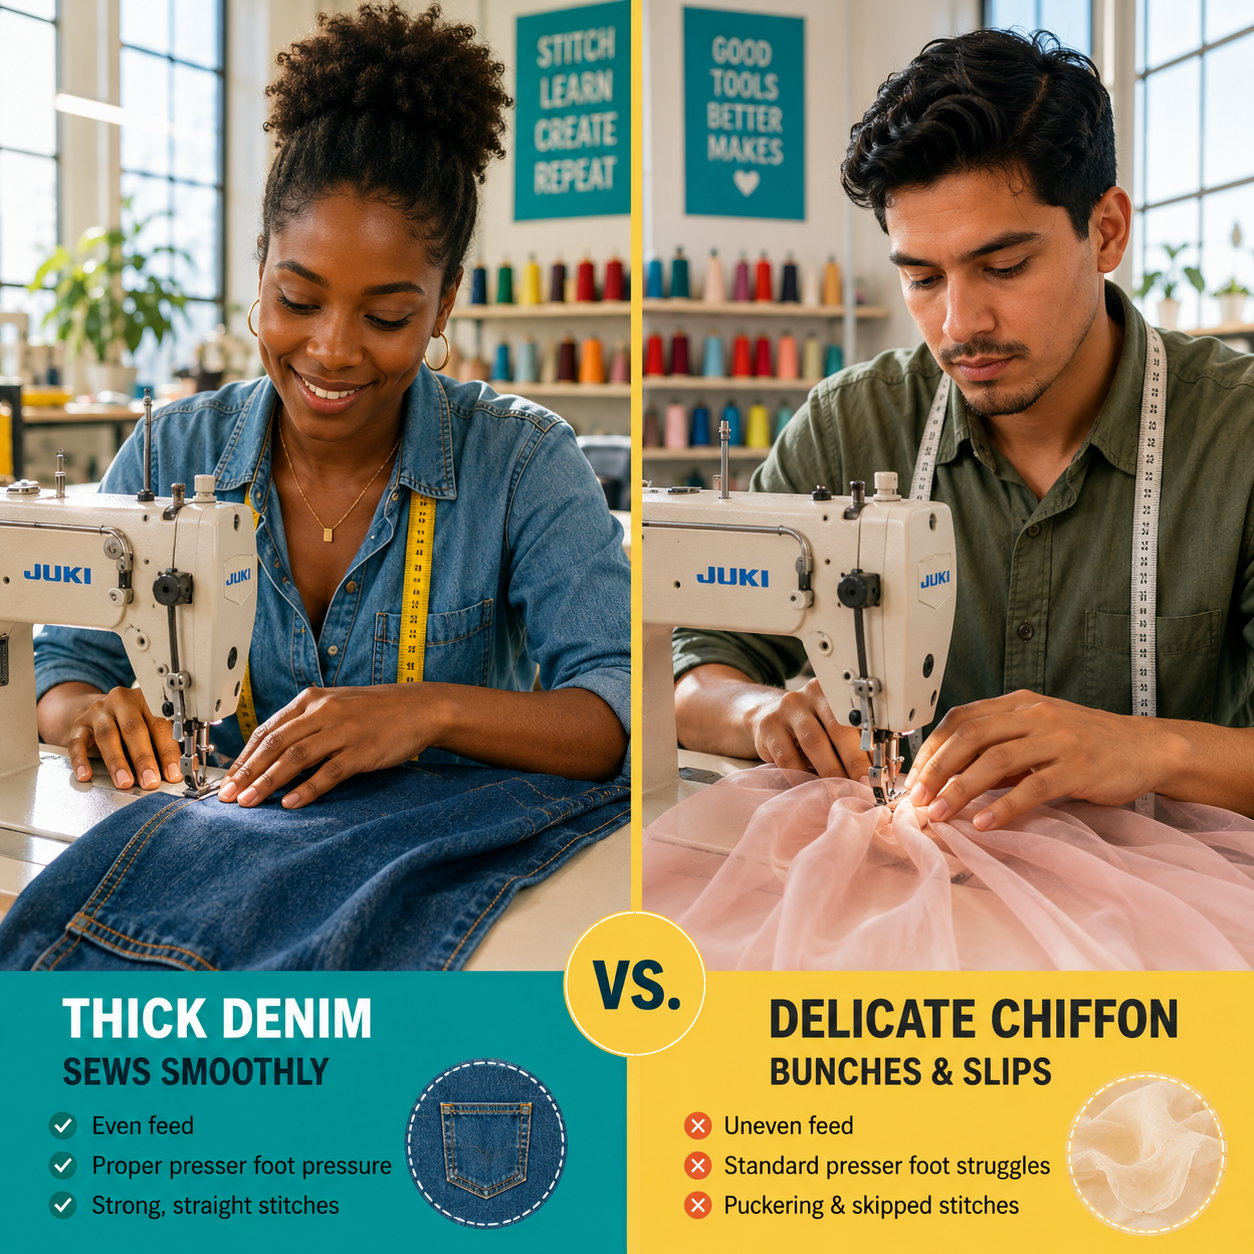
Presser foot pressure too high, excessive downward force creates friction that resists the feed dogs’ forward motion. Delicate fabrics like silk, chiffon, or lightweight cotton bunch easily under standard pressure settings meant for denim or canvas.
Mismatched feed and fabric weight, heavy-duty feed dogs designed for upholstery fabric will aggressively grab and bunch lightweight materials. Conversely, standard feed dogs may slip on heavy fabrics, causing uneven feeding that looks like bunching.
Sticky or damaged throat plate, scratches, burrs, or adhesive residue on the metal plate create drag points where fabric catches and bunches instead of gliding smoothly.
Walking foot needed, when sewing multiple layers or slippery fabrics, the top layer often feeds slower than the bottom, creating bunching. A walking foot (even-feed foot) adds top feed dogs that grip the upper layer.
Fix for bunching: Reduce presser foot pressure by 1-2 settings, switch to a straight-stitch throat plate for woven fabrics, or add tissue paper under delicate materials to give feed dogs better grip without bunching the actual fabric.
How Much Does It Cost to Repair Sewing Machine Feed Mechanism?
Professional feed mechanism repair typically costs $50-150 depending on the problem severity and your machine type. Basic cleaning and adjustment runs $50-75, while replacing feed dog assemblies or drive gears costs $100-150 plus parts.
Cost breakdown by repair type:
- Professional cleaning and tune-up: $50-75 (includes feed dog cleaning, timing check, lubrication)
- Feed dog replacement: $80-120 (parts $20-40, labor $60-80)
- Drive gear or belt replacement: $100-150 (parts $30-60, labor $70-90)
- Timing adjustment: $60-100 (labor-intensive, requires specialized knowledge)
- Complete feed mechanism rebuild: $150-250 (vintage or high-end machines)
When to DIY vs. hire a pro:
DIY if: Feed dogs are clogged with lint, presser foot pressure needs adjustment, drop-feed lever is stuck, or you need to replace a throat plate. These fixes cost $0-25 in supplies and take 15-30 minutes.
Hire a pro if: Feed dogs don’t move after cleaning, gears sound stripped or grinding, timing is off (needle hits feed dogs or bobbin case), or you have a computerized machine with error codes related to feeding.
Money-saving tip: Many sewing machine dealers offer free diagnostics. Get a quote before committing, sometimes a $60 cleaning solves what you thought was a $150 repair.

YICBOR COVER PLATE FEED DOG COVER XC6063021

Compatibility: This feed dog accessory is specifically designed to fit Singer 1408, 1409, 2250, 2263, 2273, 8280, 1507, and Butterfly JH5205, 5823A, JH8230A, 8330A, JHK15-65A sewing machines. Ensure a perfect fit for seamless sewing operations.

Standard Needle Plate + Rubber Feed Dog Kit For Industrial 1-Needle Lockstitch Sewing Machines;
Fabric Not Feeding Evenly on One Side Only
One-sided feeding problems indicate uneven pressure distribution or damaged feed components on one side of the mechanism. The fabric advances normally on one edge but drags or stops on the other, creating diagonal seams or fabric that veers off course.
Causes of one-sided feed failure:
Bent or damaged throat plate, if the metal plate around your feed dogs is warped, one side sits lower and creates more friction. Check for dents, bends, or uneven screw tightening.
Worn feed dog teeth on one side, feed dogs have multiple rows of teeth; if one row is worn smooth from years of use, that side loses grip. Examine teeth closely for height differences or smooth spots.
Uneven presser foot, a bent presser foot applies more pressure on one side. Place the foot on a flat surface and check if it rocks or sits unevenly.
Debris under one side of throat plate, lint or thread buildup under one edge of the plate creates a height difference that affects feeding.
Misaligned feed dog assembly, if the entire feed dog mechanism is slightly rotated or shifted, one side rises higher than the other.
Quick fix: Remove the throat plate and clean thoroughly, then check that it reinstalls perfectly flat with all screws evenly tightened. Test with scrap fabric. If the problem persists, place a business card under the dragging side of your fabric as you sew, if this helps, your feed dogs or presser foot are uneven and need professional adjustment.
Is My Presser Foot Pressure Too Low for Fabric Feeding?
Insufficient presser foot pressure is a common but overlooked cause of feeding failure. The presser foot must press fabric firmly against the feed dogs to create enough friction for the teeth to grip and advance material, too little pressure and fabric just sits there while feed dogs spin uselessly underneath.
Signs your pressure is too low:
- Fabric doesn’t move even though feed dogs are rising and falling normally
- Lightweight fabrics feed fine but medium-weight materials stall
- You can easily pull fabric out from under the presser foot while sewing
- Stitches are inconsistent lengths because fabric slips between advances
- Machine makes normal sounds but fabric stays in place
How to adjust presser foot pressure:
Most machines have a dial, screw, or numbered setting on top of the machine or behind the face plate. Higher numbers = more pressure. Standard setting is usually “3” or “4” on a 1-5 scale.
Pressure guidelines by fabric:
- Delicate (chiffon, organza, silk): 1-2 (light pressure prevents marking)
- Lightweight (cotton lawn, voile): 2-3 (moderate pressure)
- Medium-weight (quilting cotton, linen): 3-4 (standard pressure)
- Heavy (denim, canvas, upholstery): 4-5 (maximum pressure for grip)
- Multiple layers or quilts: 4-5 (high pressure keeps layers together)
Common mistake: Setting pressure too low after sewing delicate fabric, then forgetting to increase it for your next project. Always reset to standard pressure (3-4) between projects unless you’re intentionally working with specialty materials.
If you’ve maxed out pressure and fabric still won’t feed, the problem isn’t pressure, check feed dog height, cleanliness, and whether they’re actually moving.
Best Sewing Machine for Beginners With Feeding Issues
Beginners struggling with feeding problems should choose machines with adjustable presser foot pressure, visible feed dog controls, and strong low-speed torque. The Brother CS7000X, Janome 2212, and Singer Heavy Duty 4452 consistently rank highest for reliable feeding across fabric types.
Key features that prevent feeding problems:
Adjustable presser foot pressure, lets you match pressure to fabric weight without guesswork. Look for clearly marked dials or numbered settings, not vague “light/medium/heavy” indicators.
Drop-feed lever in obvious location, prevents accidentally lowering feed dogs. Best placement is on the machine’s front or side, not hidden under the free arm.
Metal feed dogs with sharp teeth, plastic feed dogs (found on budget machines under $100) wear smooth quickly and lose grip. Metal teeth last decades.
Strong motor at low speeds, cheap machines lose torque at slow speeds, causing feed dogs to stall under thick fabric. Test by sewing denim at the slowest speed setting.
Wide feed dog coverage, feed dogs should span most of the throat plate width for even feeding. Narrow feed dogs (common on compact machines) cause one-sided feeding issues.
Top beginner-friendly models for feeding reliability:
- Brother CS7000X ($180-220), adjustable pressure, metal feed dogs, clear drop-feed switch
- Janome 2212 ($200-250), mechanical simplicity, strong feeding, no computerized failures
- Singer Heavy Duty 4452 ($220-280), powerful motor, handles thick fabrics, metal internal frame
- Juki HZL-F300 ($400-500), box-feed system (industrial-style feeding), nearly jam-proof
Avoid if you’re prone to feeding issues: Ultra-compact machines under 10 pounds (weak motors), machines with plastic internal frames (flex causes misalignment), and computerized models with touch-screen-only pressure adjustment (harder to troubleshoot).
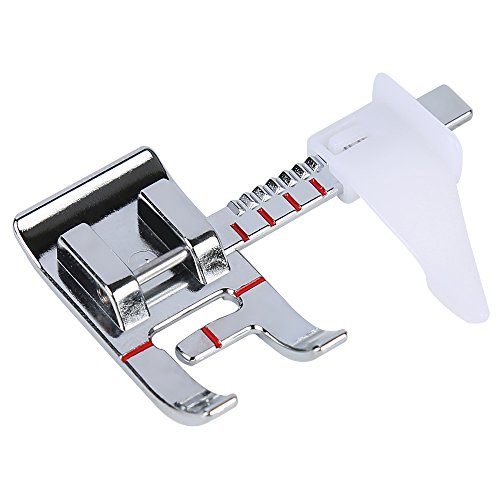
High Quality Premium Sewing Feet From Smart H.

Common Mistakes When Fabric Won’t Feed Through Machine
Most feeding failures come from operator error, not machine defects. These mistakes account for roughly 70% of “my machine won’t feed” complaints in sewing forums and repair shops.
Top mistakes and fixes:
1. Stitch length set to zero
Many sewers accidentally bump the stitch length dial to 0 while adjusting other settings. At zero, the machine sews in place without advancing fabric. Always check stitch length first, it should be 2.5-3.0mm for standard sewing.
2. Presser foot not fully lowered
If the presser foot lever is in the middle position (not fully down), there’s no pressure on fabric. Feed dogs move but fabric doesn’t. Push the lever all the way down until you feel it lock.
3. Sewing with feed dogs lowered
After free-motion quilting or darning, forgetting to raise feed dogs is extremely common. Check that teeth are visible through the throat plate before troubleshooting anything else.
4. Wrong presser foot for the job
Using a zipper foot for regular seams reduces fabric contact with feed dogs. Using an embroidery foot (with its wide opening) on slippery fabric lets material slide around. Match foot to task.
5. Threading machine with presser foot down
Threading with the foot lowered doesn’t engage the tension discs properly, creating drag that overpowers the feed mechanism. Always raise the presser foot before threading.
6. Pulling or pushing fabric
“Helping” the machine by pulling fabric through throws off the feed timing and can bend needles or damage feed dogs. Let the machine do all the work, just guide fabric direction gently.
7. Not cleaning after every project
Lint accumulates shockingly fast, especially with flannel, fleece, or dark fabrics. Clean the feed dog area after every 4-6 hours of sewing, not just when problems appear.
Quick diagnostic: Before assuming your machine is broken, run through this 30-second checklist: presser foot down, feed dogs up, stitch length above 0, correct presser foot attached, machine threaded with foot up. This catches 80% of feeding “problems.”
Do I Need to Replace Feed Dogs or Just Clean Them?
Most feed dog problems resolve with thorough cleaning, replacement is only necessary when teeth are physically damaged, worn smooth, or the mechanism is broken. Clean feed dogs first; if they still don’t grip after cleaning, inspect for damage.
When cleaning is enough:
- Feed dogs are covered in lint, thread, or fabric fibers
- Machine hasn’t been cleaned in 6+ months
- Feed dogs move but fabric slips (teeth are clogged, not worn)
- You can see buildup between the teeth
- Machine worked fine until recently
Cleaning process:
Remove throat plate, brush feed dogs with a stiff brush (old toothbrush works), use compressed air to blow out the cavity below, wipe with a lint-free cloth, and vacuum the area with a small attachment.
When replacement is necessary:
- Teeth worn smooth, run your finger across feed dogs; if they feel flat instead of sharp, they can’t grip fabric
- Broken or missing teeth, visible damage to the metal teeth
- Feed dogs don’t rise, mechanism is broken, not just dirty
- Rust or corrosion, damaged metal that cleaning won’t fix
- Bent feed dog assembly, usually from a major jam or dropped machine
Replacement cost and difficulty:
Feed dog replacement parts cost $15-40 depending on brand. Installation difficulty varies wildly, some machines have user-replaceable feed dogs (remove two screws, swap parts, done in 10 minutes), while others require disassembling the entire lower mechanism (professional job).
Check your manual for feed dog replacement instructions. If it’s not covered, the manufacturer expects professional installation. Brands with easy DIY replacement include Singer (most models), Brother (mechanical models), and vintage all-metal machines. Computerized machines and Berninas typically require professional service.
Decision rule: If your machine is under 5 years old and feed dogs look damaged, check warranty coverage first. If it’s over 10 years old and you’re facing a $100+ repair, consider whether that money is better spent on a new machine.
Why Does Thick Fabric Feed But Thin Fabric Doesn’t?
When thick materials feed smoothly but thin fabrics stall, the problem is usually insufficient presser foot pressure or feed dog teeth that are too aggressive for delicate materials. Heavy fabric has enough body to maintain contact with feed dogs even with light pressure, while thin fabric needs precise pressure balance.
Physics of thin fabric feeding:
Thin fabrics like chiffon, organza, or lightweight cotton have less structural integrity. If presser foot pressure is too light, the fabric lifts slightly as the needle rises, breaking contact with feed dogs. If pressure is too heavy, the fabric gets pressed so flat that feed dog teeth can’t grip the weave.
Solutions for thin fabric feeding:
Increase presser foot pressure slightly, counterintuitively, thin fabrics often need more pressure than you’d expect, just not as much as denim. Try setting 3 instead of 2.
Use a straight-stitch throat plate, the small round hole (instead of the wide zigzag opening) supports thin fabric right up to the needle, preventing it from being pushed down into the gap.
Add a layer of tissue paper, place tissue paper under thin fabric to give feed dogs something substantial to grip. Tear away after sewing.
Switch to a single-hole needle plate, similar to straight-stitch plate; reduces the gap where thin fabric can get pushed down.
Use a walking foot, adds top feed that grips thin fabric from above, preventing the “fabric lifts with needle” problem.
Check needle size, a too-large needle creates big holes that weaken thin fabric’s structure. Use size 60/8 or 70/10 for lightweight materials.
Common mistake: Assuming thin fabric needs light pressure because it’s delicate. Delicate doesn’t mean “barely touch it”, it means “use smooth, even pressure without marking the fabric.” Test on scraps to find the sweet spot.
How to Adjust Feed Dog Height on Sewing Machine
Feed dog height adjustment changes how far the teeth rise above the throat plate, affecting their ability to grip fabric. Most home machines have fixed-height feed dogs, but many vintage machines and some modern models offer adjustment screws or dials.
Check if your machine has adjustable feed dogs:
Look for a small screw or dial on the underside of the machine (remove the bottom cover plate) or near the feed dog mechanism. Your manual will explicitly mention “feed dog height adjustment” if the feature exists. Common on vintage Singer, Kenmore, and industrial machines; rare on modern computerized models.
When to adjust feed dog height:
- Raise feed dogs if: fabric won’t feed even with maximum presser foot pressure, you’re sewing very thick materials, or teeth barely show through throat plate
- Lower feed dogs if: thin fabrics are getting snagged or marked by aggressive teeth, or you’re switching between thick and thin projects frequently
Adjustment process (for machines with this feature):
- Remove the throat plate and bobbin case for access
- Locate the feed dog height screw (usually on the feed dog drive shaft)
- Loosen the lock screw slightly
- Turn the adjustment screw clockwise to raise, counterclockwise to lower (usually 1/4 turn increments)
- Manually turn the handwheel to check feed dog height at the top of their cycle
- Ideal height: feed dog teeth should rise 0.8-1.0mm above the throat plate for standard sewing
- Tighten the lock screw and test with scrap fabric
If your machine doesn’t have adjustable feed dogs:
You can’t change the height, but you can compensate with presser foot pressure, throat plate choice, and specialty feet. Most modern machines are designed with optimal feed dog height for general sewing, if fabric won’t feed, the problem is usually elsewhere (pressure, cleanliness, or fabric technique).
Warning: Incorrect feed dog height adjustment can cause timing problems or damage. If you’re unsure, mark the original screw position with a marker before adjusting, so you can return to factory settings.
Is Fabric Not Feeding a Sign I Need Professional Repair?
Fabric feeding failure requires professional repair when basic troubleshooting doesn’t restore function, when mechanical parts are visibly damaged, or when the machine makes unusual sounds. About 20-30% of feeding problems need professional attention; the rest resolve with cleaning and adjustment.
DIY troubleshooting checklist (try these first):
- Clean feed dogs and throat plate thoroughly
- Check that feed dogs are raised (drop-feed lever in correct position)
- Verify stitch length is above 0
- Adjust presser foot pressure up and down
- Test with different fabric weights
- Replace needle (bent needles cause feeding issues)
- Check that presser foot is fully lowered
- Remove and reinstall throat plate (may have been misaligned)
Go to a professional if:
Feed dogs don’t move at all, after confirming they’re raised and clean, non-moving feed dogs indicate a broken drive belt, stripped gears, or disconnected linkage. This is internal mechanical failure.
Grinding or clicking sounds, unusual noises from the feed mechanism suggest broken gears or loose parts that will worsen if you continue sewing.
Feed dogs move but timing is off, if feed dogs rise when the needle is down (they should rise when needle is up), timing adjustment is needed. This requires specialized tools and knowledge.
Visible damage, cracked feed dog assembly, broken teeth, bent throat plate that won’t sit flat, or damaged presser foot bar.
Error codes on computerized machines, many modern machines have sensors that detect feed mechanism problems and display error codes. Don’t ignore these.
Intermittent feeding with no pattern, if fabric feeds randomly (sometimes works, sometimes doesn’t) with no correlation to settings or fabric type, there’s likely an internal electrical or mechanical fault.
Professional repair cost vs. machine value:
If repair estimates exceed 40-50% of your machine’s current value, consider replacement instead. A $150 repair on a $200 machine doesn’t make financial sense unless it has sentimental value or specialized features you can’t replace.
Average repair turnaround: 1-2 weeks for standard shops, 3-4 weeks during busy seasons (September-November for holiday sewing). Ask about loaner machines if you need to keep sewing.
FAQ
Why won’t my sewing machine feed fabric even though the feed dogs are moving?
The presser foot pressure is likely too low, or the feed dog teeth are worn smooth and can’t grip fabric. Increase pressure by 1-2 settings and test. If that doesn’t work, inspect feed dog teeth for wear, they should feel sharp, not smooth.
Can I sew without feed dogs working?
Yes, but only for free-motion techniques where you manually move the fabric. For regular sewing, you need functioning feed dogs to create even stitches. Attempting to manually pull fabric through with broken feed dogs will result in broken needles and damaged timing.
How often should I clean my sewing machine feed dogs?
Clean feed dogs after every 4-6 hours of sewing, or after each project with lint-heavy fabrics like flannel or fleece. Monthly cleaning is sufficient for occasional sewers. Visible lint buildup means you’ve waited too long.
What’s the difference between feed dogs and a walking foot?
Feed dogs are the built-in metal teeth under your fabric that advance material from below. A walking foot is an attachment that adds feed teeth on top of fabric, gripping from above. Use a walking foot when sewing multiple layers, slippery fabrics, or matching plaids.
Why does my fabric feed crooked instead of straight?
Crooked feeding usually means uneven presser foot pressure, a bent needle, or you’re unconsciously pulling fabric to one side. Check that your throat plate is installed straight and that the presser foot sits level. Guide fabric gently without pulling.
Can low-quality thread cause feeding problems?
Yes. Cheap thread sheds more lint that clogs feed dogs, and it can break and tangle in the feed mechanism. Thread breakage also creates drag that overpowers the feed system. Use quality thread appropriate to your fabric weight.
Do I need to oil my feed dogs?
Only if your manual specifically instructs it. Modern machines are often self-lubricating or use synthetic lubricants that shouldn’t be mixed with oil. Over-oiling attracts lint and causes more problems than it solves. Check your manual first.
Why does fabric feed fine at slow speed but not at high speed?
At high speeds, insufficient presser foot pressure becomes more apparent because there’s less time for feed dogs to grip between stitches. Increase pressure slightly. Also check that your machine’s motor has adequate torque, weak motors lose power at high speeds.
Can a bent needle cause feeding problems?
Absolutely. A bent needle hits the throat plate or bobbin case at the wrong angle, creating drag and vibration that disrupts the feed mechanism’s timing. Replace needles every 8-10 hours of sewing or after hitting a pin.
What does it mean if only the bottom layer of fabric feeds?
The top layer is slipping while the bottom layer (in contact with feed dogs) advances normally. This is common with slippery fabrics, multiple layers, or when sewing knits. Use a walking foot to feed both layers evenly, or pin more frequently.
Is it normal for feed dogs to be slightly uneven in height?
No. Feed dog teeth should be uniform in height across all rows. Uneven height causes one-sided feeding problems. If teeth are visibly different heights, the feed dog assembly is worn or damaged and needs replacement.
Can I adjust feed dog height on a Brother sewing machine?
Most modern Brother home machines have fixed-height feed dogs that aren’t user-adjustable. Industrial Brother models and some vintage machines have adjustment screws. Check your specific model’s manual, if height adjustment isn’t mentioned, the feature doesn’t exist on your machine.
Conclusion
Fabric feeding problems frustrate sewers at every skill level, but the vast majority resolve with simple fixes that take less than 15 minutes. Start with the basics: clean your feed dogs thoroughly, verify they’re raised and moving, check that stitch length isn’t set to zero, and adjust presser foot pressure to match your fabric weight. These four steps solve about 80% of feeding issues without any tools or technical knowledge.
When basic troubleshooting doesn’t work, systematically check for worn feed dog teeth, bent or misaligned throat plates, incorrect presser foot selection, and whether your fabric type requires specialty techniques like tissue paper support or a walking foot. Remember that different fabrics need different approaches, what works for denim won’t work for chiffon.
Your next steps:
- Clean your feed dog area right now, even if you’re not having problems, prevention beats repair
- Test your presser foot pressure with scrap fabric in different weights to learn your machine’s sweet spots
- Keep a maintenance log noting when you last cleaned and oiled your machine
- Invest in a walking foot if you frequently sew multiple layers or slippery fabrics
- Build a relationship with a local sewing machine repair technician before you need emergency service
Most importantly, don’t force fabric through your machine or continue sewing when feeding fails. Stop, diagnose the problem methodically, and fix it properly. Your machine will last decades longer, your stitches will be more consistent, and you’ll spend more time creating and less time troubleshooting.