


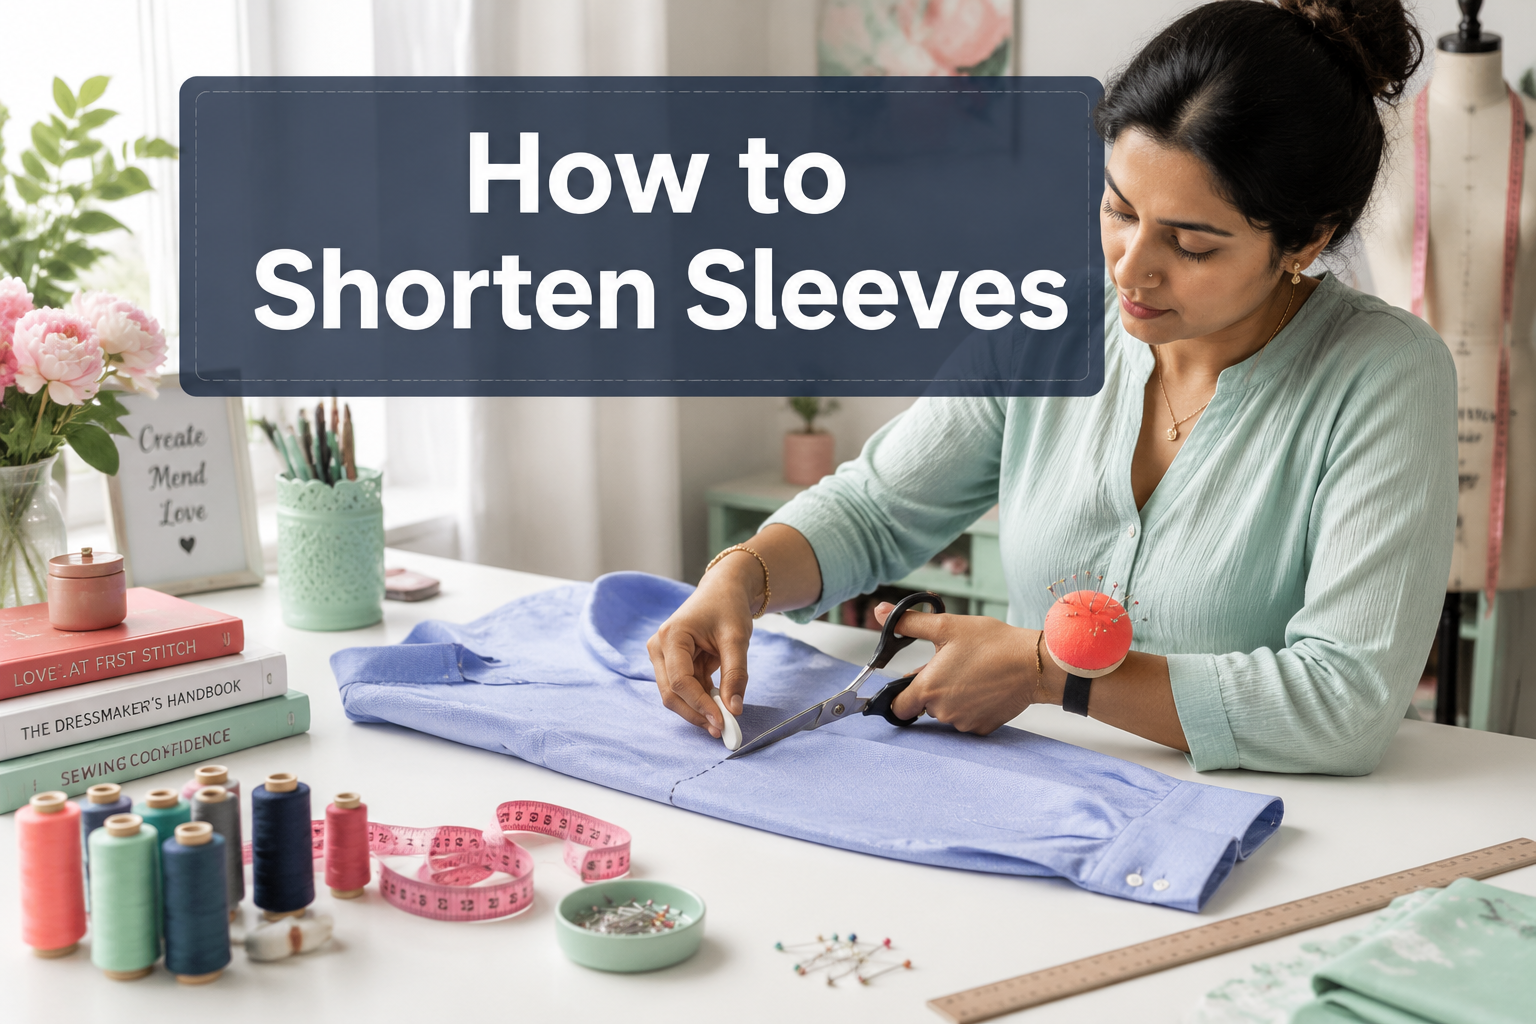
Sleeves that dangle past your fingertips can ruin an otherwise perfect garment. Learning how to shorten sleeves transforms ill-fitting shirts, dresses, and jackets into wardrobe staples that actually fit your body. Whether you’re working with a formal dress shirt, a casual tee, or even a leather jacket, shortening sleeves is one of the most practical alterations you can master at home.
Key Takeaways
- Shorten from the cuff, not the shoulder to preserve the garment’s original fit and armhole shape
- No-sew methods like fabric tape and safety pins work temporarily but aren’t suitable for permanent alterations
- Tailor costs typically range from $15-40 per sleeve depending on fabric type and cuff complexity
- Keep the original cuff by removing it, shortening the sleeve body, then reattaching the cuff at the new length
- Different fabrics require different techniques: woven fabrics are beginner-friendly, while knits need special handling to prevent unraveling
- Essential tools include fabric scissors, measuring tape, pins, seam ripper, and a sewing machine (or needle and thread for hand-sewing)
- Common mistakes include measuring only one arm, cutting before pinning, and forgetting to account for hem allowance
- Uneven sleeves can be fixed by measuring from the shoulder seam down rather than from the cuff up
What Is the Easiest Way to Shorten Sleeves Without Sewing?
The easiest no-sew method for shortening sleeves is using fabric hemming tape or fashion tape to create a temporary fold. Simply fold the sleeve to your desired length, press it flat with an iron, and secure the fold with double-sided fabric tape or hemming tape designed for clothing. This method works best for casual wear and lasts through one or two washes before needing reapplication.
For a slightly more secure no-sew option, try these techniques:
- Safety pins from the inside: Fold the sleeve and pin from the interior so pins don’t show
- Fabric glue: Apply washable fabric glue along the folded hem (test on a hidden area first)
- Sleeve bands or cuffs: Roll sleeves and secure with decorative elastic bands or button tabs
- Iron-on hem tape: Creates a more permanent bond than regular fabric tape and withstands multiple washes
Important limitation: None of these methods work well for formal occasions or garments that need to look professionally finished. They’re best for testing a length before committing to cutting, or for temporary fixes on casual clothing. If you plan to wear the garment regularly, a proper sewn hem will always look better and last longer.

【Quantity & Packaging Notice】 2 Rolls Included in 1 Pack: Contains 1 roll of 1/4" x 49ft and 1 roll of 1/2" x 49ft (Total 98FT). Note: Both rolls are securely packed together in a single package—please check the inner layer if you think any roll is missing. Specifically designed for clothing repair, folding, and crafting. Whether used for temporary or daily repairs, these sizes ensure efficient and convenient use.

Temporary Hold, Not a Permanent Bond: This no sew hemming tape for pants holds a hem, seam or zipper in place until you sew it. Peel it off before every wash — ⚠️ it is not made to survive a wash cycle⚠️
How to Shorten Sleeves on a Dress Shirt vs T-Shirt
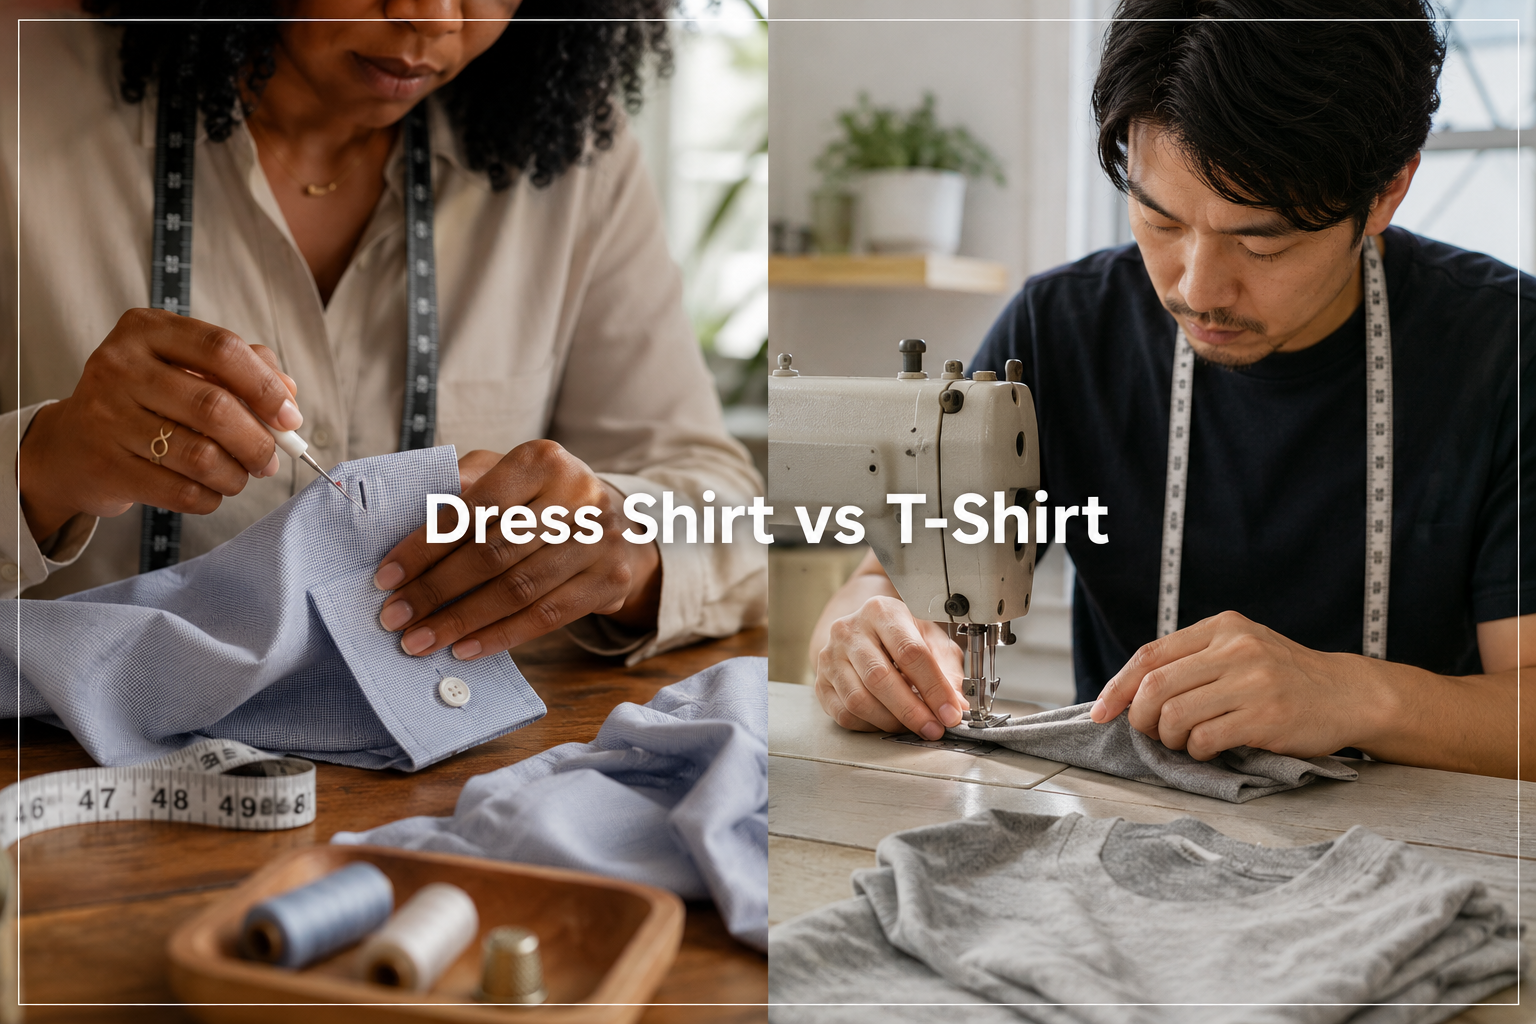
Dress shirts and t-shirts require completely different approaches because of their construction. Dress shirts typically have a separate cuff that must be removed and reattached, while t-shirts have a simple hemmed edge that you can shorten directly.
For dress shirts with cuffs:
- Use a seam ripper to carefully remove the cuff from the sleeve
- Measure how much length to remove from the sleeve body
- Cut the excess fabric, leaving a seam allowance (typically ½ inch)
- Reattach the cuff to the shortened sleeve using a straight stitch
- Press the seam flat with an iron
For t-shirts:
- Try on the shirt and mark the desired length with pins or chalk
- Add 1 inch below your mark for the hem allowance
- Cut straight across both sleeves
- Fold the raw edge under ¼ inch, press, then fold another ¾ inch
- Stitch close to the inner folded edge using a stretch stitch or zigzag
The dress shirt method preserves the original cuff and maintains a professional appearance, while the t-shirt method creates a new hem. T-shirts are more forgiving for beginners because knit fabric doesn’t fray as readily as woven fabric, though you’ll still want to use the right stitch to maintain stretch. For more guidance on machine settings, check out our sewing machine tension guide.

How Much Does It Cost to Get Sleeves Shortened by a Tailor?
Professional tailors typically charge between $15 and $40 per garment to shorten sleeves, with the price varying based on fabric type, construction complexity, and whether the garment has functional cuffs or buttons. Simple t-shirt or casual shirt sleeves usually fall on the lower end ($15-20), while dress shirts with attached cuffs cost $20-30, and suit jackets or leather garments can reach $35-40 or more.
Factors that affect tailoring costs:
- Fabric type: Delicate fabrics like silk or materials that require special handling (leather, sequined fabric) cost more
- Cuff complexity: Functional buttonholes and working cuffs add $10-15 to the base price
- Lining: Lined sleeves (common in blazers and coats) require additional work
- Rush service: Expect to pay 50-100% more for same-day or next-day alterations
- Geographic location: Urban areas and high-end boutiques charge premium rates
When tailoring is worth the cost: If you’re working with an expensive garment, unfamiliar fabric, or lack confidence in your sewing skills, professional alteration is a smart investment. A $30 tailoring fee is reasonable insurance against ruining a $200 jacket. However, for everyday casual wear or practice projects, doing it yourself saves money and builds valuable skills.
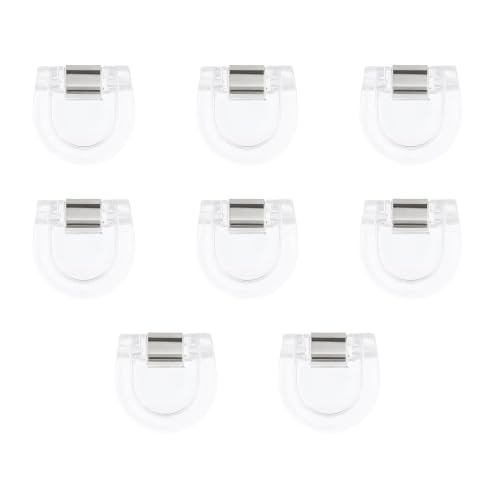
【Instant Hemming Solution】 No more long pants tripping you up. These Adjustable Hem Clips for Pants provide a quick, no-sew way to shorten trousers or jeans instantly, ensuring a perfect fit for any footwear without permanent alterations.

This new T-Shirt Quilt Kit provides an easy solution for beginners and a quick option for experienced quilters. With 12 two-sided blocks design options are endless. Kit includes all the materials to make a reversible t-shirt quilt measuring 44 x 58 .*24 pre-cut 14-1/2 fusible interfacing squares*12 pre-cut 14-1/2 batting squares*Marking/centering template with multiple sizes* Press cloth 16 x 16 *7-1/2 total yards Sash-in-a-Dash*6 yards matching...

Preserve special memories by transforming favorite T-shirts into a quick-and-easy quilt using June Tailor's Sash-in-a-Dash. Simply tuck T-shirt blocks into the Sash-in-a-Dash casing and sew! Kit includes: 16'' square press cloth 14-1/2" square template to center and mark t-shirts 24 pre-cut 14-1/2" squares of fusible interfacing 12 pre-cut 14-1/2" squares of batting 7-1/2 yds of black Sash-In-A-Dash casing to join blocks together and 6 yds of black binding. Finished size: 44" x 58".
Can You Shorten Sleeves Without Cutting Them?
Yes, you can shorten sleeves without cutting by using the “false hem” or “tuck and stitch” method, which creates a permanent fold inside the sleeve that can be released later if needed. This technique works best on casual garments and children’s clothing that may need to be lengthened as the wearer grows.
How to create a false hem:
- Turn the garment inside out
- Fold the sleeve up to the desired shorter length
- Pin the fold in place from the inside
- Hand-stitch or machine-stitch the folded fabric to the sleeve lining or interior seam allowances (not through to the outside)
- Press the fold to set it
This method preserves the original sleeve length and hem, making it reversible. The downside is that it adds bulk inside the sleeve, which can feel uncomfortable or look lumpy on thin fabrics. It works best on:
- Children’s clothing that will be let out as they grow
- Vintage or heirloom garments you don’t want to permanently alter
- Garments you’re unsure about (test the length before committing to cutting)
Not recommended for: Formal wear, thin or lightweight fabrics, or situations where the bulk of the folded fabric would be visible or uncomfortable. For permanent alterations on adult clothing, cutting and hemming produces a cleaner, more professional result.
How to Shorten Sleeves That Are Too Long But Keep the Cuff
Keeping the original cuff while shortening sleeves produces the most professional-looking result and is the standard method for dress shirts, blouses, and button-down garments. The process involves removing the cuff, shortening the sleeve body, then reattaching the cuff at the new length.
Step-by-step process:
- Remove the cuff: Use a seam ripper to carefully separate the cuff from the sleeve, working slowly to avoid tearing the fabric
- Measure and mark: Try on the garment and mark where you want the cuff to sit, then add ½ inch for seam allowance
- Cut the sleeve: Cut straight across both sleeves at your marked line
- Prepare the edge: If the fabric frays easily, finish the raw edge with a zigzag stitch or serger
- Reattach the cuff: Pin the cuff to the sleeve with right sides together, matching seams and distributing any ease evenly
- Stitch: Sew with a ½-inch seam allowance, backstitch at the beginning and end
- Press: Press the seam toward the sleeve body and give the cuff a final press
Pro tip: Before removing the cuff, take a photo or make a note of how it was originally attached (which side faced up, how the seam allowances were pressed). This reference helps you reattach it correctly. Also, if your cuff has pleats or gathers in the sleeve, mark their position with pins before removing the cuff so you can recreate the same look.
Common mistake to avoid: Don’t remove fabric from the cuff itself. Always shorten from the sleeve body. Altering the cuff changes its proportions and rarely looks right.
What Tools Do I Need to Shorten Sleeves at Home?
The essential tools for shortening sleeves at home include fabric scissors, measuring tape, straight pins, a seam ripper, marking chalk or fabric pen, an iron, and either a sewing machine or hand-sewing needles with thread. Most sewing enthusiasts already own these basics, making sleeve alteration an accessible project without special equipment.
Essential tools:
- Fabric scissors: Sharp shears that cut cleanly through fabric (never use paper scissors)
- Measuring tape: Flexible tape for accurate measurements around curves
- Straight pins: To hold fabric in place while sewing
- Seam ripper: For removing existing cuffs or stitches without damaging fabric
- Marking tool: Tailor’s chalk, fabric pen, or even a sliver of soap for marking cut lines
- Iron and ironing board: Pressing seams makes a huge difference in the finished appearance
- Sewing machine or hand-sewing needles: A machine is faster, but hand-sewing works fine for simple hems
Optional but helpful:
- Hem gauge: A small ruler with a sliding marker for consistent hem measurements
- Rotary cutter and mat: For cutting perfectly straight lines on multiple layers
- Point turner: Helps create crisp corners when reattaching cuffs
- Serger or pinking shears: To finish raw edges and prevent fraying
If you’re experiencing issues with your machine while working on this project, our guide on why sewing machines jam can help troubleshoot common problems. Regular sewing machine maintenance also prevents frustrating interruptions during alterations.

Ultra Sharp Fabric Scissors: Wteehn sewing scissors for fabric cutting is made of high-quality galvanized manganese, exquisite hand-forged craftsmanship, high hardness, sharp, durable, rust-proof and not easy to deform, and can cleanly cut thick materials such as multi-layer fabrics and leather

#1 SHARPEST FABRIC SCISSORS THAT LAST – Tired of tailor scissors that go dull? Unlike sewing shears that may look similar, our right-hand scissors heavy duty are made from Forged Premium High-Carbon Steel, which makes them stronger, sharper and more durable. The Precision-Ground Blades slice smoothly through fabric, leather, and the toughest materials, delivering Top-Notch Performance.

DURABLE Strong Stainless Steel Rust Resistant Blades: Forging press manufacturing process enables high-density steel that makes 5 times harder than normal stainless steel and are smoother cutting.
Is Shortening Sleeves Worth It or Should I Buy a New Shirt?
Shortening sleeves is worth it when the garment fits well everywhere else, has sentimental value, or costs more than $50-75 new. If a shirt is perfect through the shoulders, chest, and length but just has long sleeves, alteration makes more sense than replacing the entire garment. However, if multiple areas need adjustment or the shirt was inexpensive to begin with, buying a better-fitting replacement may be more practical.
When alteration makes sense:
- The garment cost more than $50-75 originally
- It fits perfectly except for sleeve length
- It’s a unique piece you can’t easily replace (vintage, custom, discontinued)
- You’re building sewing skills and want the practice
- The fabric quality is excellent
- It has sentimental value
When buying new makes more sense:
- The shirt needs multiple alterations (sleeves, waist, shoulders)
- It was inexpensive (under $20-30)
- The fabric is worn, faded, or damaged
- You can find a better-fitting alternative easily
- You don’t enjoy sewing and would pay $20+ for professional alteration
Cost-benefit calculation: If professional alteration costs $20-30 and you can buy a new, better-fitting shirt for $35, replacement might win. But if the garment cost $100+ and fits everywhere else, spending $25 on alteration or an hour doing it yourself preserves a valuable piece.
How to Fix Sleeves That Are Uneven After Shortening
Uneven sleeves after shortening usually result from measuring from the cuff up rather than from a fixed reference point like the shoulder seam. To fix uneven sleeves, measure both sleeves from the shoulder seam to the hem, identify which one is longer, and trim the longer sleeve to match the shorter one.
Step-by-step fix:
- Measure from the shoulder seam: Place the measuring tape at the shoulder seam (where the sleeve attaches to the body) and measure straight down to the hem on both sleeves
- Identify the difference: Note how much longer one sleeve is than the other
- Mark the longer sleeve: Using the shorter sleeve measurement as your guide, mark where the longer sleeve should end
- Remove the hem: Use a seam ripper to open the hem on the longer sleeve
- Trim and re-hem: Cut the excess fabric and create a new hem to match the shorter sleeve
- Press and compare: Press both sleeves and try on the garment to verify they’re now even
Prevention tips for next time:
- Always measure from the shoulder seam down, not from the cuff up
- Mark both sleeves while wearing the garment, using a friend to help mark evenly
- Measure multiple times before cutting
- Cut conservatively (you can always trim more, but you can’t add fabric back)
- Use a ruler or hem gauge to ensure your hem width is consistent all the way around
Why measuring from the shoulder matters: The shoulder seam is a fixed reference point, while cuffs can shift, stretch, or sit at different positions. Measuring from the shoulder ensures both sleeves are truly the same length from the same starting point.
Can You Shorten Sleeves on a Leather Jacket?
Yes, you can shorten sleeves on a leather jacket, but it requires specialized tools and techniques because leather doesn’t behave like fabric. Leather can’t be pressed with a hot iron, doesn’t fray but shows every needle hole permanently, and requires a heavy-duty needle and strong thread. For expensive leather jackets, professional alteration is strongly recommended unless you have experience working with leather.
Challenges specific to leather:
- Permanent needle holes: Every stitch creates a hole that won’t close if you need to redo it
- No pressing: You can’t use an iron to set seams or create crisp folds
- Thickness: Leather is much thicker than fabric, requiring a leather needle and heavy-duty machine
- No forgiveness: Mistakes are difficult or impossible to hide
If you decide to do it yourself:
- Use a leather needle (size 90/14 or 100/16) in your machine
- Use polyester or nylon thread (stronger than cotton)
- Increase stitch length to 3-4mm to avoid perforating the leather
- Use clips instead of pins (pins leave permanent holes)
- Test on a scrap piece of leather first
- Consider using leather glue to secure hems instead of sewing
When to hire a professional: If the jacket cost more than $200, has a lining, or you’ve never worked with leather before, take it to a leather specialist or experienced tailor. Professional alteration typically costs $40-75 for leather sleeves but protects your investment. A mistake on leather is permanent and can ruin an expensive garment.
Do I Shorten Sleeves From the Shoulder or the Cuff?
Always shorten sleeves from the cuff end, not from the shoulder, to preserve the garment’s fit through the upper arm and armhole. Removing length from the shoulder disrupts the entire sleeve cap, changes how the sleeve hangs, and can create puckering or pulling across the chest and back. The cuff end is designed to be adjustable, making it the correct place for length alterations.
Why shortening from the shoulder doesn’t work:
- Disrupts the sleeve cap shape (the curved part that fits into the armhole)
- Changes the position of the elbow ease or darts
- Alters how the sleeve hangs and moves with your arm
- Requires re-setting the entire sleeve, which is advanced tailoring
- Can cause the armhole to fit incorrectly
The only exception: If a sleeve is dramatically too long (more than 4-5 inches) and also too wide through the upper arm, a professional tailor might remove some length from both the shoulder and the cuff. This is an advanced alteration that restructures the entire sleeve and should only be done by experienced tailors.
Standard practice: For length adjustments up to about 3-4 inches, always work from the cuff. This maintains the original fit and drape while simply shortening the overall length. It’s the method used by professional tailors for routine sleeve alterations.
Common Mistakes When Hemming Sleeves Yourself
The most common mistakes when hemming sleeves include measuring only one arm, cutting before thoroughly pinning and testing the length, forgetting to add seam allowance, and using the wrong stitch type for the fabric. These errors can result in uneven sleeves, lengths that are too short, frayed edges, or hems that pull and pucker.
Top mistakes and how to avoid them:
1. Measuring only one arm: Your arms may be slightly different lengths. Always measure and mark both sleeves while wearing the garment.
2. Cutting before pinning: Pin the hem, try on the garment, and live with it for a few minutes before cutting. Walk around, bend your arms, check the length in different positions.
3. Forgetting seam allowance: When you mark your desired length, add at least ½ inch below that mark for the hem. Cutting exactly at your mark leaves no fabric to fold under.
4. Using a straight stitch on knits: Knit fabrics need stretch. Use a zigzag, stretch stitch, or double needle to prevent the hem from popping when the fabric stretches. If you’re experiencing skipped stitches, it might be time to change your needle.
5. Not finishing raw edges: On woven fabrics that fray, finish the raw edge with a zigzag stitch, serger, or pinking shears before hemming.
6. Inconsistent hem width: Use a hem gauge or ruler to mark the same hem width all the way around the sleeve. Inconsistent width creates a wavy, unprofessional hem.
7. Skipping the press: Pressing at each stage (after cutting, after folding, after stitching) is what makes the difference between a homemade look and a professional finish.
8. Rushing: Take your time. Measure twice, cut once. A few extra minutes of preparation prevents hours of frustration trying to fix mistakes.
How to Shorten Sleeves on Knit Fabric Without It Unraveling
Knit fabric requires special handling when shortening sleeves because it stretches and can develop runs if cut edges aren’t properly finished. The key is using a stretch stitch or zigzag stitch that moves with the fabric, and finishing raw edges immediately after cutting to prevent unraveling.
Best methods for knit sleeves:
Method 1: Double-fold hem with stretch stitch
- Cut the sleeve to length plus 1 inch for hem allowance
- Fold the raw edge under ¼ inch and press lightly (use low heat on knits)
- Fold again ¾ inch and pin
- Stitch using a stretch stitch, zigzag, or double needle, stretching the fabric slightly as you sew
- Press lightly with a pressing cloth
Method 2: Serged or zigzag edge with single fold
- Cut the sleeve to length plus ½ inch
- Immediately finish the raw edge with a serger or wide zigzag stitch
- Fold the finished edge up ½ inch and pin
- Stitch with a stretch stitch close to the finished edge
- Press lightly
Method 3: Twin needle hem (most professional look)
- Cut and fold as in Method 1
- Use a twin needle (also called double needle) on your machine
- Stitch from the right side, creating two parallel lines of stitching
- The underside automatically creates a zigzag that allows stretch
Important tips for knits:
- Use a ballpoint or stretch needle to avoid snagging the fabric
- Don’t pull or stretch the fabric as you sew (let the feed dogs do the work)
- Test your stitch on a scrap first to ensure it stretches without breaking
- Use polyester or poly-cotton thread, which has more give than 100% cotton
- Press with low heat and a pressing cloth to avoid melting or flattening the knit texture
For more help with stitch problems on different fabrics, see our guide on common stitch problems.
Is Sleeve Shortening Good for Beginners or Do I Need Experience?
Sleeve shortening is an excellent beginner project, especially on casual garments like t-shirts or simple button-down shirts without cuffs. The basic skills required (measuring, cutting straight lines, sewing a straight seam) are foundational techniques that every sewist needs to learn. Starting with an inexpensive garment you don’t mind practicing on builds confidence before moving to more valuable pieces.
Beginner-friendly sleeve projects:
- T-shirts and casual knit tops (forgiving fabric, simple hems)
- Basic cotton button-down shirts without cuffs
- Children’s clothing (smaller scale, less fabric to manage)
- Pajama tops or loungewear
Projects that need more experience:
- Dress shirts with functional cuffs and buttonholes
- Suit jackets or blazers with lining
- Leather or suede garments
- Delicate fabrics like silk or chiffon
- Garments with decorative sleeve details (lace, embroidery, trim)
Skills you’ll build: Shortening sleeves teaches you how to measure accurately, use a seam ripper, create even hems, work with different fabric types, and troubleshoot common problems. These skills transfer to countless other sewing projects.
How to start: Choose an old shirt you don’t wear anymore or buy an inexpensive one from a thrift store. Practice the entire process from start to finish. If you make mistakes, you haven’t ruined anything valuable, and you’ve learned what not to do next time. Once you’ve successfully shortened sleeves on two or three practice garments, you’ll have the confidence to work on pieces you actually care about.
For more beginner-friendly guidance, explore our sewing tips collection.
Frequently Asked Questions
How long does it take to shorten sleeves?
Shortening simple t-shirt sleeves takes 15-30 minutes per garment. Dress shirts with cuffs that need to be removed and reattached typically take 45-60 minutes. Your first attempt will take longer as you learn the process, but with practice, most sleeve alterations become quick projects.
Can I shorten sleeves by hand without a sewing machine?
Yes, you can hand-sew sleeve hems using a slip stitch or running stitch. Hand-sewing takes longer (30-60 minutes per sleeve) but produces professional results if your stitches are small and even. Use a backstitch for strength on seams that will experience stress. Learn more about backstitching techniques.
What if I cut the sleeves too short?
If you’ve cut sleeves too short, your options are limited. You can add a decorative cuff or band in a contrasting fabric, create a rolled-cuff look that’s permanently stitched, or convert long sleeves to three-quarter or short sleeves intentionally. Prevention is key: always cut conservatively and test the length before cutting.
Do I need to wash the garment before shortening sleeves?
Yes, always wash and dry the garment before altering it. Fabric can shrink during the first wash, and you want to work with the final, post-shrinkage dimensions. Washing also removes sizing or finishes that might affect how the fabric handles.
Can you shorten sleeves on a coat or jacket with lining?
Yes, but it’s more complex because you must shorten both the outer fabric and the lining separately, then reattach them. This is an intermediate-level project. The lining is typically cut slightly shorter than the outer fabric to prevent it from hanging below the hem.
What’s the difference between hemming and shortening sleeves?
Hemming refers to finishing the raw edge of fabric by folding and stitching it. Shortening means removing length from the sleeve. When you shorten sleeves, you typically cut off excess fabric and then create a new hem at the shorter length.
Should sleeves hit at the wrist bone or below it?
For dress shirts, sleeves should end at the wrist bone or about ½ inch below it, allowing ¼-½ inch of cuff to show beyond a jacket sleeve. For casual shirts, anywhere from mid-wrist to just covering the wrist bone works. Personal preference and current style trends also influence ideal sleeve length.
Can you shorten sleeves with elastic cuffs?
Yes, but you must remove the elastic cuff, shorten the sleeve body, then reattach the cuff. The process is similar to working with a regular cuff. Don’t try to shorten by cutting through the elastic itself, as this ruins the cuff’s function.
What needle should I use for different sleeve fabrics?
Use universal needles (size 80/12 or 90/14) for cotton and linen, ballpoint or stretch needles for knits, denim needles for heavy fabrics, and leather needles for leather or vinyl. Using the correct needle prevents skipped stitches and fabric damage. Check our guide on needle selection for more details.
How do you shorten sleeves on a sweater?
Sweaters require special care because the knit construction can unravel. For machine-knit sweaters, use a sewing machine with a stretch stitch or serger to secure the cut edge before hemming. For hand-knit sweaters, you may need to carefully unravel rows to the desired length and bind off the stitches, or use a technique called “steeking” to cut and finish the edge.
Can alterations be undone if I change my mind?
No-sew methods (fabric tape, pins) are fully reversible. Once you’ve cut fabric, you can’t make sleeves longer again, though you can potentially shorten them more if needed. This is why testing the length thoroughly before cutting is so important.
Do you need to match thread color exactly?
For visible stitching, match thread color as closely as possible. For hems where stitching won’t show (like inside a folded hem), close enough is fine. Keep a selection of basic thread colors (black, white, navy, brown, gray) for most projects, and buy specific colors for visible topstitching on special garments.
Conclusion
Learning how to shorten sleeves opens up your wardrobe to garments that would otherwise hang unworn because of poor fit. Whether you’re working with a casual t-shirt, a formal dress shirt with cuffs, or even a leather jacket, the techniques covered in this guide give you the knowledge to tackle sleeve alterations with confidence.
Start with simple projects on inexpensive garments to build your skills. Remember to always shorten from the cuff end, measure from the shoulder seam for accuracy, and test your length thoroughly before cutting. Use the appropriate needle and stitch type for your fabric, finish raw edges to prevent fraying, and press at every stage for professional results.
Your next steps:
- Choose a practice garment from your closet or a thrift store
- Gather your essential tools (scissors, measuring tape, pins, seam ripper, iron)
- Follow the appropriate method for your fabric type
- Take your time, measure twice, and cut once
- Press your finished hem for a polished look
With practice, sleeve shortening becomes a quick, routine alteration that saves money and extends the life of your favorite garments. The skills you develop transfer to countless other sewing projects, making this an investment in your overall sewing ability.
For more guidance on sewing techniques and machine maintenance, explore our beginner sewing resources and keep building your skills one project at a time.


