


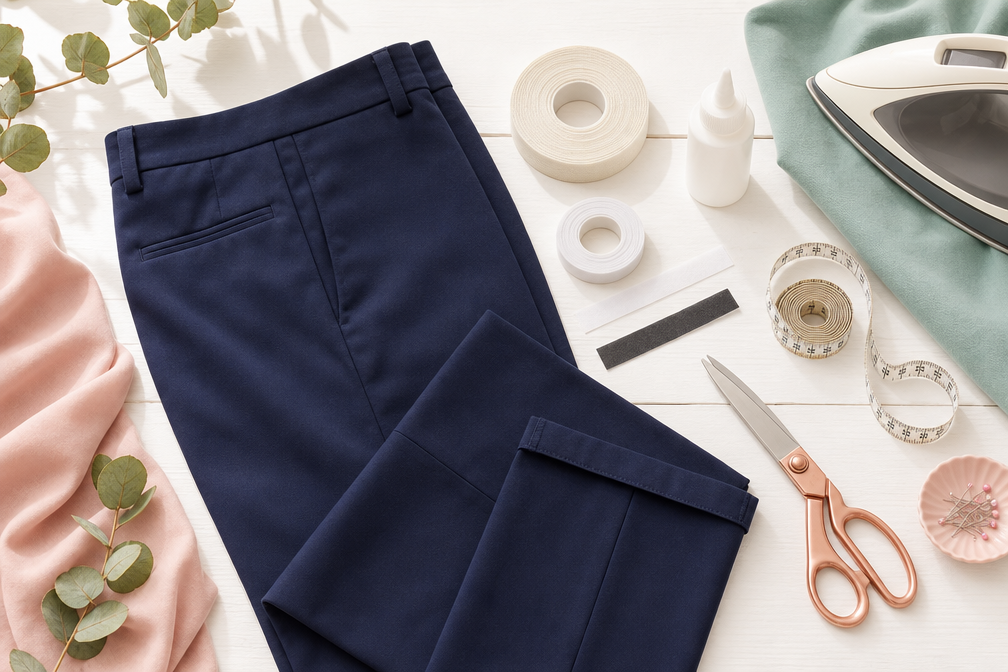
Quick Answer: You can hem pants without a sewing machine using iron-on hem tape, fabric glue, or hand-stitching techniques. Iron-on tape offers a quick, washable solution for most fabrics and costs $3-8 per roll, while fabric glue works best for temporary hems or delicate materials. Both methods take 10-20 minutes and require no special skills.
Key Takeaways
- Iron-on hem tape creates permanent, washable hems in 10-15 minutes and works on cotton, polyester, and most dress pants
- Fabric glue offers flexibility for delicate fabrics and temporary hems but may not withstand heavy washing
- Hand-stitching with a blind stitch provides the most durable no-machine option and takes 20-30 minutes
- Hem tape costs range from $3-8 per roll and can hem 3-5 pairs of pants depending on width
- Denim and thick fabrics require heavy-duty hem tape or multiple layers of standard tape for secure bonding
- Proper preparation (washing, measuring, pressing) determines whether your no-sew hem lasts through multiple washes
- Common mistakes include skipping fabric prep, using too much heat, and not allowing proper cooling time
- Dress pants respond best to iron-on tape because of their smooth weave and lighter weight
- Fixing failed hems is simple: remove old adhesive with rubbing alcohol and reapply fresh tape or glue
- Beginners should start with iron-on tape on cotton or polyester pants before attempting denim or hand-stitching
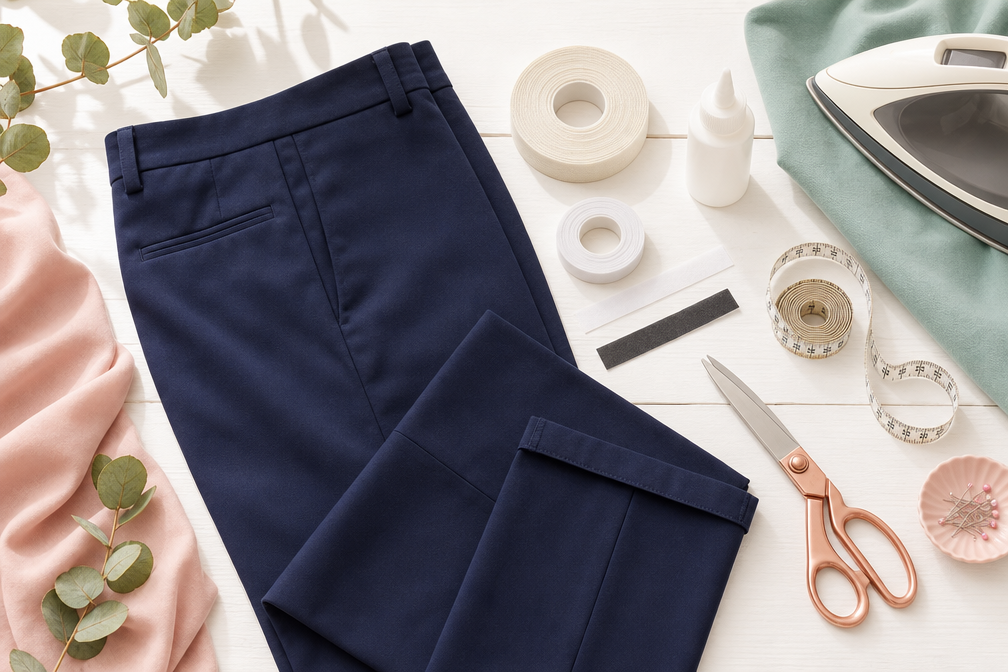
What Does Hemming Pants Mean?
Hemming pants means shortening the leg length by folding and securing the bottom edge of the fabric to create a clean, finished look. The hem prevents fraying and gives pants a polished appearance at your desired length.
Traditional hemming involves sewing a fold into the fabric, but modern no-sew methods use adhesives or tape to achieve the same result. The hem typically measures 1-2 inches in depth, though this varies based on fabric weight and personal preference.
When you need to hem pants:
- New pants are too long for your height
- You want to wear different shoe heights (flats vs. heels)
- Pants have stretched or shrunk after washing
- You’re altering thrifted or hand-me-down clothing
- Professional tailoring isn’t in your budget
The term “hemming” specifically refers to the bottom edge of pants, but the same techniques apply to skirts, dresses, and sleeves.
How to Hem Pants Without a Sewing Machine: Step-by-Step Methods
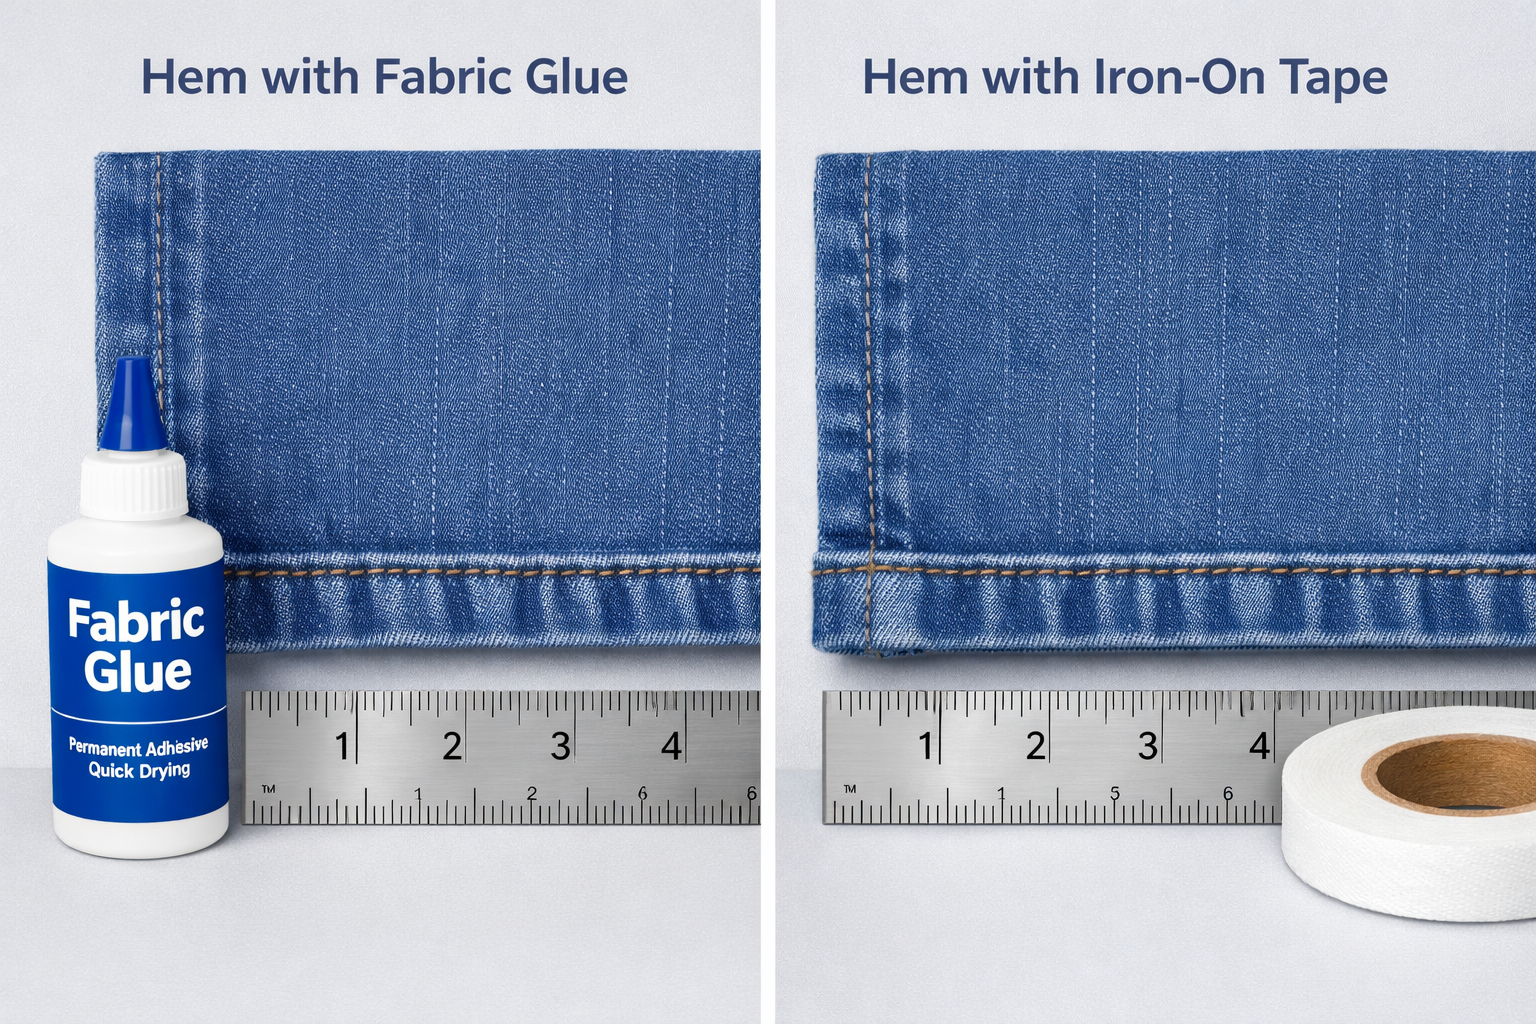
Learning how to hem pants without a sewing machine starts with choosing the right method for your fabric type and skill level. The three main approaches are iron-on hem tape, fabric glue, and hand-stitching, each offering different benefits for durability and ease.

1 roll of Iron-on, double-sided adhesive for easily and permanently hemming garments and home décor without any sewing

Heavy-Duty Hold
Iron-On Hem Tape Method
Best for: Cotton, polyester, dress pants, and most medium-weight fabrics
- Wash and dry your pants first to prevent shrinkage after hemming
- Try on the pants with the shoes you’ll wear most often
- Mark the desired length with chalk or pins, adding 1.5 inches for the fold
- Cut the excess fabric in a straight line across both legs
- Fold the hem to your marked length and press with an iron to create a crease
- Insert hem tape between the folded fabric layers
- Press with a hot iron (cotton setting, no steam) for 10-15 seconds per section
- Let cool completely for 5 minutes before moving the pants
Pro tip: Work on a hard surface like an ironing board, not a soft bed or couch. The firm backing helps the adhesive bond properly.
Fabric Glue Method
Best for: Delicate fabrics, temporary hems, or fabrics that can’t handle high heat
- Prepare the pants following steps 1-5 above
- Apply a thin line of fabric glue along the inside of the fold
- Press the hem firmly and hold for 30 seconds
- Use clips or pins to hold the hem in place while drying
- Let dry for 24 hours before wearing or washing
Choose permanent fabric glue (like Aleene’s Fabric Fusion) for long-lasting results, or washable school glue for temporary hems you plan to remove later.
Hand-Stitching Method
Best for: Those who want the most durable no-machine option
The blind stitch (also called slip stitch) creates nearly invisible stitching from the outside:
- Prepare the hem as in steps 1-5 of the tape method
- Thread a needle with thread matching your pants color
- Knot the end and start inside the fold
- Catch 1-2 threads from the outer fabric
- Move the needle through the folded edge for 1/4 inch
- Repeat this pattern around the entire hem
- Knot securely inside the fold when finished
This method takes 20-30 minutes per pant leg but creates a professional finish that lasts as long as machine stitching.
How to Hem Dress Pants Without a Sewing Machine
Dress pants respond exceptionally well to no-sew hemming because their smooth, lightweight fabric bonds easily with iron-on tape. The key difference from casual pants is the need for a crisp, professional finish that looks tailored.
For dress pants specifically:
- Use lightweight hem tape (5/8 inch width) designed for dress fabrics
- Press the original crease line back into the legs after hemming to maintain the sharp front pleat
- Measure both legs separately since dress pants often have slight length variations
- Test on the inseam first where any mistakes won’t show
Wool dress pants require a pressing cloth between the iron and fabric to prevent shine marks. Set your iron to the wool setting and use short 5-second presses rather than one long press.
Common dress pant fabrics and their best hemming method:
| Fabric Type | Best Method | Iron Setting | Special Notes |
|---|---|---|---|
| Wool | Iron-on tape | Wool/Low | Use pressing cloth |
| Polyester | Iron-on tape | Medium | Works perfectly |
| Cotton blend | Iron-on tape | Cotton/High | Most forgiving |
| Silk | Fabric glue | N/A | Heat damages silk |
| Linen | Iron-on tape | Linen/High | Pre-wash to prevent shrinkage |
For suit pants or formal trousers, consider having a tailor do one leg first so you can match their work on the second leg using no-sew methods.

Effortless Garment Transformation: Transform your garments effortlessly with our hem tape for pants and dress! This 3/4 INCH x 32 Yards - 60GSM iron hem tape is suitable for quick, temporary fixes

No Sew Hemming Tape: Iron required, requires heat to activate. Transform your garments effortlessly with our hem tape for pants and dress
How to Hem Jeans Without Sewing by Hand
Hemming jeans without sewing requires heavy-duty materials because denim is thicker and stiffer than most fabrics. Standard hem tape often fails on jeans, leading to frustration for beginners who don’t realize they need specialized products.
The jeans-specific approach:
Use heavy-duty hem tape (like Dritz Heavy Weight or HeatnBond UltraHold) that’s specifically rated for denim. Regular hem tape won’t create a strong enough bond through thick fabric layers.
Modified technique for denim:
- Wash jeans in hot water and dry on high heat before hemming to maximize shrinkage
- Mark and cut as with other pants, but add 2 inches for the fold (jeans need a deeper hem for durability)
- Use two layers of heavy-duty tape for extra strength
- Press with maximum heat (cotton setting) for 20-25 seconds per section
- Apply pressure with your full body weight on the iron
- Let cool for 10 minutes before handling
Alternative for very thick jeans: Create a cuff instead of a traditional hem. Fold the excess length up twice (creating a visible cuff) and secure the inside layer with fabric glue or a few hand stitches. This vintage look works especially well on boyfriend jeans or relaxed fits.
The original hem technique preserves the factory-distressed edge: Cut the pants to length, flip the original hem inside, and glue or tape it in place. This keeps the authentic worn look at the bottom.

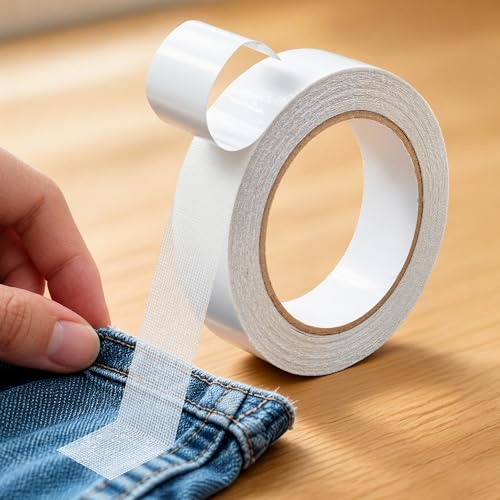
STRONG & RESIDUE-FREE ADHESIVE: This hem tape for pants features a PE fabric mesh core for durability, coated with an ultra-strong adhesive. The strong double sided tape heavy duty holds powerfully yet removes cleanly without damaging surfaces. Offers temporary hold with the freedom to adjust whenever you want

【High Adhesive Double Sided Fabric Tape】Ultra-Strength Adhesion,The high adhesive sticky made of reinforced fiber mesh with high-strength adhesive, can grips fabrics securely (curtains,hems,crafts) ,long-lasting effect,double sided fabric tape yet peels off smoothly without damaging surfaces or leaving sticky traces.

CREATE CLEAN, PROFESSIONAL HEMS WITHOUT SEWING – Whether you're tailoring pants, adjusting curtains, or finishing a dress, this hem tape iron on design offers a quick, no-sew solution that saves time and delivers lasting results. Perfect for anyone seeking a stress-free hemming method with a polished finish.
Can You Hem Pants Permanently Without Sewing?
Yes, you can create permanent hems without sewing using high-quality iron-on hem tape or industrial-strength fabric glue. These methods produce bonds that withstand regular washing and wearing for years when applied correctly to appropriate fabrics.
Permanence factors:
- Fabric type: Natural fibers (cotton, linen) bond better than synthetics
- Adhesive quality: Premium brands (HeatnBond, Stitch Witchery) outlast budget options
- Application technique: Proper heat, pressure, and cooling time determine longevity
- Washing method: Cold water and air drying extend hem life compared to hot wash/dry cycles
Realistic expectations: Iron-on hems on dress pants and cotton fabrics regularly last 1-2 years with weekly washing. Jeans hemmed with heavy-duty tape typically last 6-12 months before needing reinforcement. Fabric glue hems vary widely (2 weeks to 6 months) depending on the product and fabric.
To maximize permanence:
- Wash pants inside-out in cold water
- Avoid fabric softener, which breaks down adhesives
- Air dry or use low heat in the dryer
- Re-press hems with an iron every 10-15 washes to reactivate the adhesive
For truly permanent results that match machine sewing, hand-stitching with a blind stitch remains the gold standard. It takes more time initially but never requires maintenance.
How to Hem Pants With Fabric Glue vs Iron-On Tape
Choosing between fabric glue and iron-on tape depends on your fabric type, how long you need the hem to last, and whether you can apply heat. Each method has distinct advantages that make it better for specific situations.
Fabric glue advantages:
- Works on heat-sensitive fabrics (silk, rayon, some synthetics)
- Allows repositioning within the first few minutes
- No special equipment needed beyond the glue bottle
- Better for curved hems or unusual shapes
- Creates flexible bonds that move with stretchy fabrics
Fabric glue disadvantages:
- Requires 24-hour drying time before wearing
- Less durable through repeated washing
- Can stiffen fabric if over-applied
- May yellow or darken over time on light fabrics
Iron-on tape advantages:
- Creates strong, washable bonds in 15 minutes
- Works on most common pant fabrics
- Produces consistent, even results
- Reactivates with heat if the hem loosens
- Widely available and inexpensive
Iron-on tape disadvantages:
- Requires an iron and firm pressing surface
- Can’t be used on heat-sensitive fabrics
- Difficult to remove if you make a mistake
- May create stiffness in the hem area
- Doesn’t work well on very thick or very thin fabrics
Choose fabric glue if: You’re hemming silk, rayon, or delicate vintage fabrics; you need to hem stretchy athletic pants; you’re creating a temporary hem for an event; you don’t own an iron.
Choose iron-on tape if: You’re hemming cotton, polyester, or linen pants; you want a hem that lasts through regular washing; you need results the same day; you’re working with dress pants or jeans.
For maximum durability, combine both methods: apply fabric glue first, let it dry, then reinforce with iron-on tape over the glued area.
Is Fabric Glue Strong Enough for Pant Hems?
Permanent fabric glue is strong enough for pant hems on lightweight to medium-weight fabrics when you use the right product and application technique. Industrial-strength formulas like Aleene’s Fabric Fusion, Beacon Fabri-Tac, or Tear Mender create bonds that hold through 20-30 wash cycles on cotton and polyester.
Strength factors:
The bond strength depends on fabric texture (smooth fabrics bond better than fuzzy ones), glue formula (permanent vs. washable), application thickness (thin layers work better than thick globs), and curing time (24-48 hours creates stronger bonds than the minimum drying time).
Real-world durability:
Fabric glue hems on dress pants typically last 2-4 months with weekly washing. Casual cotton pants hemmed with quality glue hold for 3-6 months. Jeans and heavy fabrics show the weakest results, often loosening after 4-8 washes.
When fabric glue isn’t strong enough:
- Heavy denim or canvas pants
- Work pants that experience friction and stress
- Children’s pants that get rough daily wear
- Athletic pants that go through frequent hot washes
Strengthening techniques:
Apply glue in a zigzag pattern rather than a straight line for more surface contact. Use fabric glue plus a few hand stitches at stress points (side seams). Let the glue cure for 48 hours instead of the minimum 24. Apply a second layer of glue after the first dries completely.
For pants you wear frequently, fabric glue works best as a temporary solution or as reinforcement for iron-on tape rather than as the sole hemming method.
Can You Wash Pants Hemmed With Tape?
Yes, you can wash pants hemmed with iron-on hem tape, and the hem will stay secure through dozens of wash cycles when you follow proper care instructions. Quality hem tape is specifically designed to withstand water, detergent, and moderate heat.
Washing guidelines for taped hems:
- Water temperature: Cold or warm water (not hot) preserves adhesive strength
- Wash cycle: Normal or delicate cycle; avoid heavy-duty settings
- Detergent: Standard liquid or powder; skip fabric softener
- Drying: Low to medium heat in the dryer, or air dry for longest hem life
- Frequency: Hems last longer with less frequent washing
Expected wash durability:
Premium hem tape (HeatnBond, Dritz) on cotton or polyester dress pants survives 40-60 washes before showing any loosening. Budget hem tape typically lasts 15-25 washes. Heavy-duty tape on denim holds for 20-30 washes. Lightweight tape on delicate fabrics may loosen after 10-15 washes.
Signs your hem needs attention:
- Corners or edges start to separate
- The hem feels loose when you tug gently
- You see gaps between the folded layers
- The hem looks puckered or uneven
Maintenance tips:
Turn pants inside-out before washing to reduce friction on the hem. Remove pants from the dryer while slightly damp and press the hem with an iron to reactivate the adhesive. Avoid overloading the washing machine, which creates excessive agitation. Hang pants to dry occasionally instead of using the dryer every time.
If a hem starts to loosen, simply re-press it with a hot iron for 10-15 seconds. The heat reactivates the adhesive and re-bonds the layers without needing new tape.
How Much Does Hemming Tape Cost?
Hemming tape costs between $3 and $8 per roll at most fabric and craft stores in 2026, with each roll containing enough tape to hem 3-5 pairs of pants depending on the pant width and hem depth. This makes it one of the most economical clothing alteration methods available.
Price breakdown by type:
- Standard hem tape (3/4 inch width, 10-15 yards): $3-5
- Heavy-duty hem tape (for denim): $5-7
- Lightweight hem tape (for delicate fabrics): $4-6
- Extra-wide hem tape (1-2 inches): $6-8
- Specialty tape (stretch, no-sew): $7-10
Cost comparison:
Professional tailoring charges $10-20 per pair of pants for basic hemming, making DIY hem tape 75-90% cheaper. A single $5 roll of tape can hem your entire wardrobe for less than the cost of tailoring one pair.
Where to buy:
Hem tape is available at Walmart, Target, Joann Fabrics, Michaels, Hobby Lobby, and online through Amazon. Store brands (like Joann’s house brand) cost less than name brands but work equally well for most projects.
Budget tip: Buy multi-packs when they’re on sale. Hem tape doesn’t expire, and having extra on hand means you can hem pants immediately when needed rather than making a special shopping trip.
The total cost to hem pants without a sewing machine ranges from $5-15 for supplies (tape, fabric glue, or thread) that will last for multiple projects, compared to $10-20 per pair for professional alterations.
Why Is My Iron-On Hem Tape Not Sticking?
Iron-on hem tape fails to stick because of insufficient heat, inadequate pressing time, dirty fabric, or using the wrong tape type for your fabric weight. The most common culprit is not getting the iron hot enough or not applying enough pressure during the bonding process.
Top reasons for hem tape failure:
1. Iron temperature too low: Hem tape requires high heat (cotton setting, 350-400°F) to activate the adhesive. Medium or low settings won’t melt the adhesive enough to create a bond.
2. Not enough pressure: You need to press down firmly with your full body weight, not just rest the iron on the fabric. Lean into the iron for maximum pressure.
3. Fabric wasn’t washed first: Sizing, fabric softener, or manufacturing chemicals create a barrier that prevents adhesive bonding. Always wash and dry pants before hemming.
4. Steam setting was on: Steam introduces moisture that interferes with adhesive activation. Always use a dry iron for hem tape.
5. Pressing time too short: Most hem tape needs 10-15 seconds of continuous heat per section. Quickly running the iron over the hem won’t work.
6. Wrong tape for fabric type: Lightweight tape won’t bond to heavy denim; heavy-duty tape creates stiff hems on delicate fabrics. Match tape weight to fabric weight.
7. Didn’t let it cool: Moving or handling the hem before it cools completely (5 minutes) breaks the bond before it fully sets.
Troubleshooting steps:
- Test your iron temperature by pressing a scrap of fabric, it should feel very hot to the touch
- Re-press the hem with maximum heat and pressure for 20 seconds
- Check tape placement,it should sit completely flat with no wrinkles or bubbles
- Try new tape,old tape (over 2-3 years) may have degraded adhesive
- Use a pressing cloth on delicate fabrics to protect them while allowing higher heat
If tape still won’t stick after troubleshooting, your fabric may have a coating (like water-resistant treatment) that prevents bonding. Switch to fabric glue or hand-stitching instead.
What Are the Easiest No-Sew Hemming Methods for Beginners?
The easiest no-sew hemming method for beginners is iron-on hem tape on cotton or polyester pants because it requires minimal skill, provides immediate results, and forgives small mistakes. This method takes just 15-20 minutes and needs only an iron, hem tape, scissors, and measuring tape.
Beginner-friendly ranking (easiest to hardest):
1. Iron-on hem tape on dress pants ⭐ Easiest
- Smooth fabric bonds perfectly
- Lightweight material is easy to fold
- Mistakes can be fixed by re-pressing
- Results look professional immediately
2. Fabric glue on cotton pants
- No heat or special equipment needed
- Allows repositioning while wet
- Forgiving of uneven application
- Requires patience for 24-hour drying
3. Iron-on tape on jeans
- Requires heavy-duty tape and more pressure
- Thicker fabric is harder to fold precisely
- Needs longer pressing time
- More physically demanding
4. Hand-stitching with blind stitch
- Requires basic needle-threading skills
- Takes 30-45 minutes per pair
- Mistakes are harder to fix
- Most durable long-term option
Beginner success tips:
Start with pants you don’t love so mistakes don’t matter. Practice on one leg first before committing to both. Watch a 5-minute video tutorial while you work. Measure three times before cutting. Use pins to hold the fold in place while you work. Work in good lighting so you can see what you’re doing.
Common beginner mistakes to avoid:
- Cutting pants too short (add extra length for the fold)
- Skipping the wash-first step (pants may shrink after hemming)
- Rushing the cooling period (breaks the bond)
- Using old or budget tape (fails more often)
- Not testing on the inseam first (mistakes show on the outside)
If you’ve never hemmed anything before, buy an extra pair of cheap pants from a thrift store to practice on first. The confidence you gain from a practice run makes your real project much easier.
How to Fix a Hem That Came Undone Without Sewing
Fixing a hem that came undone without sewing takes just 10-15 minutes using iron-on hem tape or fabric glue to re-secure the loose section. The key is removing any old adhesive residue before applying new bonding material.
Quick fix steps:
- Assess the damage: Determine if the entire hem is loose or just a section
- Remove old adhesive: Scrape off dried glue or tape residue with a butter knife or credit card edge
- Clean the fabric: Wipe the hem area with rubbing alcohol on a cotton ball to remove residue and oils
- Let dry completely: Wait 5 minutes for alcohol to evaporate
- Apply new hem tape or glue: Follow the standard application method for your chosen material
- Reinforce stress points: Add extra tape or glue at side seams where hems fail first
For partially undone hems:
If only one section (like a corner or side seam) has come loose, you don’t need to redo the entire hem. Simply lift the loose section, clean it, and re-bond just that area with a small piece of hem tape or a dab of fabric glue.
For completely failed hems:
When the entire hem has separated, remove all old adhesive before starting over. Soak the hem area in warm water for 10 minutes to soften old glue, then gently peel away the old tape. Wash and dry the pants, then re-hem from scratch using fresh materials.
Prevention for next time:
Reinforce hems at side seams with a few hand stitches (even if you’re using tape or glue). Wash pants inside-out to reduce friction. Re-press hems with an iron every 10-15 washes to reactivate the adhesive. Avoid hot dryer settings that break down adhesives over time.
Emergency temporary fix:
If a hem comes undone right before you need to wear the pants, use double-sided fabric tape (like Scotch Essentials Fashion Tape) for a same-day hold. This won’t survive washing but will keep your hem in place for 8-12 hours.
Does Hemming Tape Work on Thick Fabric Like Denim?
Hemming tape does work on thick fabric like denim, but you must use heavy-duty hem tape specifically rated for denim and apply it with higher heat and pressure than you would for lighter fabrics. Standard lightweight hem tape will fail on jeans within a few washes.
Denim-specific requirements:
Heavy-duty hem tape (brands like Dritz Heavy Weight, HeatnBond UltraHold, or Stitch Witchery Heavy) contains stronger adhesive formulated to penetrate thick, tightly-woven denim fibers. These products cost $5-7 per roll compared to $3-4 for standard tape.
Application differences for denim:
- Use maximum iron heat (cotton setting, 400°F)
- Press for 20-25 seconds per section instead of 10-15
- Apply more pressure by leaning your full body weight onto the iron
- Use two layers of tape for extra strength on very thick denim
- Let cool for 10 minutes instead of 5 to ensure full bonding
Success rates by denim weight:
Lightweight denim (chambray, thin jeans): 90% success rate with standard heavy-duty tape. Medium-weight denim (most jeans): 75% success rate with quality heavy-duty tape. Heavyweight denim (raw denim, work jeans): 50% success rate; may need reinforcement with hand stitches.
When hem tape won’t work on denim:
- Raw denim with extreme thickness
- Jeans with heavy distressing or fraying at the hem
- Stretch denim with over 5% elastane (the stretch breaks the bond)
- Pre-washed denim with fabric softener residue
Alternative for difficult denim:
Use the combination method: Apply fabric glue first, let it dry for 24 hours, then reinforce with heavy-duty hem tape. This double-layer approach creates a bond strong enough for even heavyweight denim.
For the most durable denim hem without a sewing machine, hand-stitch with a blind stitch using heavy-duty thread. It takes 30-40 minutes but lasts as long as machine stitching.
Mistakes to Avoid When Using Iron-On Hem Tape
The most common mistakes when using iron-on hem tape are not washing the fabric first, using insufficient heat or pressure, and handling the hem before it cools completely. These errors cause 80% of hem failures and are easily preventable with proper technique.
Critical mistakes and how to avoid them:
1. Skipping the pre-wash
- Why it matters: Fabric sizing and chemicals block adhesive bonding
- Fix: Always wash and dry pants before hemming, even if they’re new
2. Using steam or moisture
- Why it matters: Water interferes with adhesive activation
- Fix: Set iron to dry (no steam) and work on completely dry fabric
3. Not using enough heat
- Why it matters: Adhesive won’t melt and bond at low temperatures
- Fix: Use cotton/high setting (350-400°F) for most fabrics
4. Insufficient pressing time
- Why it matters: Adhesive needs sustained heat to fully activate
- Fix: Hold iron in place for full 10-15 seconds per section, don’t glide
5. Moving the hem too soon
- Why it matters: Adhesive is still soft and breaks easily when warm
- Fix: Let hem cool untouched for 5-10 minutes after pressing
6. Wrong tape width
- Why it matters: Too narrow creates weak bonds; too wide creates stiffness
- Fix: Use 5/8-3/4 inch tape for most pants; 1 inch for jeans
7. Uneven fabric layers
- Why it matters: Wrinkles and bubbles prevent full adhesive contact
- Fix: Press the fold first (without tape) to create a sharp crease
8. Cutting pants too short
- Why it matters: You can’t add length back after cutting
- Fix: Add 1.5-2 inches to your desired length for the hem fold
9. Not testing first
- Why it matters: Different fabrics react differently to heat and adhesive
- Fix: Test on the inseam or a fabric scrap before doing the visible hem
10. Using old or cheap tape
- Why it matters: Degraded or weak adhesive fails quickly
- Fix: Buy fresh, name-brand tape and store it in a cool, dry place
Quality check before finishing:
After pressing and cooling, tug gently on the hem. It should feel firmly bonded with no give. If any section feels loose, re-press it immediately with fresh tape rather than hoping it will hold.
FAQ
How long does it take to hem pants without a sewing machine? Hemming pants without a sewing machine takes 15-20 minutes using iron-on tape, 10 minutes of active work plus 24 hours drying time with fabric glue, or 30-45 minutes for hand-stitching. The fastest method is iron-on tape, which provides same-day results.
Can you remove iron-on hem tape if you make a mistake? Yes, you can remove iron-on hem tape by reheating it with an iron to soften the adhesive, then gently peeling it away while still warm. Use rubbing alcohol to remove any remaining residue, wash the pants, and start over with fresh tape.
What’s the strongest no-sew hemming method? Hand-stitching with a blind stitch is the strongest no-sew hemming method, lasting as long as machine sewing. Among adhesive methods, heavy-duty iron-on tape combined with fabric glue creates the strongest bond for pants that will be washed frequently.
Will hem tape damage my pants? No, hem tape won’t damage pants when applied correctly to appropriate fabrics. However, using excessive heat on delicate fabrics can cause scorching, and removing tape roughly can pull fibers. Always test on an inconspicuous area first and use a pressing cloth on delicate materials.
Can you hem pants that are already hemmed? Yes, you can shorten pants that are already hemmed by removing the existing hem, cutting to your new desired length, and creating a fresh hem using tape, glue, or hand-stitching. This works whether the original hem was sewn or no-sew.
How do you hem pants that are only slightly too long? For pants that are only 1/2 to 1 inch too long, create a narrow hem using 1/2-inch hem tape or fabric glue without cutting the fabric. Simply fold up the excess and secure it. This preserves the original hem in case you want to let it down later.
Does fabric glue wash out of pants? Permanent fabric glue does not wash out of pants, it’s designed to withstand repeated washing. Washable fabric glue (like Elmer’s school glue) will dissolve in water, making it suitable only for temporary hems. Always check the label to confirm whether glue is permanent or washable.
Can you use regular tape instead of hem tape? No, regular tape (Scotch tape, duct tape, packing tape) should not be used for hemming pants. These tapes aren’t designed for fabric, won’t withstand washing, leave sticky residue, and can damage fabric. Only use products specifically labeled as fabric hem tape or fashion tape.
How do you hem stretchy pants without sewing? Hem stretchy pants using fabric glue rather than iron-on tape, as glue maintains flexibility while tape can crack when the fabric stretches. Apply thin lines of permanent fabric glue, let dry completely, and avoid over-stretching the hem area during wear.
What if my pants are too short after hemming? If pants are too short after hemming, you can let down a no-sew hem by removing the tape or glue, pressing out the fold line, and wearing them at the new length. For sewn hems, you may be able to add a decorative cuff or contrasting fabric band to add length.
Can you hem leather or faux leather pants without sewing? Yes, hem leather or faux leather pants using leather glue (like Barge Cement or Aleene’s Leather & Suede Glue) rather than fabric glue or hem tape. Never use an iron on leather or faux leather, as heat causes irreversible damage. Clamp the hem while glue dries.
How do you keep a hem straight without sewing? Keep a hem straight by measuring carefully from the floor up at multiple points around the leg, marking with chalk or pins, and using a ruler to draw a cutting line. Pin the fold in place before applying tape or glue to prevent shifting during the hemming process.
Conclusion
Learning how to hem pants without a sewing machine opens up affordable, accessible clothing alterations that save money and extend your wardrobe’s life. Whether you choose iron-on hem tape for quick, durable results, fabric glue for delicate fabrics, or hand-stitching for maximum longevity, each method delivers professional-looking hems in under an hour.
Your next steps:
- Assess your pants: Identify which pairs need hemming and note their fabric types
- Choose your method: Pick iron-on tape for most pants, fabric glue for delicates, or hand-stitching for maximum durability
- Gather supplies: Buy hem tape ($3-8), fabric glue ($4-7), or needle and thread ($3-5) based on your chosen method
- Start with an easy project: Practice on cotton or polyester dress pants before attempting jeans or delicate fabrics
- Build your skills: Once you’ve successfully hemmed one pair, the process becomes quick and intuitive for future projects
The confidence that comes from hemming your own pants extends beyond just this one skill. You’ll find yourself tackling other simple alterations, customizing thrift store finds, and saving hundreds of dollars on tailoring costs over time. Start with one pair today, and you’ll wonder why you ever paid someone else to do something so simple.


