Quick Answer: Hemming pants with a sewing machine involves measuring the desired length, marking and folding the fabric, pressing the fold, and sewing a straight or blind hem stitch along the folded edge. Most home sewing machines can handle this task using a standard presser foot and straight stitch, though a blind hem foot makes invisible hems easier. The process takes 15-30 minutes per pair once you understand the basic technique.
Key Takeaways
- Measuring correctly is the most critical step, always try on pants with the shoes you’ll wear and mark while standing
- Blind hems create an invisible finish ideal for dress pants, while regular topstitched hems work well for jeans and casual wear
- A standard sewing machine with a straight stitch can hem any pants, specialized feet and sergers are helpful but not required
- Jeans require a heavier needle (size 16/100 or 18/110) and denim thread to penetrate thick fabric and seams
- DIY hemming costs pennies in thread versus $10-25 at a tailor, paying for itself after 2-3 pairs
- Common mistakes include skipping the pressing step, using the wrong needle size, and not testing stitch length on scrap fabric first
- Dress pants typically need blind hems and careful pressing, while casual pants can use visible topstitching
- Hem tape is optional, it stabilizes stretchy fabrics but isn’t necessary for woven materials like cotton or wool
What Is Hemming Pants and Why Use a Sewing Machine
Hemming pants means shortening the leg length by folding up the bottom edge and securing it with stitches to create a clean, finished edge. A sewing machine makes this process faster, more durable, and more professional-looking than hand-sewing because it creates consistent, even stitches that withstand repeated washing and wear.
Hand-hemming a single pair of pants can take 45-90 minutes of tedious work, while a sewing machine completes the same job in 15-30 minutes with stronger seams. The machine’s consistent stitch tension prevents puckering and ensures the hem lies flat against the leg. For anyone who regularly needs alterations, whether due to online shopping, weight changes, or buying petite/tall sizes, owning basic machine-hemming skills saves hundreds of dollars annually.
When machine hemming makes the most sense:
- You buy pants off-the-rack that are consistently too long
- You sew your own garments and need professional finishes
- You have multiple pairs that need shortening (batch efficiency)
- You want hems that last through frequent washing
- You’re altering children’s clothing as they grow
The only scenarios where hand-hemming might be preferable are delicate vintage fabrics that could be damaged by machine feeding, or when you’re traveling without access to equipment.
How to Measure Pants for Hemming Correctly
Accurate measurement determines whether your finished hem looks intentional or like a mistake. Put on the pants with the shoes you plan to wear most often with them, heel height changes where the hem should fall by up to two inches. Stand naturally on a hard, flat surface, not carpet, which can add false height.
The ideal hem length depends on the pant style. Dress pants should break slightly at the front, touching the top of the shoe with a gentle fold. Casual pants and jeans can hit right at the shoe top or slightly above for a cropped look. Wide-leg trousers should graze the floor when standing but not drag. Have someone mark the desired length with tailor’s chalk or pins while you stand still, marking yourself while sitting gives inaccurate results.
Step-by-step measuring process:
- Put on pants with appropriate shoes and stand straight
- Have a helper mark the desired finished length with chalk or a pin at the front center of each leg
- Remove pants and lay flat on a table
- Measure from the bottom edge up to your mark, this is the amount to remove
- Add 1.5-2 inches to that measurement for the hem allowance (the fabric that folds under)
- Mark a cutting line with chalk and a ruler, ensuring both legs match exactly
- Cut straight across using fabric scissors
Common measuring mistake: Measuring only one leg and assuming both are identical. Manufacturing variations mean legs can differ by up to half an inch, always measure and mark both sides independently.
Blind Hem vs Regular Hem: Which Is Better for Pants
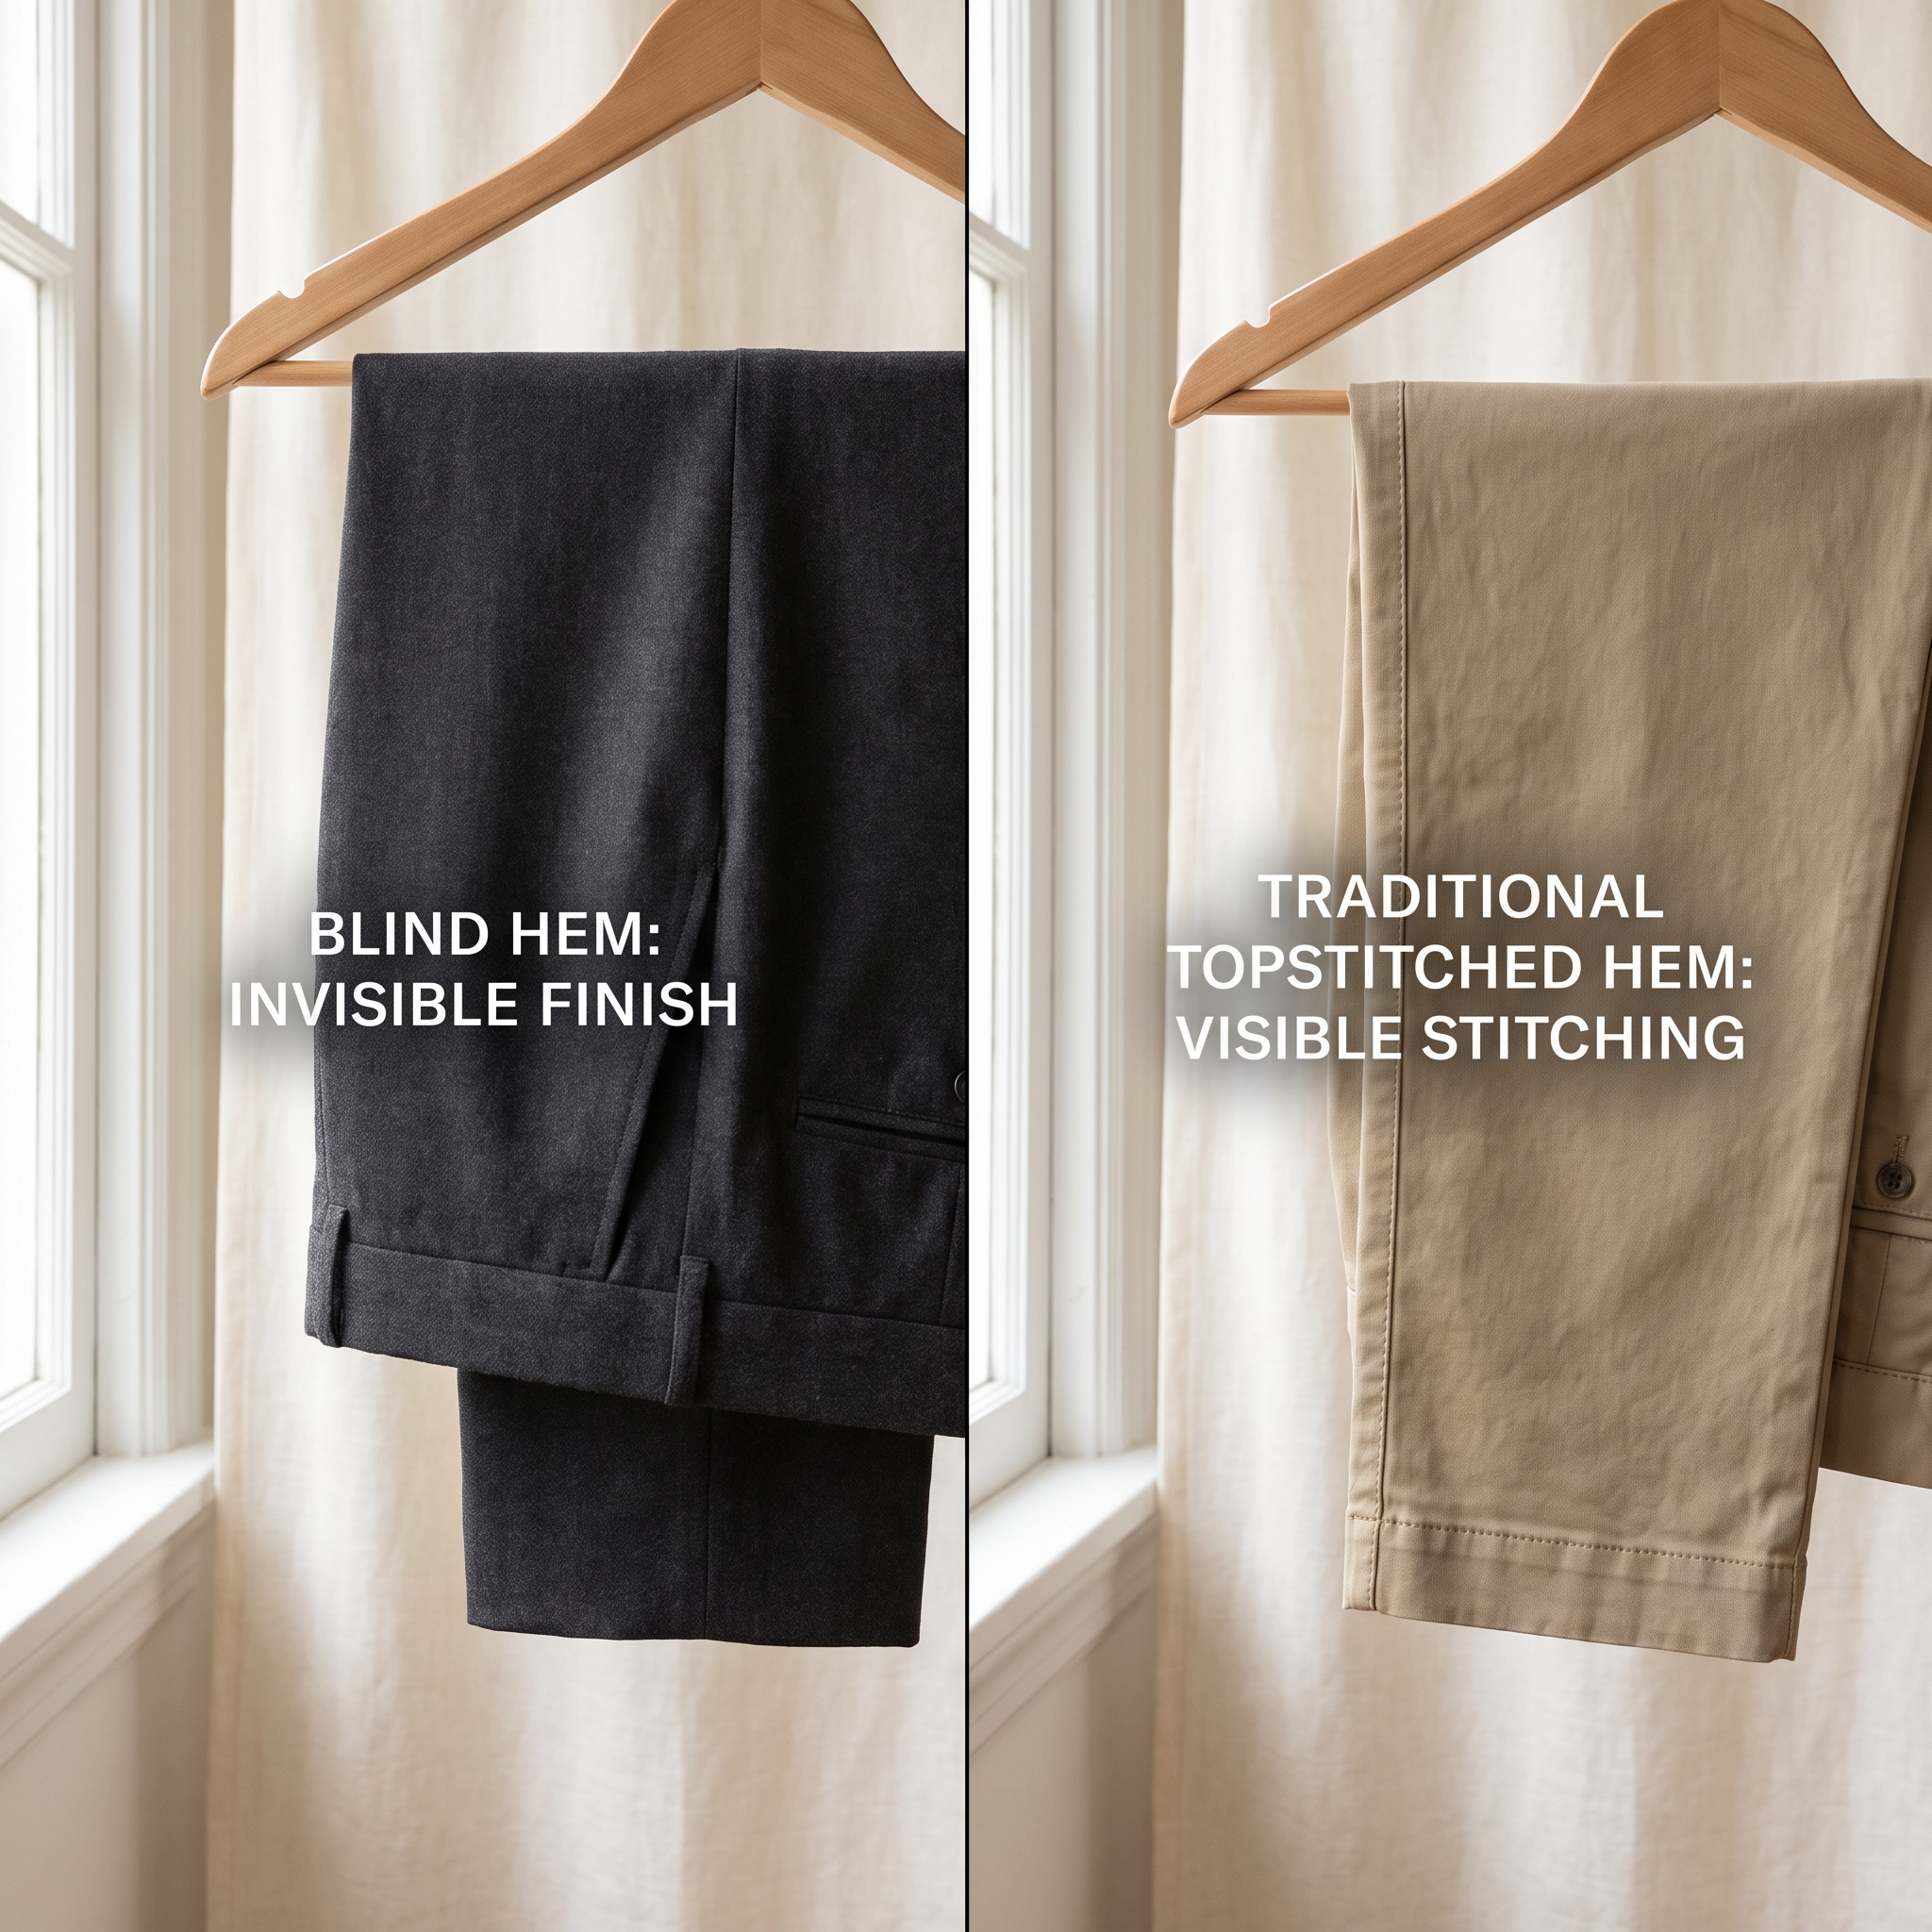
A blind hem creates an almost invisible finish from the outside, showing only tiny thread dots every few stitches, while a regular hem displays a visible line of stitching on the outside of the garment. Blind hems suit formal dress pants, tailored trousers, and any garment where you want the hem to disappear, whereas regular topstitched hems work perfectly for jeans, chinos, and casual wear where visible stitching is expected.
Blind hem characteristics:
- Requires a blind hem foot (around $8-15) or careful hand-guiding
- Uses a specialized zigzag stitch that catches only a few threads of the outer fabric
- Takes slightly longer to set up but looks professionally tailored
- Best for wool, gabardine, polyester dress pants, and formal wear
- Harder to unpick if you need to adjust length later
Regular hem characteristics:
- Uses a standard presser foot and straight stitch
- Creates a visible stitch line that becomes part of the design
- Faster and easier for beginners
- Perfect for denim, cotton twill, linen, and casual fabrics
- Easy to remove and re-hem if needed
Choose a blind hem if: You’re hemming dress pants for work, formal trousers, or any garment where the hem should be inconspicuous. Choose a regular topstitched hem if you’re working with jeans, khakis, cargo pants, or any casual style where visible stitching is part of the aesthetic.
For most sewing enthusiasts building their skills, mastering the regular hem first makes sense, it teaches tension control and straight sewing without the complexity of the blind hem stitch. Once comfortable, adding blind hemming expands your alteration capabilities significantly.
What Stitch Setting Should I Use to Hem Pants on a Sewing Machine
For a standard topstitched hem on casual pants, use a straight stitch with a length of 2.5-3mm and normal tension (usually marked as 4 or 5 on most machines). This creates durable, even stitches that won’t pucker the fabric or break under stress. For blind hems, switch to your machine’s blind hem stitch (usually looks like a series of straight stitches with periodic zigzags) and reduce the stitch width to 1-1.5mm so the zigzag catches minimal outer fabric.
Stitch settings by pant type:
- Lightweight dress pants (polyester, rayon): Straight stitch, 2.5mm length, slightly reduced tension (3-4)
- Medium-weight chinos (cotton twill): Straight stitch, 2.5-3mm length, normal tension (4-5)
- Denim jeans: Straight stitch, 3-3.5mm length, slightly increased tension (5-6), topstitch needle
- Stretchy pants (with spandex): Narrow zigzag (0.5mm width, 2.5mm length) or stretch stitch to allow flex
- Formal wool trousers: Blind hem stitch, 1mm width, 2.5mm length
Critical adjustment: Always test your stitch on a scrap piece of the same fabric folded to the same thickness as your hem. What works on a single layer often puckers or skips on a triple-folded hem. Adjust tension, stitch length, or presser foot pressure based on this test before touching your actual pants.
If stitches are skipping, your needle is likely dull or the wrong type for your fabric. If the fabric puckers, reduce top tension by one number. If the hem waves instead of lying flat, you’re stretching the fabric as you sew, let the feed dogs pull it through naturally without pulling or pushing.
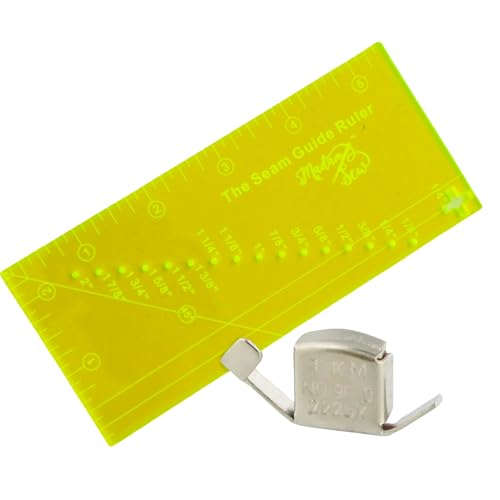
SET STITCHES ACCURATELY - Use any sewing machine with the Madam Sew Sewing and Quilting Seam Guide Ruler. Performing the duties of several sewing rulers and guides, it helps you measure seam allowances from 1/8” up to 2”. A wonderful sewing accessory to any sewing machine.


How to Hem Pants Without a Serger or Special Foot
You can create a clean, professional hem using only a standard presser foot and straight stitch by employing a double-fold technique that encloses the raw edge inside the hem. This method works for any woven fabric and requires no special equipment beyond your basic sewing machine, making it ideal for beginners or those working with minimal tools.
Double-fold hem technique:
- Mark and cut your pants to the desired length plus 2 inches
- Fold the raw edge up 0.5 inch toward the wrong side and press with an iron
- Fold up another 1.5 inches and press again, the raw edge is now hidden inside
- Pin the hem in place every 2-3 inches, keeping pins perpendicular to the hem edge
- Sew close to the inner folded edge (about 1/8 inch away) using a straight stitch
- Remove pins as you approach them, never sew over pins, which can break your needle
- Press the finished hem flat
Why this works without a serger: The double fold completely encloses the raw edge, preventing fraying without needing an overlock stitch. Sergers create a professional finish faster, but they’re not necessary for durability, properly sewn double-fold hems last just as long through washing and wear.
Alternative for very thick fabrics: If your fabric is too bulky for a double fold (like heavy denim or corduroy), use a single 1.5-inch fold and finish the raw edge with a zigzag stitch before folding. This reduces bulk while still preventing fraying. Set your zigzag to 3mm width and 2mm length, and stitch along the raw edge before pressing and hemming.
The standard presser foot works fine for straight hems, but if you’re hemming many pairs, consider a $10 hemming foot that has a guide to help keep your stitching line consistent. It’s a nice-to-have, not a must-have.

Item Type: 1/4 Inch Straight Stitch Sewing Machine Presser Foot

Have you experienced puckering and skipped stitches on lightweight fabrics? The flat underside and small needle entry hole on this foot are designed to help solve this problem.

TISEKER High Quality General Purpose Presser Foot.
Can You Hem Jeans With a Regular Sewing Machine
Yes, any home sewing machine can hem jeans, but you need the right needle and some technique adjustments to handle the thick fabric and bulky seams. Use a denim/jeans needle (size 16/100 or 18/110) and heavy-duty thread, and slow down significantly when crossing side seams where multiple fabric layers stack up, this prevents broken needles and skipped stitches.
Jeans-specific setup:
- Needle: Denim/jeans needle size 16/100 minimum (18/110 for very heavy denim)
- Thread: Polyester all-purpose or topstitch thread (stronger than cotton)
- Stitch length: 3-3.5mm for a classic jeans look
- Presser foot pressure: Increase if your machine has this adjustment
- Speed: Slow to medium, especially over seams
Handling thick seam intersections: When you reach the side seam where the original hem, side seam, and your new hem all meet, you’re sewing through 6-8 layers of denim. Hand-walk the machine (turn the wheel manually) through this section rather than using the foot pedal. If your needle won’t penetrate, use a hammer to gently tap the presser foot down while the needle is in the fabric, this compresses the layers enough for the needle to pass through.
The “hump jumper” trick: If your machine struggles with uneven thickness (thin fabric suddenly transitioning to a thick seam), fold a scrap of denim to the same height as the seam and place it behind the presser foot. This levels the foot so it doesn’t tilt, which causes skipped stitches. Move this “hump jumper” along as you sew, keeping the foot level.
Common jeans-hemming mistake: Using a universal needle instead of a denim needle. Universal needles have a slightly rounded point that deflects off tight denim weave instead of penetrating it, causing skipped stitches and frustration. Denim needles have a sharp, reinforced point designed specifically for dense fabrics.
For authentic-looking jeans hems, use gold or contrast topstitching thread and sew two parallel lines of stitching about 1/4 inch apart, this mimics the original factory hem and looks intentional rather than altered.
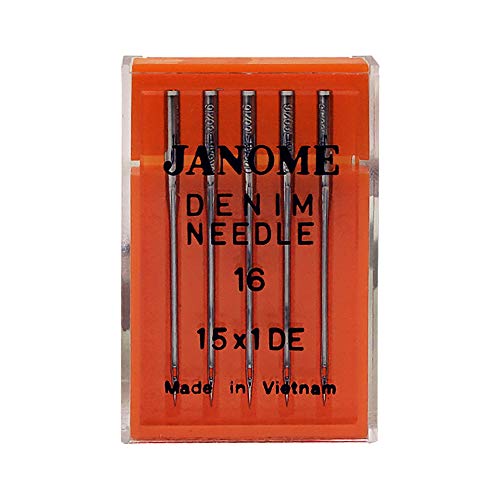
These Janome needles are preferred for heavyweight fabrics such as leather, denim, and vinyl

Set of 5 heavy duty sewing machine needles, size 100/16

2X STRONGER STEEL — Constructed with reinforced, thick shafts that withstand the resistance of dense, heavy fabrics without bending or breaking, staying sharp longer for consistent, skip-free stitching through any material from start to finish.
How Much Does It Cost to Get Pants Hemmed vs Doing It Yourself
Professional tailors charge $10-25 per pair for basic hemming, with prices varying by fabric type, hem style, and geographic location, blind hems and jeans typically cost more than simple dress pants. Hemming pants yourself costs approximately $0.10-0.50 per pair in thread and electricity, meaning the investment in basic sewing skills pays for itself after hemming just 2-3 pairs if you already own a machine.
Cost breakdown comparison:
| Method | Per-Pair Cost | Time Investment | Quality Level |
|---|---|---|---|
| Professional tailor | $10-25 | Drop-off/pick-up time | Excellent (experienced) |
| DIY with machine | $0.10-0.50 | 15-30 minutes | Good to excellent (with practice) |
| DIY hand-sewing | $0.05 | 45-90 minutes | Variable |
| Hem tape (no-sew) | $1-2 | 10 minutes | Fair (temporary) |
Initial investment for DIY: If you don’t own a sewing machine, basic models that handle hemming start around $100-150. After hemming 6-8 pairs of pants, you’ve broken even compared to tailor costs, and you have the machine for future projects. If you already sew or plan to learn other skills, the cost-per-use drops dramatically.
Hidden tailor costs: Many people forget to factor in the time cost of dropping off and picking up alterations, which often requires two separate trips during business hours. For busy professionals, the convenience of hemming at home on your own schedule has real value beyond the dollar savings.
When professional hemming makes sense: Complex alterations like tapering legs, adjusting the rise, or working with delicate silk or beaded fabrics justify professional costs. But for straightforward length adjustments on standard fabrics, DIY hemming is economical and empowering.
What Are Common Mistakes When Hemming Pants With a Sewing Machine
The most frequent hemming mistakes are skipping the pressing step (which causes wavy, unprofessional hems), using the wrong needle size for the fabric weight, and failing to test stitch settings on scrap fabric before sewing the actual garment. These errors account for most disappointing results and are easily preventable with proper preparation.
Top hemming mistakes and fixes:
1. Not pressing before sewing
- Problem: Hem doesn’t lie flat, creates waves or puckers
- Fix: Always press each fold with a hot iron and steam before pinning or sewing
2. Wrong needle type or size
- Problem: Skipped stitches, broken needles, or holes in fabric
- Fix: Match needle to fabric, size 11/75 for lightweight, 14/90 for medium, 16/100+ for denim
3. Stretching fabric while sewing
- Problem: Wavy hem that’s longer than intended
- Fix: Let feed dogs pull fabric through naturally, don’t push or pull
4. Uneven leg lengths
- Problem: One leg longer than the other after hemming
- Fix: Measure and mark each leg independently, never assume they’re identical
5. Sewing over pins
- Problem: Broken needles, damaged machine timing
- Fix: Remove pins just before they reach the presser foot
6. Not backstitching at start and end
- Problem: Hem unravels after washing
- Fix: Reverse-stitch 3-4 stitches at beginning and end to lock threads
7. Using old or wrong thread
- Problem: Thread breaks repeatedly, weak seams
- Fix: Use fresh polyester all-purpose thread matched to fabric weight
Edge case mistake: Hemming knit or stretchy pants with a straight stitch. Straight stitches have no give, so they pop when the fabric stretches. Always use a narrow zigzag or stretch stitch for any fabric containing spandex or elastane.
How to Hem Dress Pants vs Casual Pants: Key Differences
Dress pants require blind hems or very narrow topstitched hems with careful pressing to maintain a crisp, professional appearance, while casual pants can use wider, visible topstitched hems that are faster and more forgiving for beginners. The fabric type, intended formality, and original construction style determine which approach creates the most appropriate finish.
Dress pants hemming approach:
- Use blind hem stitch or hand-pick stitch for invisible finish
- Press with steam and a pressing cloth to avoid shine on wool or polyester
- Maintain original hem width (usually 1.5-2 inches)
- Match thread color exactly to fabric
- Finish raw edge with zigzag or serging before folding
- Press final hem with tailor’s ham for curved shape around leg
Casual pants hemming approach:
- Topstitch with straight stitch 1/4 inch from inner fold
- Can use contrast thread for decorative effect on jeans
- Double-fold hem (no edge finishing needed)
- Press is important but doesn’t need to be razor-sharp
- Can use slightly wider hem allowance (up to 2.5 inches) for growing room on kids’ clothes
Fabric-specific considerations:
- Wool dress trousers: Always use pressing cloth, steam generously, blind hem preferred
- Polyester work pants: Can use narrow topstitch, press on medium heat
- Cotton chinos: Topstitch works well, press on high heat with steam
- Linen pants: Topstitch acceptable, expect some wrinkling (it’s part of linen’s character)
- Denim jeans: Double topstitch with contrast thread for authentic look
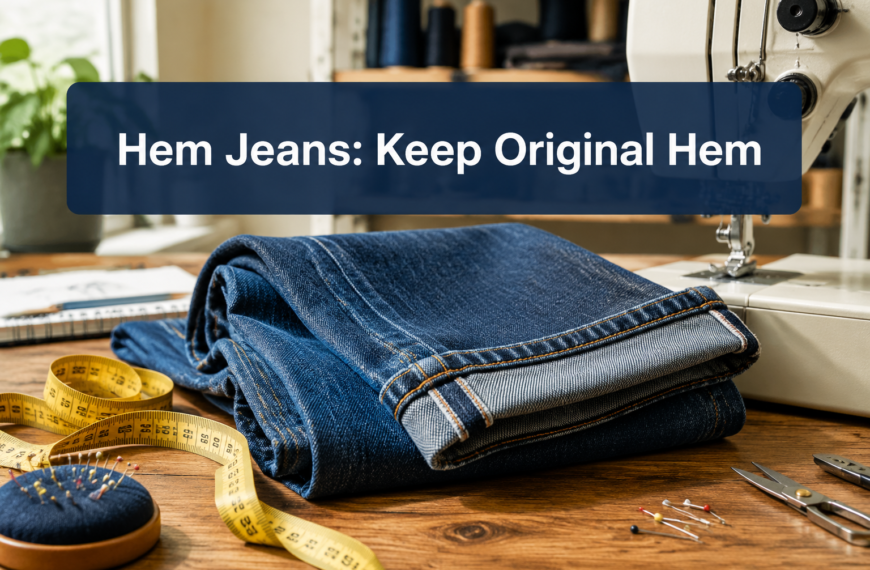
The “original hem” technique for jeans: If you want to preserve the factory-distressed hem on jeans, cut only 1 inch above your desired length, fold the original hem up inside, and stitch through all layers. This keeps the authentic worn edge visible while shortening the leg, a favorite trick among denim enthusiasts.
Do I Need to Use Hem Tape or Can I Just Sew
Hem tape is optional for most woven fabrics like cotton, wool, and polyester, you can simply fold and sew without it. However, hem tape helps stabilize stretchy fabrics, prevents show-through on lightweight materials, and adds body to flimsy fabrics, making it useful in specific situations rather than a universal requirement.
When hem tape is helpful:
- Stretchy fabrics: Prevents wavy hems on pants with spandex or elastane
- Sheer materials: Adds opacity so the hem allowance doesn’t show through
- Slippery fabrics: Keeps satin or silk in place while sewing
- Bias-cut garments: Stabilizes fabric cut on the diagonal that wants to stretch
- Knits: Prevents curling and stretching during sewing
When you can skip hem tape:
- Stable woven fabrics (cotton, denim, wool, linen)
- Pants with enough weight that the hem naturally hangs well
- When you’re using a double-fold hem that already has structure
- Casual garments where a slightly relaxed hem is acceptable
Types of hem tape:
- Fusible hem tape: Iron-on adhesive strip that bonds fabric layers (easiest for beginners)
- Sew-in hem tape: Woven ribbon you stitch into the hem (most durable)
- Bias tape: Stretchy tape for curved hems or knits
- Horsehair braid: Stiff tape for structured hems on formal wear (rarely needed for pants)
Application tip: If using fusible hem tape, place it between the hem allowance and the pant leg, then press according to package directions before sewing. This holds everything in place and eliminates the need for pins. Don’t rely on fusible tape alone without stitching, it weakens with washing and won’t hold long-term.
For standard cotton or polyester pants, you genuinely don’t need hem tape. Save it for problem fabrics where you’re fighting stretch, slippage, or transparency.
How to Fix an Uneven Hem After Sewing Pants
If you discover one leg is longer than the other after hemming, the fastest fix is to unpick the stitches on the longer leg, re-measure against the shorter leg, and re-sew at the correct length. Use a seam ripper to carefully cut every few stitches on the wrong side, then pull the thread out, this takes 5-10 minutes and leaves no permanent damage to the fabric.
Step-by-step hem correction:
- Put on the pants and identify which leg is too long
- Measure the difference between the two hems (usually 1/4 to 1/2 inch)
- Remove the pants and use a seam ripper on the longer leg’s hem stitches
- Pull out all thread pieces completely
- Press the hem flat to remove the old stitch line
- Re-measure and mark the correct length, matching the shorter leg
- Re-fold, press, and sew the corrected hem
If both legs are wrong: Sometimes both legs are hemmed but the overall length is off. If they’re too short, you’re limited, you can only let out what hem allowance exists (usually 1.5-2 inches maximum). If they’re too long, simply unpick both, re-measure, and re-hem to the correct length.
Preventing uneven hems: The root cause is usually measuring error. Always measure both legs independently while wearing the pants with appropriate shoes, and have someone else mark the length while you stand naturally. Never measure one leg and assume the other matches, manufacturing variations mean they rarely do.
Quick check before cutting: After marking but before cutting, fold the pants in half lengthwise and align the inseams. The chalk marks should line up perfectly. If they don’t, re-measure before cutting. This 30-second check prevents most uneven hem disasters.
Minor unevenness (under 1/4 inch): If the difference is barely noticeable, you can often leave it, most people have one leg slightly longer than the other, and a tiny variation won’t be visible when wearing the pants. Only fix it if it bothers you or is visually obvious.
Is Hemming Pants With a Sewing Machine Good for Beginners
Hemming pants is one of the best beginner sewing projects because it teaches fundamental skills, straight sewing, measuring, pressing, and tension control, while producing immediately useful results. The project is forgiving (small mistakes are hidden inside the hem), requires minimal fabric investment (you’re altering existing garments), and builds confidence for more complex sewing projects.
Why hemming suits beginners:
- Straight lines only: No curves or complicated shapes to navigate
- Immediate practical value: You’ll wear the results, reinforcing your learning
- Low-risk practice: Mistakes can be unpicked and redone without ruining the garment
- Teaches essential skills: Measuring, pressing, stitch selection, and tension adjustment
- Quick completion: Finish a pair in under 30 minutes, maintaining motivation
Beginner-friendly starting point: Begin with casual cotton pants or chinos rather than jeans or dress trousers. Medium-weight cotton is forgiving, doesn’t require special needles, and shows mistakes less obviously than formal fabrics. Once comfortable with basic hems, progress to jeans (thicker fabric, stronger needle) and then dress pants (blind hem technique).
Skills you’ll develop:
- Accurate measuring and marking
- Proper pressing technique (critical for professional results)
- Straight sewing along a folded edge
- Tension adjustment for different fabric weights
- Problem-solving when stitches skip or fabric puckers
Realistic expectations: Your first hem probably won’t look perfect, and that’s normal. The stitching might waver slightly, or the hem might not be perfectly flat. Each pair you hem will be noticeably better than the last, this is a skill that improves rapidly with practice.
Beginner mistake to avoid: Don’t start with expensive pants or delicate fabrics. Practice on thrift store finds or old pants you don’t care about until you’re confident in your technique. The $3 thrift store pants are your tuition for learning, once you’ve hemmed 3-4 pairs, you’ll be ready for your good clothes.
What Type of Thread and Needle for Hemming Different Pant Fabrics
Thread and needle selection directly impacts stitch quality, durability, and whether your machine sews smoothly or fights you with skipped stitches and broken thread. Match your needle size to fabric weight and your thread type to the fabric content, polyester all-purpose thread works for most projects, while specialized threads and needles solve specific fabric challenges.
Needle selection by fabric:
- Lightweight dress pants (polyester, rayon, silk): Universal needle size 11/75 or 12/80
- Medium-weight pants (cotton, linen, light wool): Universal needle size 14/90
- Denim and heavy cotton: Denim/jeans needle size 16/100 or 18/110
- Stretchy pants (with spandex): Ballpoint or stretch needle size 14/90
- Heavy wool or corduroy: Universal needle size 16/100
Thread selection by fabric:
- Cotton pants: Polyester all-purpose thread (stronger and more flexible than cotton thread)
- Polyester pants: Polyester all-purpose thread
- Denim: Heavy-duty polyester or topstitch thread
- Wool: Polyester all-purpose (cotton thread can shrink differently than wool)
- Stretch fabrics: Polyester thread (has slight give) or specialized stretch thread
Why polyester thread is the default: Modern polyester all-purpose thread is stronger, more colorfast, and more flexible than cotton thread, making it suitable for nearly all home sewing projects. Cotton thread has a nostalgic appeal but offers no practical advantages for hemming pants, it’s weaker, fades faster, and breaks more easily.
Thread weight: Use standard 50-weight thread for most hemming. Heavier 40-weight topstitch thread works well for decorative topstitching on jeans where you want the stitches to stand out. Avoid thin 60-weight thread for hems, it’s too delicate for the stress of pant hems.
Color matching: For blind hems and dress pants, match thread color exactly to the fabric. For casual pants with topstitching, you can match exactly or use contrast thread (gold on blue jeans, for example) for a decorative effect. When in doubt, choose thread one shade darker than your fabric, it blends better than thread that’s too light.
Needle lifespan: Change your needle after every 8-10 hours of sewing or after completing 4-6 pairs of pants. Dull needles cause most stitch quality problems, they’re inexpensive insurance against frustration.
Frequently Asked Questions
How long does it take to hem pants with a sewing machine? Hemming one pair of pants takes 15-30 minutes once you’re familiar with the process, including measuring, cutting, pressing, and sewing. Your first attempt may take 45-60 minutes as you learn the steps, but speed increases significantly with practice.
Can I hem pants without cutting them? Yes, you can create a temporary hem by folding up excess length and securing it with fabric glue, hem tape, or large basting stitches that can be removed later. This works for borrowed pants or children’s clothes you want to let down as they grow, but it’s bulkier and less comfortable than a proper cut hem.
What’s the best stitch for hemming stretchy pants? Use a narrow zigzag stitch (0.5mm width, 2.5mm length) or your machine’s stretch stitch for pants containing spandex or elastane. Straight stitches have no give and will pop when the fabric stretches, while zigzag stitches flex with the fabric.
Do I need a special foot to hem jeans? No, the standard presser foot that came with your machine works fine for hemming jeans. A denim needle (size 16/100 or larger) is essential, but specialized feet are optional conveniences, not requirements.
How much fabric should I leave for a hem allowance? Leave 1.5-2 inches of fabric below your desired finished length for a standard double-fold hem. This creates a 0.5-inch first fold and a 1-1.5 inch final hem that’s durable and lies flat without excessive bulk.
Can you hem pants that are already hemmed? Yes, you can shorten already-hemmed pants by unpicking the existing hem, cutting to the new desired length plus hem allowance, and re-hemming. If you need to lengthen pants, you’re limited to the amount of fabric in the existing hem allowance, usually 1.5-2 inches maximum.
Why does my hem look wavy after sewing? Wavy hems result from stretching the fabric as you sew or skipping the pressing step before sewing. Always press folds firmly before stitching, and let the machine’s feed dogs pull the fabric through naturally without pulling or pushing it yourself.
Should I wash pants before hemming them? Yes, always wash and dry pants before hemming, especially cotton and denim, which can shrink up to 3-5 percent in the first wash. Hemming before washing may result in pants that are too short after their first laundry cycle.
How do I hem pants with a lining? Hem the outer fabric and lining separately, with the lining hem ending about 1/4 inch shorter than the outer hem. This prevents the lining from peeking out at the bottom and allows both layers to hang naturally without pulling.
What do I do if my sewing machine won’t sew through thick seams? Hand-walk the machine (turn the wheel manually) through thick intersections, or use a “hump jumper” (folded fabric scrap) behind the presser foot to keep it level. If the needle still won’t penetrate, gently tap the presser foot with a hammer to compress the layers.
Can I use fabric glue instead of sewing to hem pants? Fabric glue creates a temporary hem suitable for emergencies or costumes but won’t withstand repeated washing and wearing like sewn hems. For permanent alterations, sewing is always more durable and professional-looking.
How do I hem flared or wide-leg pants without changing the shape? Maintain the original hem width and curve by measuring up from the original hem at multiple points around the leg (not just the side seams), marking a curved line that follows the original shape, then hemming along that curve rather than cutting straight across.
Conclusion
Hemming pants with a sewing machine transforms an essential alteration from an expensive tailor task into a quick, empowering DIY skill that saves money and time. By mastering accurate measuring, proper pressing, and appropriate stitch selection for different fabrics, anyone can create professional-looking hems that last through years of wear and washing.
Start with a simple pair of cotton pants to build confidence, then progress to more challenging fabrics like denim and dress trousers as your skills develop. Remember that the pressing step is just as important as the sewing, crisp, well-pressed folds are the foundation of hems that look tailored rather than homemade.
Your next steps:
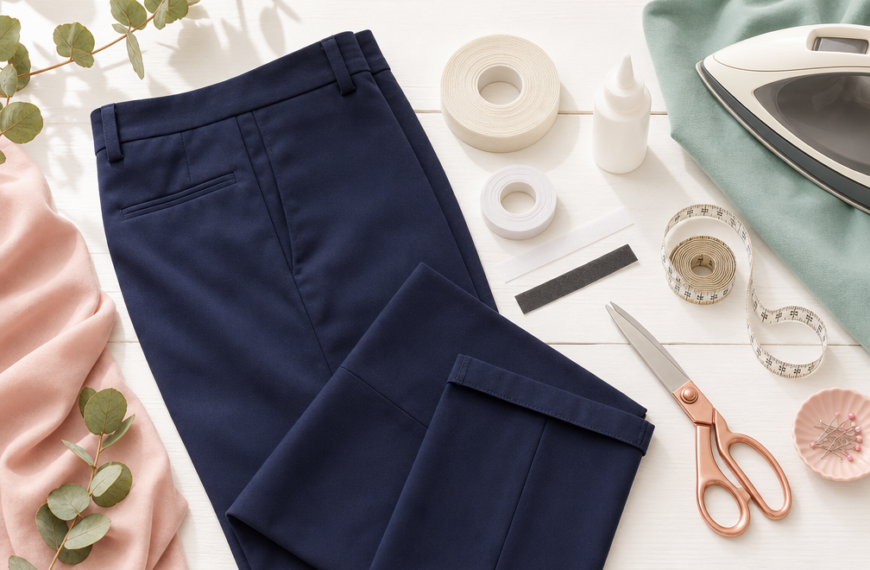
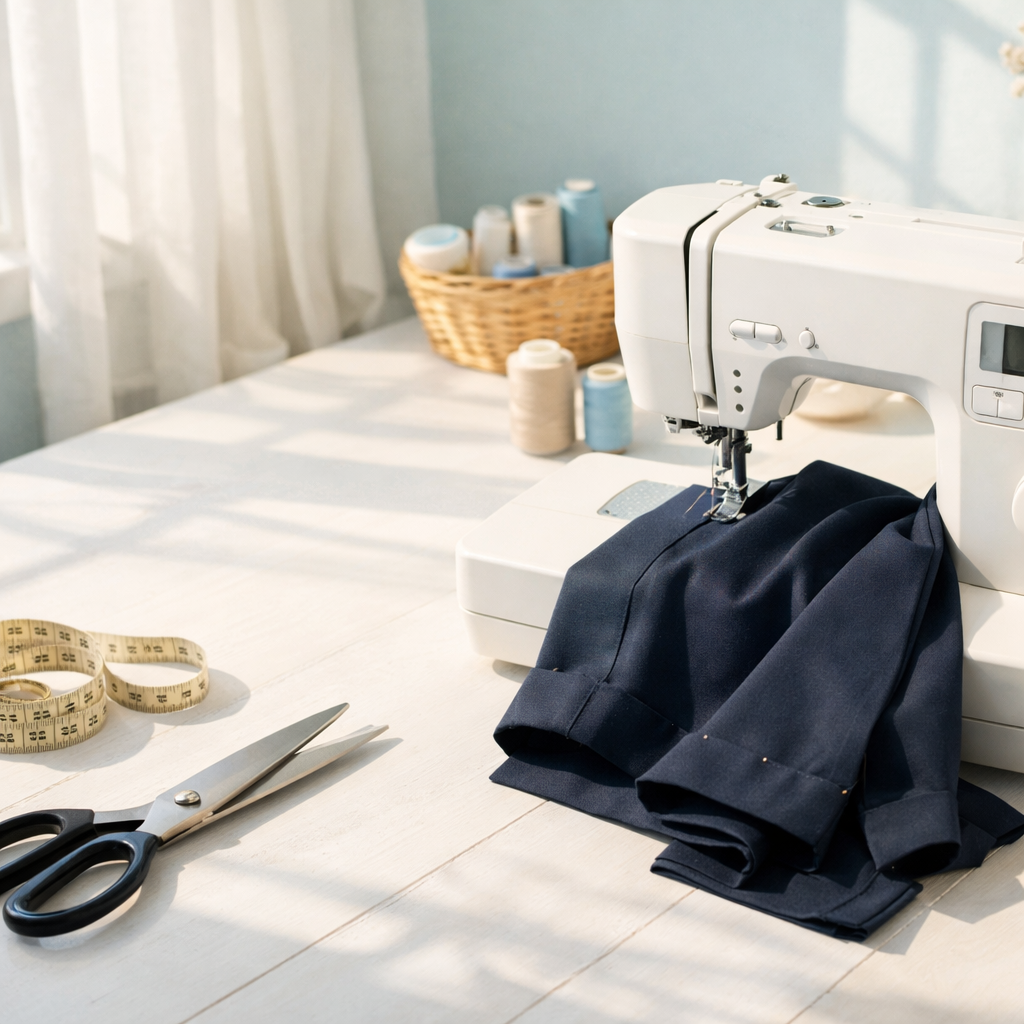
- Gather your supplies: sewing machine, appropriate needle for your fabric, matching thread, fabric scissors, measuring tape, pins, and an iron
- Choose a practice pair of pants you don’t mind learning on
- Follow the measuring and marking process carefully, checking both legs independently
- Test your stitch settings on scrap fabric before sewing the actual hem
- Press thoroughly at every stage for the most professional results
The investment of an hour learning this skill pays dividends every time you buy pants, alter hand-me-downs, or adjust your wardrobe as your style evolves. With each pair you hem, the process becomes faster and more intuitive until it’s simply part of your sewing repertoire.