


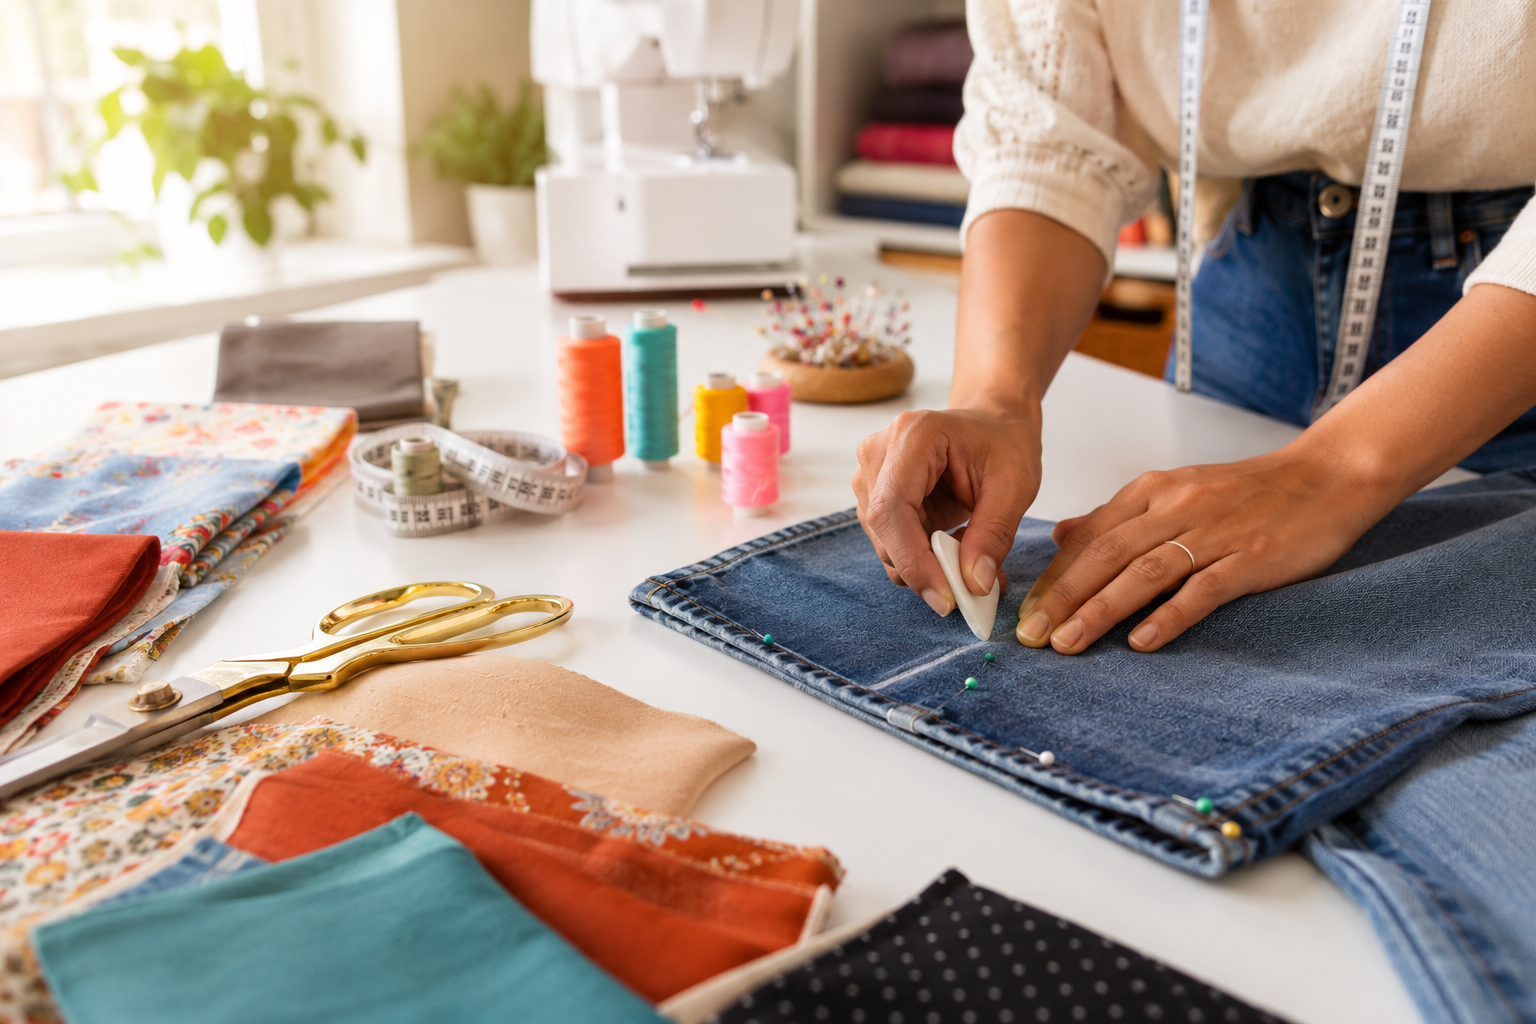
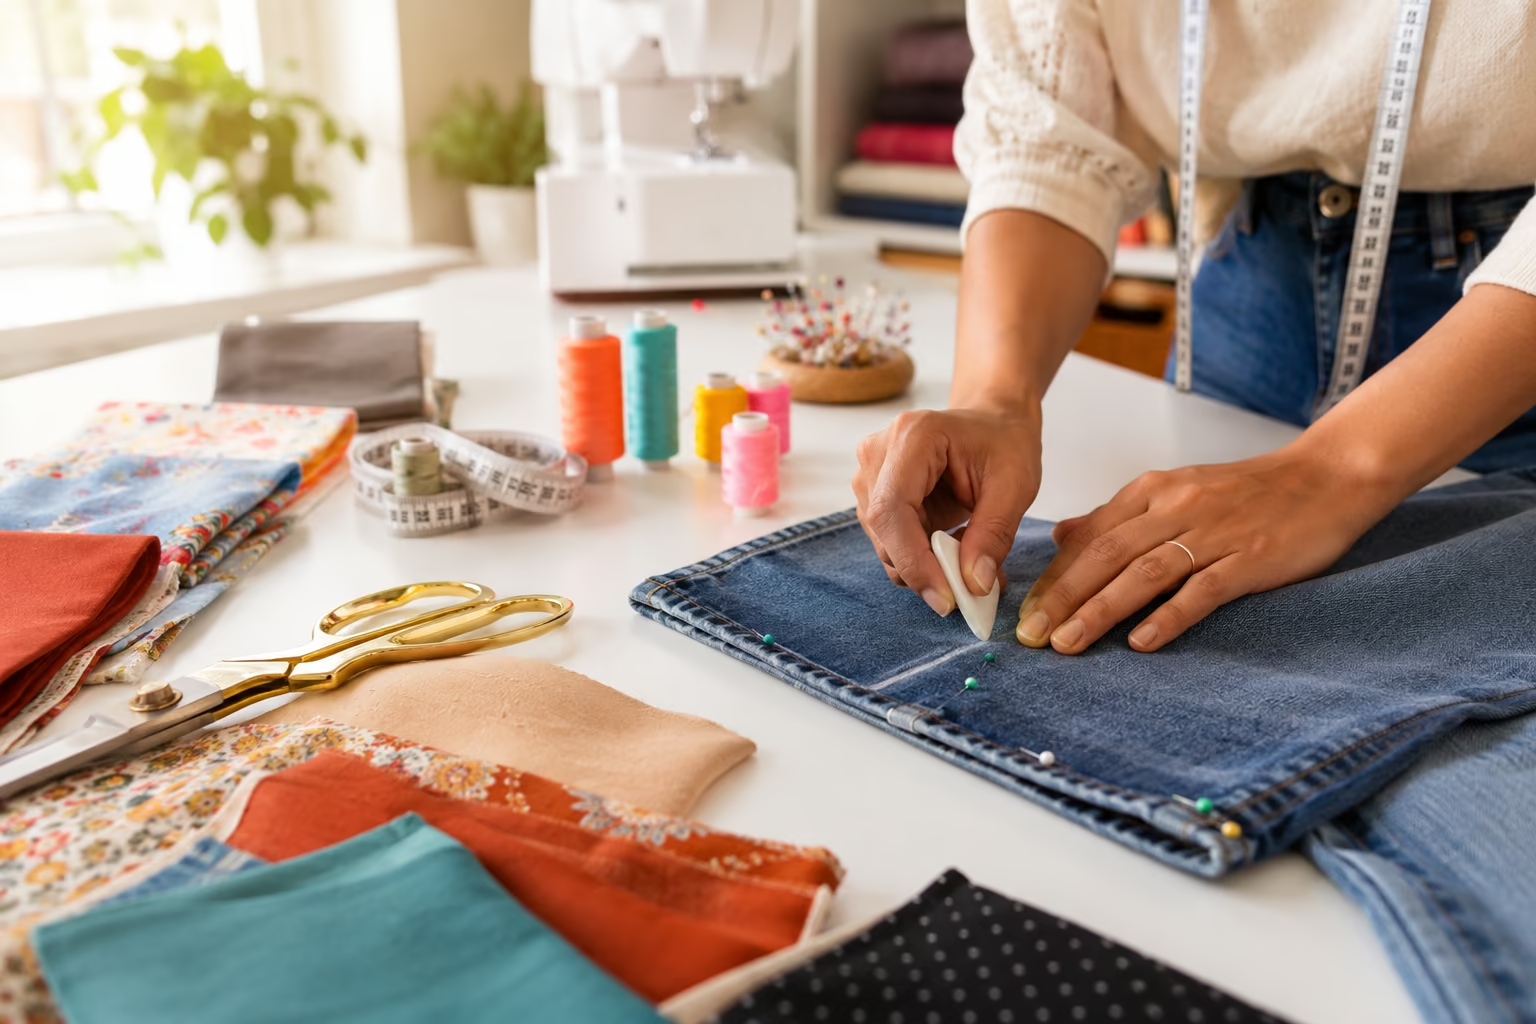
The average person discards or donates 70 pounds of clothing annually, yet most of those garments could be saved with simple alterations that take less than 30 minutes to complete. Basic clothing alterations anyone can learn transform ill-fitting wardrobe pieces into perfectly tailored garments without the expense of professional tailoring or years of sewing experience.
Key Takeaways
- Hand-sewing basics like hemming, taking in seams, and fixing zippers require only needle, thread, and scissors, no machine needed
- Essential alteration kit costs $15-25 and includes measuring tape, fabric scissors, seam ripper, pins, needles, and thread
- Professional alterations typically cost $10-40 per garment; DIY saves 80-90% of those costs
- Beginner-friendly projects include shortening pants, taking in shirt side seams, and replacing buttons
- Difficult fabrics like silk, leather, and heavily structured garments may require professional help
- Common mistakes include cutting before measuring twice, using dull needles, and skipping test stitches
- Practice progression should start with straight hems on cotton before advancing to curved seams or delicate materials
What Are the Easiest Clothing Alterations for Beginners
The easiest clothing alterations for beginners are hemming straight-leg pants, shortening sleeves, and taking in side seams on shirts,all require only basic hand-sewing or straight machine stitching on forgiving fabrics like cotton or denim. These alterations involve simple straight lines and minimal precision compared to complex tasks like inserting zippers or reshaping shoulders.
Start with these beginner-friendly projects:
- Hemming jeans or casual pants: Straight hems with minimal shaping
- Shortening curtains or pillowcases: Practice straight stitching without fit concerns
- Taking in elastic waistbands: Forgiving fabric that hides imperfect stitches
- Replacing buttons: No sewing machine required, immediate visible results
- Fixing small tears or holes: Simple whip-stitch repairs on non-visible areas
Choose cotton or cotton-blend fabrics first. They’re stable, don’t slip during sewing, and forgive tension mistakes better than slippery polyester or unforgiving silk. Denim is particularly beginner-friendly because its thickness hides uneven stitches and the casual nature of jeans means small imperfections blend in.
Common mistake: Beginners often start with their favorite or most expensive garment. Instead, practice on thrift store finds or old clothes you don’t mind ruining while you learn proper technique.
Basic Sewing Kit Essentials for Clothing Alterations
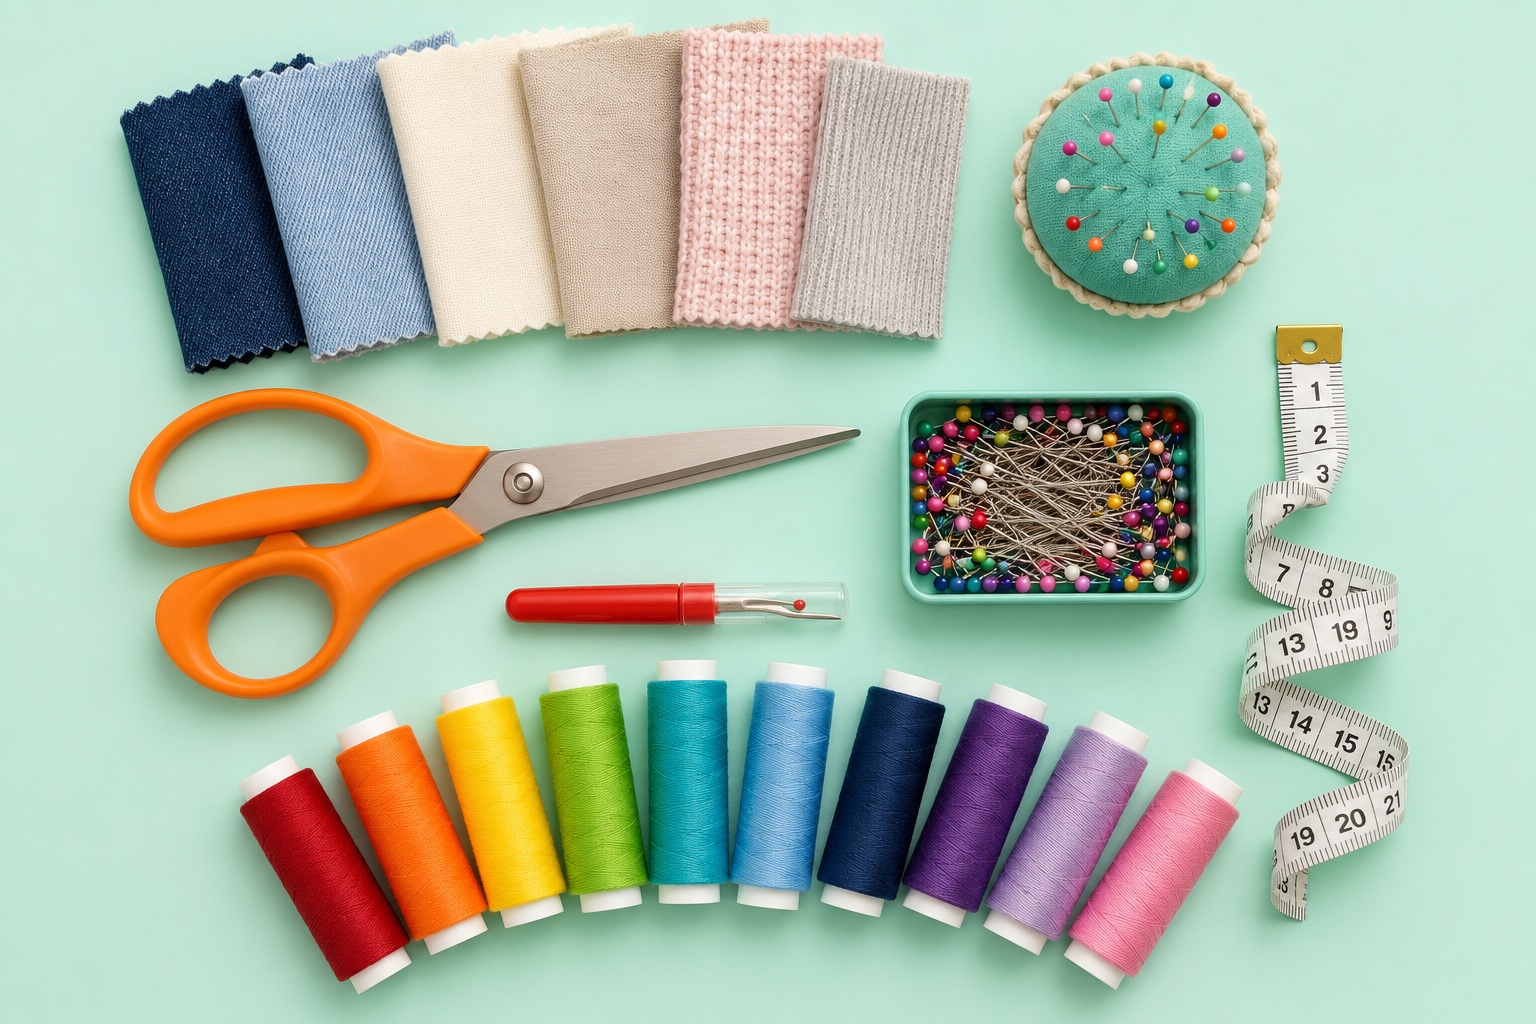
A basic alteration kit needs only fabric scissors, measuring tape, seam ripper, straight pins, hand-sewing needles (sizes 7-9), and all-purpose polyester thread in neutral colors. This minimal setup costs $15-25 and handles 90% of common alterations without a sewing machine.
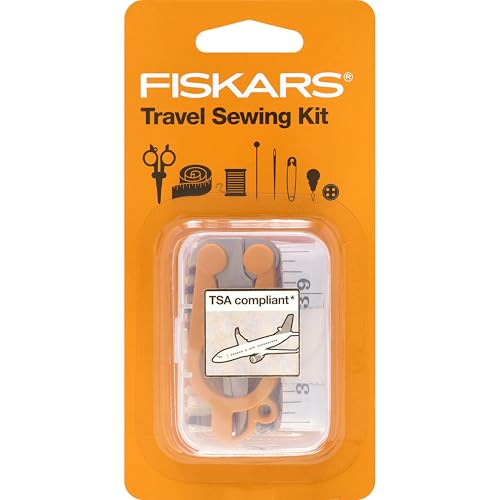
COMPACT AND TSA COMPLIANT DESIGN: Folding scissors with durable stainless steel blades are TSA compliant, and all 27 sewing essentials store neatly in a hard plastic case that fits easily in purses, backpacks, and carry on bags

✅Newly Upgraded Sewing Kit- Including more than 200pcs sewing accessories in this sewing set -43XL sewing thread ( Extra Black & White threads,5 rainbown threads ,and the length has been upgraded from 120 yards to 150 yards),2 Professional scissors,1 seam ripper ,1 pin cushion,1 tape mesure,30 needles,30 buttons etc.

【Heavy Duty Sewing Kit】- This comprehensive sewing kit includes 32 leather sewing needles, 10 leather sewing threads (30 m/color), a needle bottle, an awl, a tape measure, scissors, and a sewing thimble.
Must-Have Tools
Cutting tools:
- Fabric scissors (8-inch shears, fabric-only use)
- Small thread snips for precision work
- Seam ripper with sharp point
Measuring and marking:
- Flexible measuring tape (60 inches)
- Tailor’s chalk or fabric marking pen (water-soluble)
- Clear ruler for straight lines
Fastening and stitching:
- Straight pins with glass or plastic heads
- Hand-sewing needles variety pack
- All-purpose polyester thread (black, white, navy, gray)
- Thimble (optional but saves sore fingers)
Nice-to-have additions as you progress: needle threader, pincushion, iron and ironing board (pressing makes alterations look professional), and a small pair of embroidery scissors for detail work.
Budget tip: Dollar stores carry adequate measuring tapes and pins. Invest in quality fabric scissors ($15-20), they’ll last years and make cutting significantly easier than cheap versions that crush fabric instead of cutting cleanly.
For those interested in expanding beyond hand-sewing, check out our guide on sewing machine basics to understand when a machine becomes worthwhile.
How to Hem Pants by Hand Without a Sewing Machine
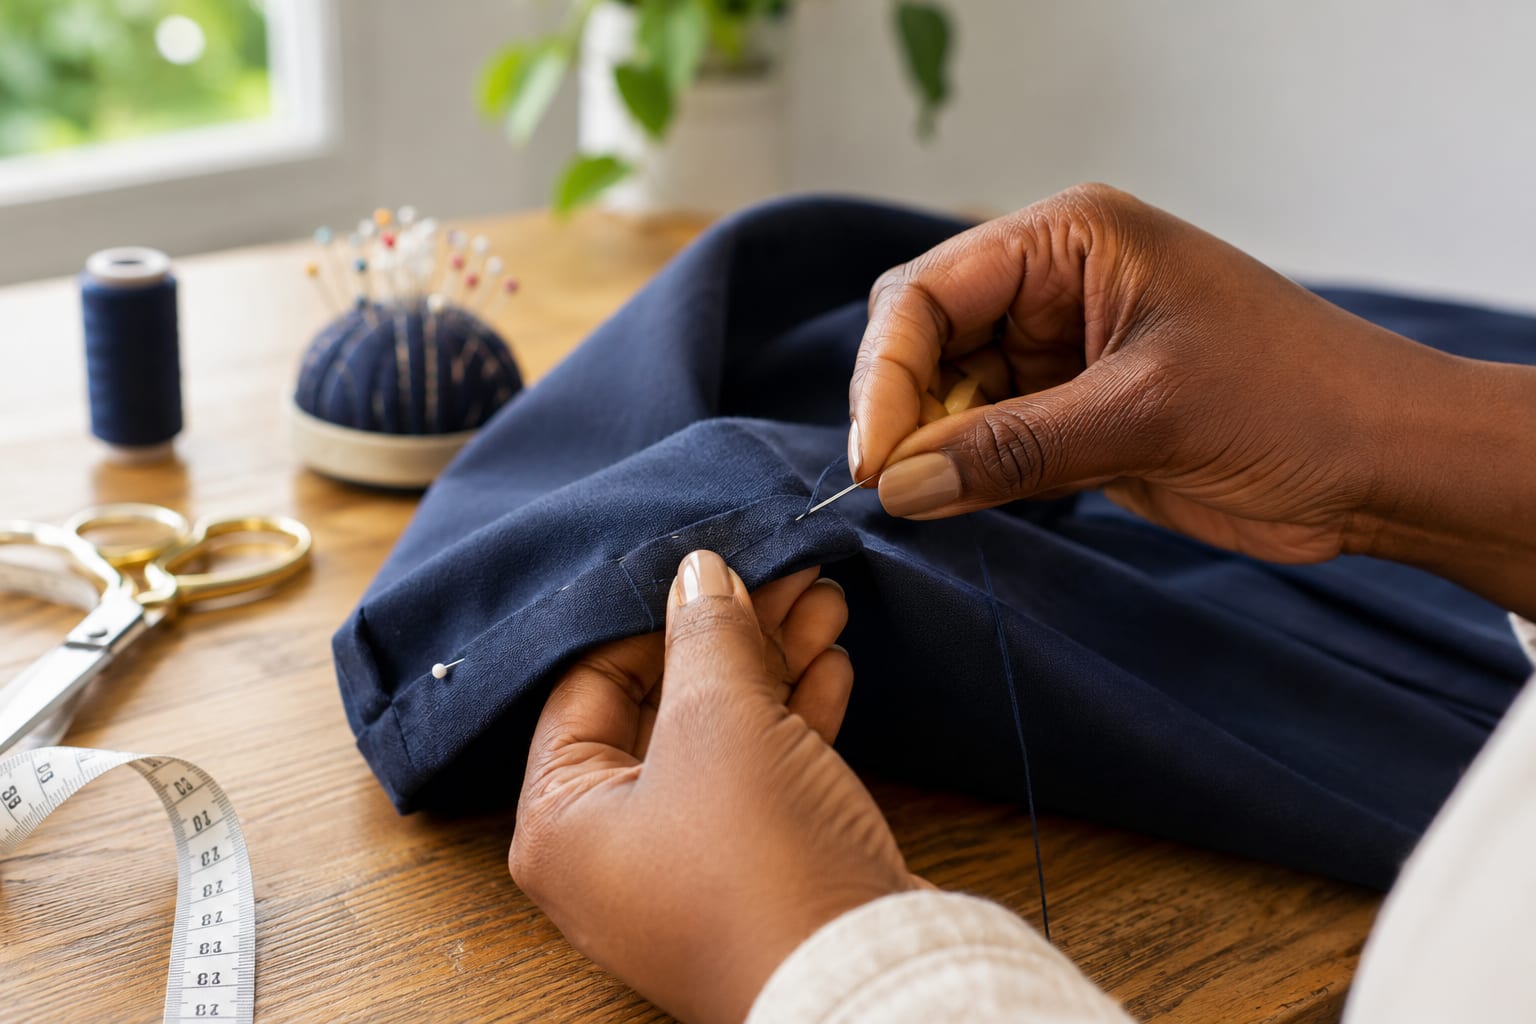
Hand-hemming pants requires measuring the desired length, folding the fabric twice to hide raw edges, pinning in place, and using a blind hem stitch or slip stitch that creates nearly invisible stitching from the outside. The entire process takes 20-30 minutes per pant leg once you’ve practiced the stitch.

𝑩𝒊𝒓𝒕𝒉𝒅𝒂𝒚 𝑮𝒊𝒇𝒕𝒔 𝑰𝒅𝒆𝒂𝒔: This sewing kit is terrific gifts for people who travel frequently, mother, grandmother, backpacker, adults, kids and teen girls! The emergency kit is also suitable for both men and women, beginners and professionals alike, and it is definitely something that everyone needs in their life

🧰 All-in-One Mending Kit with Organized Case Includes 24 thread colors, needles, scissors, tape measure, safety pins, buttons, threaders, seam ripper, thimbles, and more — neatly stored so you can find tools fast

Mini sewing kit with all the essentials for basic sewing and repairs; suitable for novice and expert sewers alike
Step-by-Step Hand Hemming Process
1. Measure and mark:
- Put on pants with shoes you’ll wear with them
- Fold up hem to desired length and pin
- Take off pants and measure from waistband to fold on both legs (must match)
- Mark fold line with chalk all around leg
2. Prepare the hem:
- Add 1.5 inches below your marked line (hem allowance)
- Cut off excess fabric in straight line
- Fold raw edge up 0.5 inch and press with iron
- Fold again at your marked line and press, this creates a double-fold hem that hides raw edges
3. Pin and stitch:
- Pin hem in place every 2-3 inches around leg
- Thread needle with 18-inch length (longer tangles)
- Use blind hem stitch: catch 1-2 threads from outer fabric, then run needle through folded hem edge for 0.25 inch, repeat
4. Finish:
- Knot thread securely inside hem
- Press finished hem with iron
Blind hem stitch advantage: When done correctly, only tiny dots of thread show on the outside, nearly invisible on most fabrics. The bulk of the stitch stays hidden inside the folded hem.
Common mistake: Pulling stitches too tight creates puckering visible from outside. Keep tension loose enough that fabric lies flat but tight enough that hem doesn’t sag.
Can I Alter Clothes Without Any Sewing Experience
Yes, you can alter clothes without prior sewing experience by starting with no-sew methods (hem tape, fabric glue) and progressing to basic hand-stitches that require only threading a needle. Many successful alterations need only the ability to sew a straight line and measure accurately.
No-Sew Alteration Methods
Hem tape (iron-on adhesive):
- Works for temporary or permanent hems on pants, skirts, curtains
- Simply fold fabric, insert tape, and press with hot iron
- Holds through multiple washes on stable fabrics
- Not suitable for items washed frequently or fabrics that can’t handle heat
Fabric glue:
- Repairs small tears, reattaches trim, secures patches
- Washable versions available (check label)
- Dries clear and flexible
Safety pins and fashion tape:
- Temporary fixes for gaping necklines, loose waistbands
- Hidden inside garments
Easiest Hand-Stitches for True Beginners
Running stitch: In and out in straight line, used for basting (temporary holding) and simple seams. If you can thread a needle, you can do this.
Backstitch: Stronger than running stitch, creates continuous line. Each stitch goes backward to meet the previous one, creating durable seam.
Whip stitch: Over-and-over edge stitch for repairs and attaching patches.
Learning curve: Most people master basic hand-stitching in 1-2 hours of practice. The skill isn’t complex, it’s repetitive motion that improves with practice. Start with thick thread and large needles on scrap fabric to build confidence before working on actual garments.
If you encounter persistent issues while learning, our troubleshooting guide on common sewing problems can help identify what’s going wrong.
Hemming vs Tailoring: What’s the Difference
Hemming is the specific task of shortening a garment by folding and stitching the bottom edge, while tailoring encompasses all alterations that change a garment’s fit, shape, or structure, including hemming plus taking in seams, adjusting darts, reshaping shoulders, and more complex reconstructions. Hemming is one small subset of tailoring skills.
Scope Comparison
Hemming includes:
- Shortening pants, skirts, dresses, sleeves
- Maintaining original garment shape
- Usually involves straight or slightly curved stitching
- Can be done by hand or machine
- Takes 15-45 minutes depending on garment
Full tailoring includes:
- All hemming tasks, plus:
- Taking in or letting out side seams, waist, bust
- Adjusting shoulder width and armhole depth
- Reshaping darts for better fit
- Tapering pant legs
- Replacing or moving zippers
- Shortening or lengthening torso
- Reconstructing collar, cuffs, waistbands
Skill difference: Hemming requires measuring and straight stitching. Tailoring requires understanding garment construction, body proportions, and how fabric drapes, skills that take months to years to develop fully.
Cost difference: Professional hemming costs $10-20 for pants, $15-30 for dresses. Full tailoring alterations range from $25 for simple side seams to $100+ for complex jacket restructuring.
How Much Does It Cost to Get Clothes Altered vs Doing It Yourself
Professional alterations cost $10-40 for simple tasks (hems, waist adjustments) and $50-150 for complex work (jacket restructuring, formal wear), while DIY alterations cost only the initial $15-25 tool investment plus your time, typically saving 80-90% per garment after your first few projects.
Cost Breakdown Comparison
| Alteration Type | Professional Cost | DIY Cost | Time Investment |
|---|---|---|---|
| Hem pants | $12-20 | $0 (after kit) | 30-45 min |
| Hem dress | $18-35 | $0 | 45-60 min |
| Take in shirt sides | $15-25 | $0 | 30-40 min |
| Taper pant legs | $20-30 | $0 | 60-90 min |
| Replace zipper | $25-45 | $3-8 (zipper) | 90-120 min |
| Shorten sleeves (lined) | $25-40 | $0 | 60-90 min |
Break-even calculation: If you alter just 2-3 garments yourself, you’ve recovered the cost of your basic sewing kit. Every alteration after that is pure savings.
Time value consideration: Professional alterations take 3-7 days turnaround plus drop-off/pickup time. DIY alterations happen on your schedule and can be completed same-day for urgent needs.
When professional is worth it: Complex alterations on expensive garments (wedding dresses, suits, leather jackets) often justify professional cost because mistakes are costly and difficult to reverse. For everyday clothing, DIY makes financial sense.
Hidden DIY benefit: Learning alterations means you can buy clothes that fit in one dimension (shoulders, bust) and alter the rest, dramatically expanding your shopping options and allowing you to buy quality pieces on sale that need minor adjustments.
Common Mistakes When Hemming Jeans at Home
The most common hemming mistakes are cutting before measuring twice, using regular thread instead of heavy-duty on thick denim, and failing to account for the original hem’s thickness when folding the new one,resulting in hems that are too short, break easily, or look bulky and unprofessional.
Top Hemming Errors and Fixes
Measuring mistakes:
- ❌ Measuring once and cutting immediately
- ✅ Measure three times, mark with chalk, verify both legs match before cutting
- ❌ Measuring without wearing appropriate shoes
- ✅ Always measure while wearing the shoes you’ll wear with those jeans
Thread and needle problems:
- ❌ Using all-purpose thread on heavy denim (breaks easily)
- ✅ Use heavy-duty or denim thread (often labeled “jeans thread”)
- ❌ Using regular needle that breaks or skips stitches
- ✅ Use size 16 or 18 denim needle (thicker shaft penetrates multiple layers)
Hem construction errors:
- ❌ Folding hem too wide (creates stiff, bulky roll)
- ✅ Keep hem allowance to 1-1.5 inches maximum on jeans
- ❌ Not pressing hem before stitching
- ✅ Iron hem flat, pressed hems stay in place and look crisp
- ❌ Stitching through all layers at once without pinning
- ✅ Pin every 2-3 inches to prevent shifting while sewing
Original hem preservation: Many people prefer keeping the original factory hem because it has authentic fading and wear. To do this, measure desired length, cut with extra allowance, fold the raw edge up inside, then fold the original hem down to meet your length mark. This hides the raw edge while keeping the original hem visible.
Denim-specific challenge: Thick side seams create bulk where four layers meet. When hemming, you may need to trim some of the inner hem allowance at side seams to reduce bulk, or hand-stitch those areas if your machine can’t handle the thickness.
For more guidance on handling difficult fabrics and layers, see our article on why fabric doesn’t feed through properly.
How to Take in a Shirt That’s Too Big
Taking in a shirt requires pinning the excess fabric along the side seams while wearing the shirt inside-out, marking a new seam line that follows your body shape, and stitching along that line,typically removing 0.5-2 inches per side. This alteration works best on woven fabric shirts with simple side seams.

Crafted from a unique 40 singles tri-blend fabric, offering a lightweight, ultra-soft feel

McCall's pattern kits come with pattern pieces for cutting out the fabric, step by step written and illustrated instructions to guide you through the sewing process, information on how to select fabric and trims, and sizing information

Includes SINGER ProSeries Thread Snips, Comfort Grip Seam Ripper, ProSeries 4 1/2 inch Detail Scissor, and a bonus thimble
Step-by-Step Shirt Alteration
1. Prepare the shirt:
- Turn shirt inside-out
- Put it on (or have the wearer put it on)
- Pin excess fabric along side seams from armpit to hem
- Pin both sides equally, measure to ensure symmetry
2. Mark the new seam:
- Take off shirt carefully (pins stay in place)
- Lay flat on table
- Use chalk to draw new seam line following pins
- Add 0.5-inch seam allowance beyond pins
- Verify both sides match by measuring from center front/back
3. Stitch the new seam:
- Use backstitch if hand-sewing (strongest hand stitch)
- Or use straight stitch on machine
- Start at armpit, stitch down to hem
- Backstitch at beginning and end to lock stitches
- Remove pins as you sew
4. Finish the alteration:
- Try on shirt to verify fit before cutting
- If fit is good, trim excess fabric to 0.5 inch from new seam
- Finish raw edge with zigzag stitch (machine) or whip stitch (hand) to prevent fraying
- Press seam open or to one side
Fitting tip: Pin while wearing the shirt over the same undergarments you’ll wear normally. Bras, undershirts, and layers affect fit, pin over them for accurate results.
Curved vs straight seams: Shirts with curved side seams (shaped to waist) are more forgiving of fit adjustments. Straight side seams (common on men’s shirts and casual tees) show fitting errors more obviously, so measure carefully.
When to stop: If you need to remove more than 2 inches per side (4 inches total circumference), the armhole and shoulder proportions may look off. At that point, the shirt is too large to alter successfully.
Are Some Fabrics Too Difficult to Alter Yourself
Yes, silk, satin, leather, suede, heavily beaded or sequined fabrics, and anything with complex lining are significantly more difficult to alter and often require professional expertise because they show every needle hole, fray easily, require special needles and techniques, or involve construction knowledge beyond basic sewing.
Beginner-Friendly vs Difficult Fabrics
Easy fabrics for DIY alterations:
- Cotton and cotton blends: Stable, forgiving, hides small mistakes
- Denim: Thick enough to hide uneven stitches, casual aesthetic forgives imperfection
- Linen: Slightly more challenging than cotton but still manageable
- Fleece and knits: Forgiving and stretchy (though knits require different techniques)
- Canvas and twill: Stable and easy to work with
Difficult fabrics requiring experience:
- Silk and satin: Slippery, shows every needle hole permanently, frays aggressively
- Leather and suede: Requires special needles, every needle hole is permanent, can’t be pressed with regular iron
- Velvet and velour: Pile crushes easily, requires special pressing techniques
- Chiffon and organza: Extremely slippery and sheer, difficult to handle
- Heavily embellished fabrics: Beads and sequins break needles, must be removed and reattached
Lining complications: Garments with lining (jackets, formal dresses, some pants) require altering both outer fabric and lining separately, then reattaching them, doubling the work and requiring understanding of how lining should fit relative to outer fabric.
Structure matters: Garments with interfacing, boning, or padding (blazers, structured dresses, formal wear) involve multiple layers and construction techniques beyond basic sewing. Altering these often means partially deconstructing and reconstructing the garment.
Practice progression: Start with cotton or denim garments from thrift stores. Once you’ve successfully completed 5-10 alterations on easy fabrics, you can attempt moderately difficult fabrics like linen or simple polyester. Save silk, leather, and lined garments for when you have significant experience or are willing to risk ruining them while learning.
Best Beginner Alterations to Practice First
The best practice alterations are hemming cotton pillowcases, shortening elastic-waist pajama pants, and taking in the side seams of oversized cotton t-shirts,these projects use forgiving fabrics, involve straight stitching, have low stakes if mistakes happen, and provide immediate wearable results that build confidence.
Recommended Practice Progression
Level 1: No-stakes practice (1-3 hours total)
- Hem a pillowcase or dish towel (straight hem, cotton fabric)
- Sew a simple drawstring bag from scrap fabric (practice straight seams)
- Repair a small tear in old clothing (practice basic stitches)
Level 2: Low-stakes alterations (3-6 hours total)
4. Hem elastic-waist pajama pants or sweatpants (forgiving fit)
5. Shorten curtains (straight hem, doesn’t require precise fit)
6. Take in side seams on oversized t-shirt (knit fabric is forgiving)
Level 3: Wearable alterations (6-12 hours total)
7. Hem jeans or casual pants (visible but casual garment)
8. Take in side seams on button-up shirt (more visible, requires precision)
9. Shorten sleeves on long-sleeve shirt (curved hem practice)
Level 4: Intermediate projects (12+ hours total)
10. Taper pant legs (requires reshaping)
11. Take in waistband on pants (involves multiple construction elements)
12. Replace a zipper (requires understanding zipper installation)
Why this order works: Each level introduces one new challenge while building on previous skills. You’re not learning multiple new techniques simultaneously, which reduces frustration and increases success rate.
Thrift store advantage: Buy $2-5 garments from thrift stores for practice. If you ruin them, you’ve lost minimal money but gained valuable learning experience. Once you succeed on thrift store clothes, you’ll have confidence to alter your own wardrobe.
Time investment: Most beginners need 10-15 hours of practice (spread over several weeks) before they feel confident altering their own clothes. That’s roughly 8-10 practice projects before you’re ready for alterations that matter.
When Should I Pay a Tailor Instead of DIY
Pay a professional tailor when altering expensive garments (over $200), working with difficult fabrics like silk or leather, making complex structural changes to jackets or formal wear, or when the alteration cost is less than 15% of the garment’s value and your time is limited. DIY makes sense for everyday clothing on forgiving fabrics where mistakes are low-cost.
Decision Framework
Choose professional tailoring when:
- Garment cost exceeds $200 (suits, designer pieces, formal wear)
- Fabric is silk, leather, suede, or heavily embellished
- Alteration involves jacket shoulders, collar, or lapels
- Garment has complex lining or structure
- You need perfect results for important event (wedding, interview)
- Alteration requires specialized equipment (buttonhole maker, industrial machine)
- You’ve never done this type of alteration before and can’t afford to ruin the garment
Choose DIY when:
- Garment is everyday wear (jeans, t-shirts, casual dresses)
- Fabric is cotton, denim, or simple polyester
- Alteration is straightforward (hem, side seams, elastic waistband)
- You have time to practice and potentially redo if needed
- Garment cost is under $50 (cost of ruining it is acceptable)
- You want to learn the skill for future use
- Turnaround time is flexible
Hybrid approach: Many people DIY simple alterations (hems, basic seams) and pay professionals for complex work (jacket restructuring, zipper replacement in formal wear). This maximizes savings while ensuring quality on difficult projects.
Cost-benefit calculation: If professional alteration costs $20 and would take you 2 hours to DIY, ask whether your time is worth $10/hour for that task. If you’re learning a skill you’ll use repeatedly, the time investment pays dividends. If it’s a one-time alteration, professional may make sense.
Risk assessment: Can you afford to ruin this garment? If yes, DIY is low-risk learning opportunity. If no, pay the professional.
For those considering investing in a machine for more complex alterations, our sewing machine comparison guide can help you understand what features matter.
How to Fix a Zipper Without Replacing It
Most zipper problems can be fixed without replacement by realigning separated teeth with pliers, replacing the zipper pull/slider (the part you hold), or adjusting the bottom stop,repairs that take 5-15 minutes and cost under $5 for replacement parts. Complete zipper replacement is only necessary when teeth are broken or fabric tape is torn.
Common Zipper Problems and Quick Fixes
Zipper separates after zipping:
- Cause: Slider is worn and doesn’t press teeth together firmly
- Fix: Use pliers to gently squeeze slider sides closer together (increases pressure on teeth)
- Test: Zip up and down several times, should stay closed
- If still separating: Replace slider ($2-4 at fabric stores)
Slider pulls off track:
- Cause: Slider came completely off one or both sides of teeth
- Fix: Thread slider back onto teeth at bottom, starting with both sides inserted into slider channels
- Tip: Angle slider at 45 degrees to help teeth enter channels
- Prevent recurrence: Add a few hand stitches at bottom stop to reinforce
Zipper won’t zip smoothly:
- Cause: Fabric caught in teeth, dirt buildup, or dry teeth
- Fix: Remove caught fabric carefully with tweezers, clean teeth with old toothbrush, lubricate with graphite pencil (rub pencil lead on teeth) or beeswax
- Avoid: Oil or WD-40 (attracts dirt and stains fabric)
Bottom stop is broken:
- Cause: Metal or plastic stop at bottom came off
- Fix: Hand-stitch several times across bottom of zipper to create new stop
- Or: Purchase replacement metal stops at fabric store and crimp in place with pliers
When replacement is necessary:
- Multiple broken teeth (can’t be repaired)
- Fabric tape is torn or separating from teeth
- Zipper is rusted or corroded beyond function
- Slider replacement doesn’t solve separation problem
Replacement slider tip: Bring old slider to fabric store to match size. Sliders come in different sizes (#3, #5, #7, etc.) and must match your zipper teeth size to work properly.
If you’re ready to tackle zipper replacement, understanding presser feet types including zipper feet will help you achieve professional results.
What Alterations Are Impossible to Do at Home
Truly impossible home alterations include resizing jacket shoulders (requires complete deconstruction), shortening jackets while maintaining pocket and button placement proportions, and adding fabric to make garments larger (no fabric exists to add),these require professional pattern-making skills, specialized equipment, or are physically impossible without additional material.
Extremely Difficult or Impossible Alterations
Structurally impossible:
- Making garments larger beyond letting out existing seam allowances (typically 0.5-1 inch maximum), you can’t add fabric that doesn’t exist
- Lengthening garments beyond existing hem allowances (usually 1-2 inches)
- Changing garment style fundamentally (turning pants into shorts is easy; turning shorts into pants is impossible)
Requires professional expertise:
- Jacket shoulder alterations: Involves removing sleeves, restructuring shoulder pads and canvas, reattaching sleeves, requires understanding of tailored garment construction
- Shortening suit jackets or blazers: Must maintain button placement, pocket proportions, and vent length relationships, requires pattern-making knowledge
- Resizing formal wear with boning or structure: Wedding dresses, corsets, structured evening gowns involve complex construction
- Reweaving or invisible mending: Specialized skill for repairing visible holes in expensive fabrics
- Leather alterations: Requires industrial machine, special needles, and leather-specific techniques
Requires specialized equipment:
- Professional buttonholes: Home machines can make buttonholes, but professional machines create more durable, precise ones
- Heavy canvas or upholstery: Requires industrial machine with high needle penetration power
- Blind hem on thick fabrics: Professional blind hem machines create truly invisible hems that are difficult to replicate by hand
Practical limitations: Even if technically possible, some alterations take so long (4-6+ hours) that paying a professional makes economic sense unless you’re learning the skill for repeated use.
The 80/20 rule: About 80% of common alterations (hems, side seams, waistbands, sleeves, simple repairs) can be done at home with basic skills. The remaining 20% (structural changes, difficult fabrics, complex construction) benefit from professional expertise.
Do I Need a Sewing Machine for Basic Alterations
No, you don’t need a sewing machine for basic alterations,hand-sewing with needle and thread handles hems, side seams, repairs, and button replacement perfectly well, though machines save time on long straight seams and create more uniform stitches. Many professional tailors still hand-sew hems and detail work for superior control and invisible results.
Hand-Sewing vs Machine Comparison
Alterations that work well by hand:
- Hems on pants, skirts, dresses (blind hem stitch is nearly invisible)
- Shortening sleeves
- Small repairs and patches
- Button replacement and reinforcement
- Taking in small amounts on side seams
- Attaching trim or appliques
- Fixing small tears
Alterations better with machine:
- Long straight seams (side seams on shirts, tapering pant legs)
- Topstitching (visible decorative stitching)
- Sewing through thick layers (denim hems with multiple layers)
- Projects requiring speed (hemming multiple garments)
- Buttonholes (difficult to make by hand)
- Zigzag finishing on raw edges
Time comparison:
- Hand-hemming pants: 25-40 minutes per leg
- Machine-hemming pants: 5-10 minutes per leg
- Hand-sewing side seam: 20-30 minutes
- Machine-sewing side seam: 3-5 minutes
Quality comparison: Hand-sewn blind hems are often more invisible than machine hems because you control exactly how much outer fabric each stitch catches. Machine hems are stronger and more uniform but may show slightly more on the outside.
When to invest in a machine: If you’re altering more than 2-3 garments per month, a basic sewing machine ($100-200) pays for itself in time savings within a year. If you alter occasionally, hand-sewing is perfectly adequate and costs almost nothing.
Learning curve: Hand-sewing basic stitches takes 1-2 hours to learn. Operating a sewing machine competently takes 4-8 hours of practice. Both skills are accessible to beginners, but hand-sewing has a lower entry barrier.
For those considering a machine, start with our guide on beginner sewing machines to understand what features matter for alterations versus other sewing projects.
Frequently Asked Questions
How long does it take to learn basic clothing alterations?
Most people can learn basic hemming and simple seam alterations in 2-4 hours of practice, with competence developing after completing 5-10 practice projects over 2-3 weeks. Complex alterations like jacket restructuring require months of study and practice.
Can I alter stretchy fabrics like leggings and t-shirts?
Yes, but knit fabrics require different techniques than woven fabrics, use a ballpoint needle, stretch stitch or narrow zigzag (not straight stitch), and don’t pull fabric while sewing. Knits are actually forgiving for beginners because they hide small mistakes well.
What’s the best thread color for alterations?
Match thread color to the darkest color in the fabric for inconspicuous stitching. When in doubt, slightly darker thread is less visible than lighter. Keep black, white, navy, gray, and beige thread on hand to cover most garments.
How do I know if a garment is worth altering?
Alter garments when the cost and time of alteration is less than 30% of the garment’s value and the garment fits well in at least one dimension (shoulders, bust, or hips). Don’t alter cheap fast-fashion pieces that cost less than the alteration would.
Can I fix a garment I accidentally cut too short?
If you cut too short, you can add a decorative band, contrasting fabric panel, lace trim, or cuff to add length back. This works better on casual garments than formal wear. Prevention is key, always measure three times before cutting.
Do I need special thread for jeans and heavy fabrics?
Yes, use heavy-duty or denim thread (often labeled “jeans thread”) for denim and canvas, regular all-purpose thread breaks under the stress of thick fabrics. Also use a size 16 or 18 needle designed for denim.
How do I prevent fabric from fraying after cutting?
Finish raw edges with zigzag stitch (machine), whip stitch (hand), or apply liquid fray preventer (Fray Check). On fabrics that fray aggressively, finish edges immediately after cutting before they unravel.
Can I alter clothes that are too small?
You can let out seams if there’s sufficient seam allowance (usually 0.5-1 inch maximum per seam), but you can’t add fabric that doesn’t exist. Most garments can only be enlarged by 1-2 inches total before you run out of seam allowance.
What’s the difference between basting and permanent stitching?
Basting uses long, loose stitches to temporarily hold fabric in place for fitting or positioning before permanent stitching. Basting stitches are easy to remove. Permanent stitching uses shorter, tighter stitches that secure fabric permanently.
How do I practice stitching without wasting fabric?
Practice on old sheets, pillowcases, or thrift store fabric (often $1-2 per yard). Draw lines on fabric with chalk and practice stitching straight lines, curves, and corners. Save your good fabric for actual projects after you’ve practiced technique.
Should I wash fabric before altering?
Yes, wash and dry garments before altering because many fabrics shrink in the first wash. If you alter before washing, your carefully measured hem may become too short after the first laundry cycle.
Can I remove old stitches and redo an alteration?
Yes, use a seam ripper to carefully remove stitches without damaging fabric. This is common when learning, most beginners redo alterations 1-2 times before achieving desired fit. Needle holes usually close up after pressing, especially on woven fabrics.
Conclusion
Basic clothing alterations anyone can learn transform your wardrobe from almost-right to perfectly fitted without the recurring expense of professional tailoring. Starting with simple projects like hemming cotton pants or taking in t-shirt side seams builds the foundational skills that eventually allow you to tackle more complex alterations with confidence.
The key to success is starting small, practicing on low-stakes garments, and progressing gradually from forgiving fabrics like cotton and denim to more challenging materials only after you’ve mastered the basics. Your initial $15-25 investment in basic tools pays for itself after just 2-3 alterations, and the skills you develop serve you for life.
Take action today: Purchase or gather your basic alteration kit (scissors, measuring tape, pins, needles, thread), find an old garment or thrift store piece that needs hemming, and complete your first practice alteration this week. The confidence you gain from that first successful project will motivate you to tackle the next one, and within a month you’ll wonder why you ever paid someone else to do such simple tasks.
Remember that even professional tailors started as beginners making imperfect stitches on practice fabric. Every expert was once a novice who decided to try anyway. Your wardrobe, and your wallet, will thank you for learning these essential skills.
For additional guidance on sewing techniques and troubleshooting, explore our resources on sewing tips and machine maintenance to support your alteration journey.


