


Quick Answer
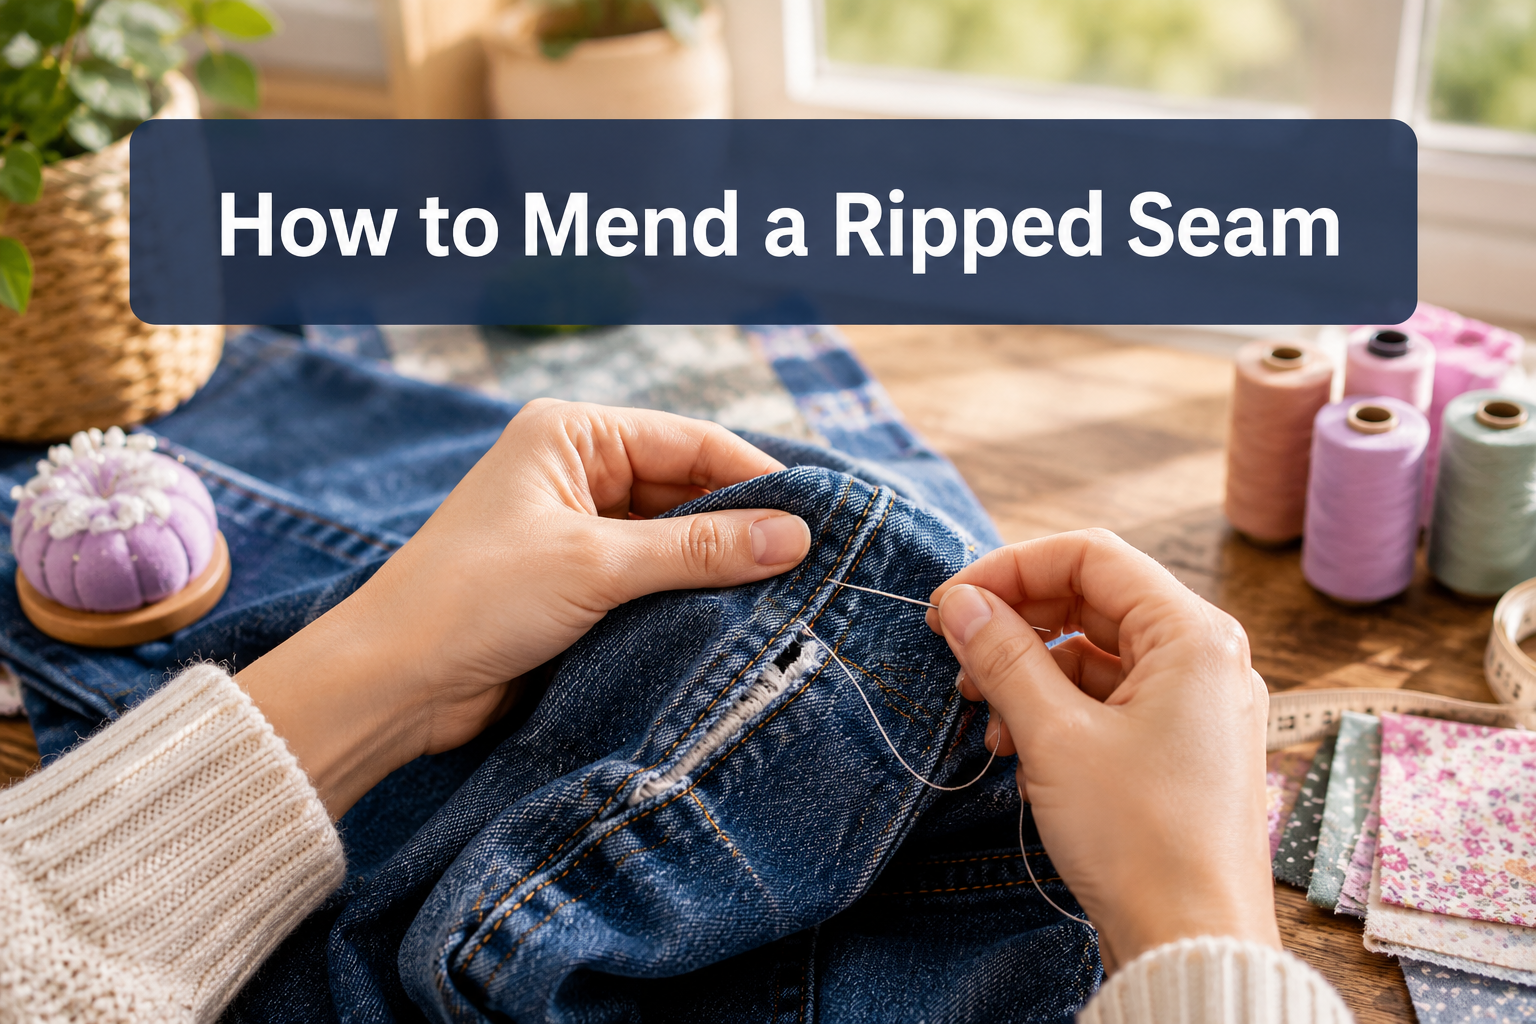
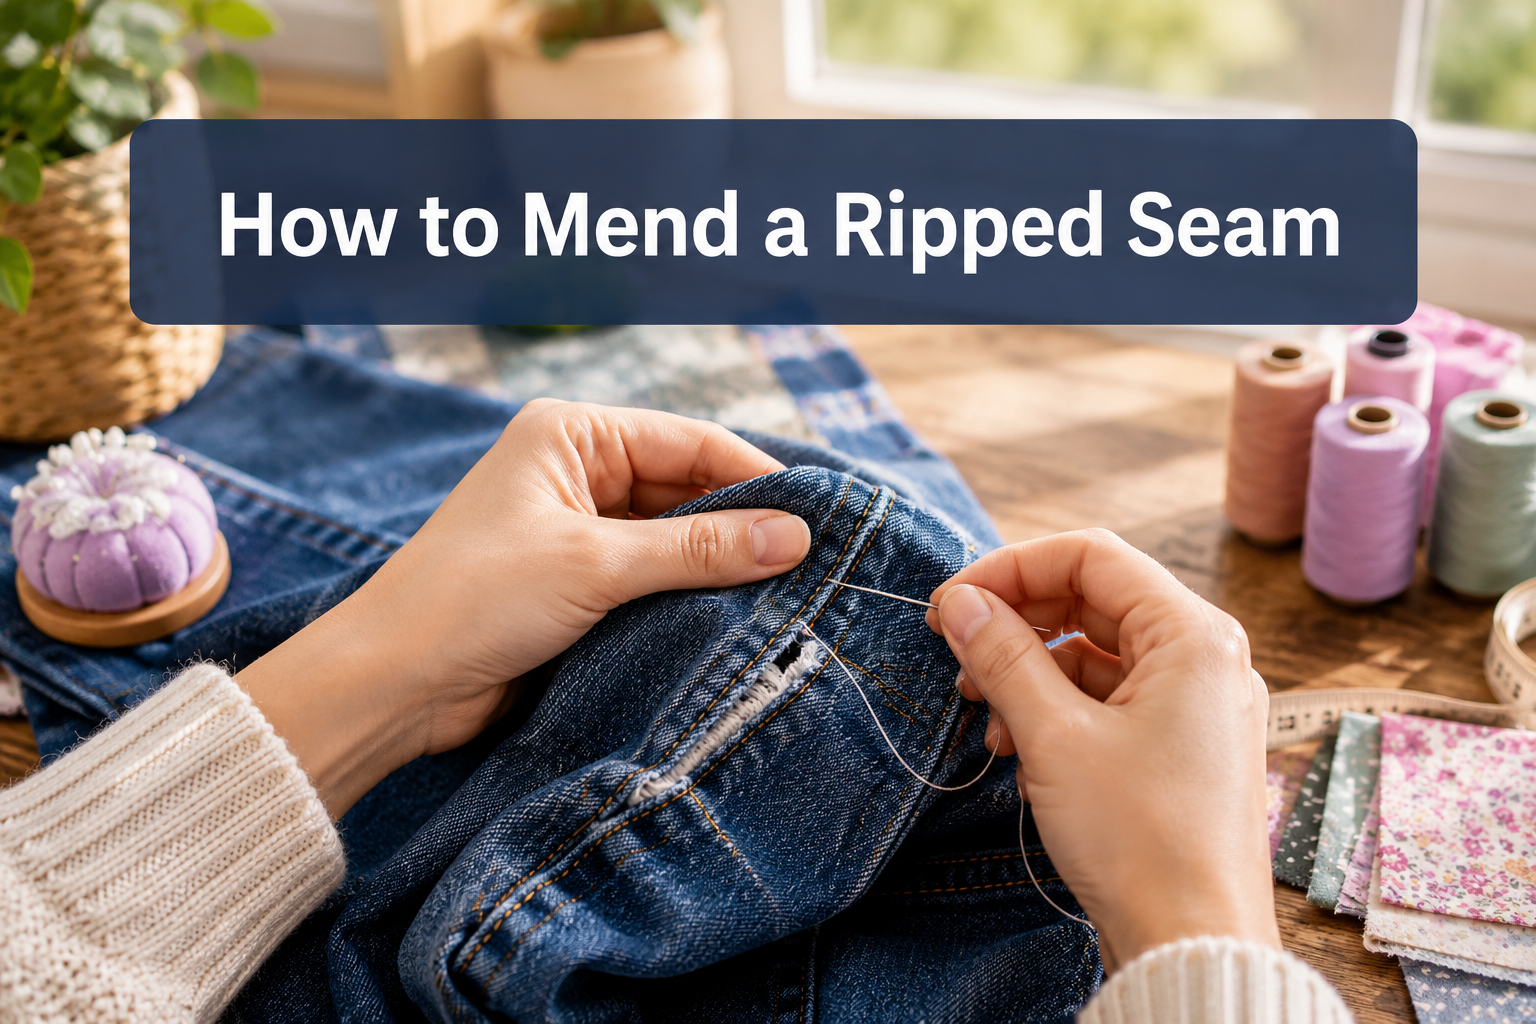
Mending a ripped seam involves pinning the separated fabric edges back together along the original seam line, then stitching them closed using either a backstitch by hand or a straight stitch on a sewing machine. The repair typically takes 5-15 minutes and requires only basic supplies: thread that matches your fabric weight, a needle, and pins. When done correctly with proper thread tension and a secure knot, a mended seam can be just as strong as the original construction.
Key Takeaways
- Ripped seams are easier to fix than torn fabric because the material itself is intact, only the stitching has failed
- Hand-sewing works perfectly well for seam repairs and doesn’t require a machine, though machine stitching is faster
- Thread choice matters: use all-purpose polyester thread for most fabrics, but switch to elastic thread for stretchy materials like leggings
- Backstitch creates the strongest hand-sewn repair because it mimics machine stitching with overlapping thread paths
- Professional repairs cost $8-20 depending on location and garment complexity, but DIY repairs cost pennies
- Seams that keep re-ripping usually indicate stress points that need reinforcement or fabric that’s too worn to hold stitches
- Stretchy fabrics require zigzag stitches or elastic thread to prevent the repair from snapping when the fabric stretches
- Beginners can absolutely mend seams,it’s one of the most approachable sewing repairs and requires minimal skill
- Common mistakes include using thread that’s too thick, skipping the pin step, or pulling stitches too tight
What Is the Difference Between a Ripped Seam and Torn Fabric?
A ripped seam occurs when the thread holding two pieces of fabric together breaks or pulls out, but the fabric itself remains undamaged. Torn fabric means the material has actually ripped apart, creating a hole or split in the cloth itself rather than just along the stitching line.
This distinction matters because ripped seams are significantly easier to repair. When you examine a seam failure, look at the fabric edges:
- Ripped seam: Clean fabric edges that were previously sewn together, visible stitch holes along the seam allowance, no fraying or holes in the material
- Torn fabric: Jagged edges, missing material, holes that extend beyond the seam line, visible damage to the cloth fibers
Most clothing failures are ripped seams, especially in high-stress areas like underarms, crotches, and side seams. The fabric simply outlasted the thread, or the garment experienced more tension than the stitching could handle. Torn fabric requires patching or darning, which is a more advanced repair technique.
Common mistake: Assuming you need to patch when you actually just need to re-stitch. Always inspect the damage closely before deciding on your repair method.
What Tools Do I Need to Mend a Ripped Seam at Home?
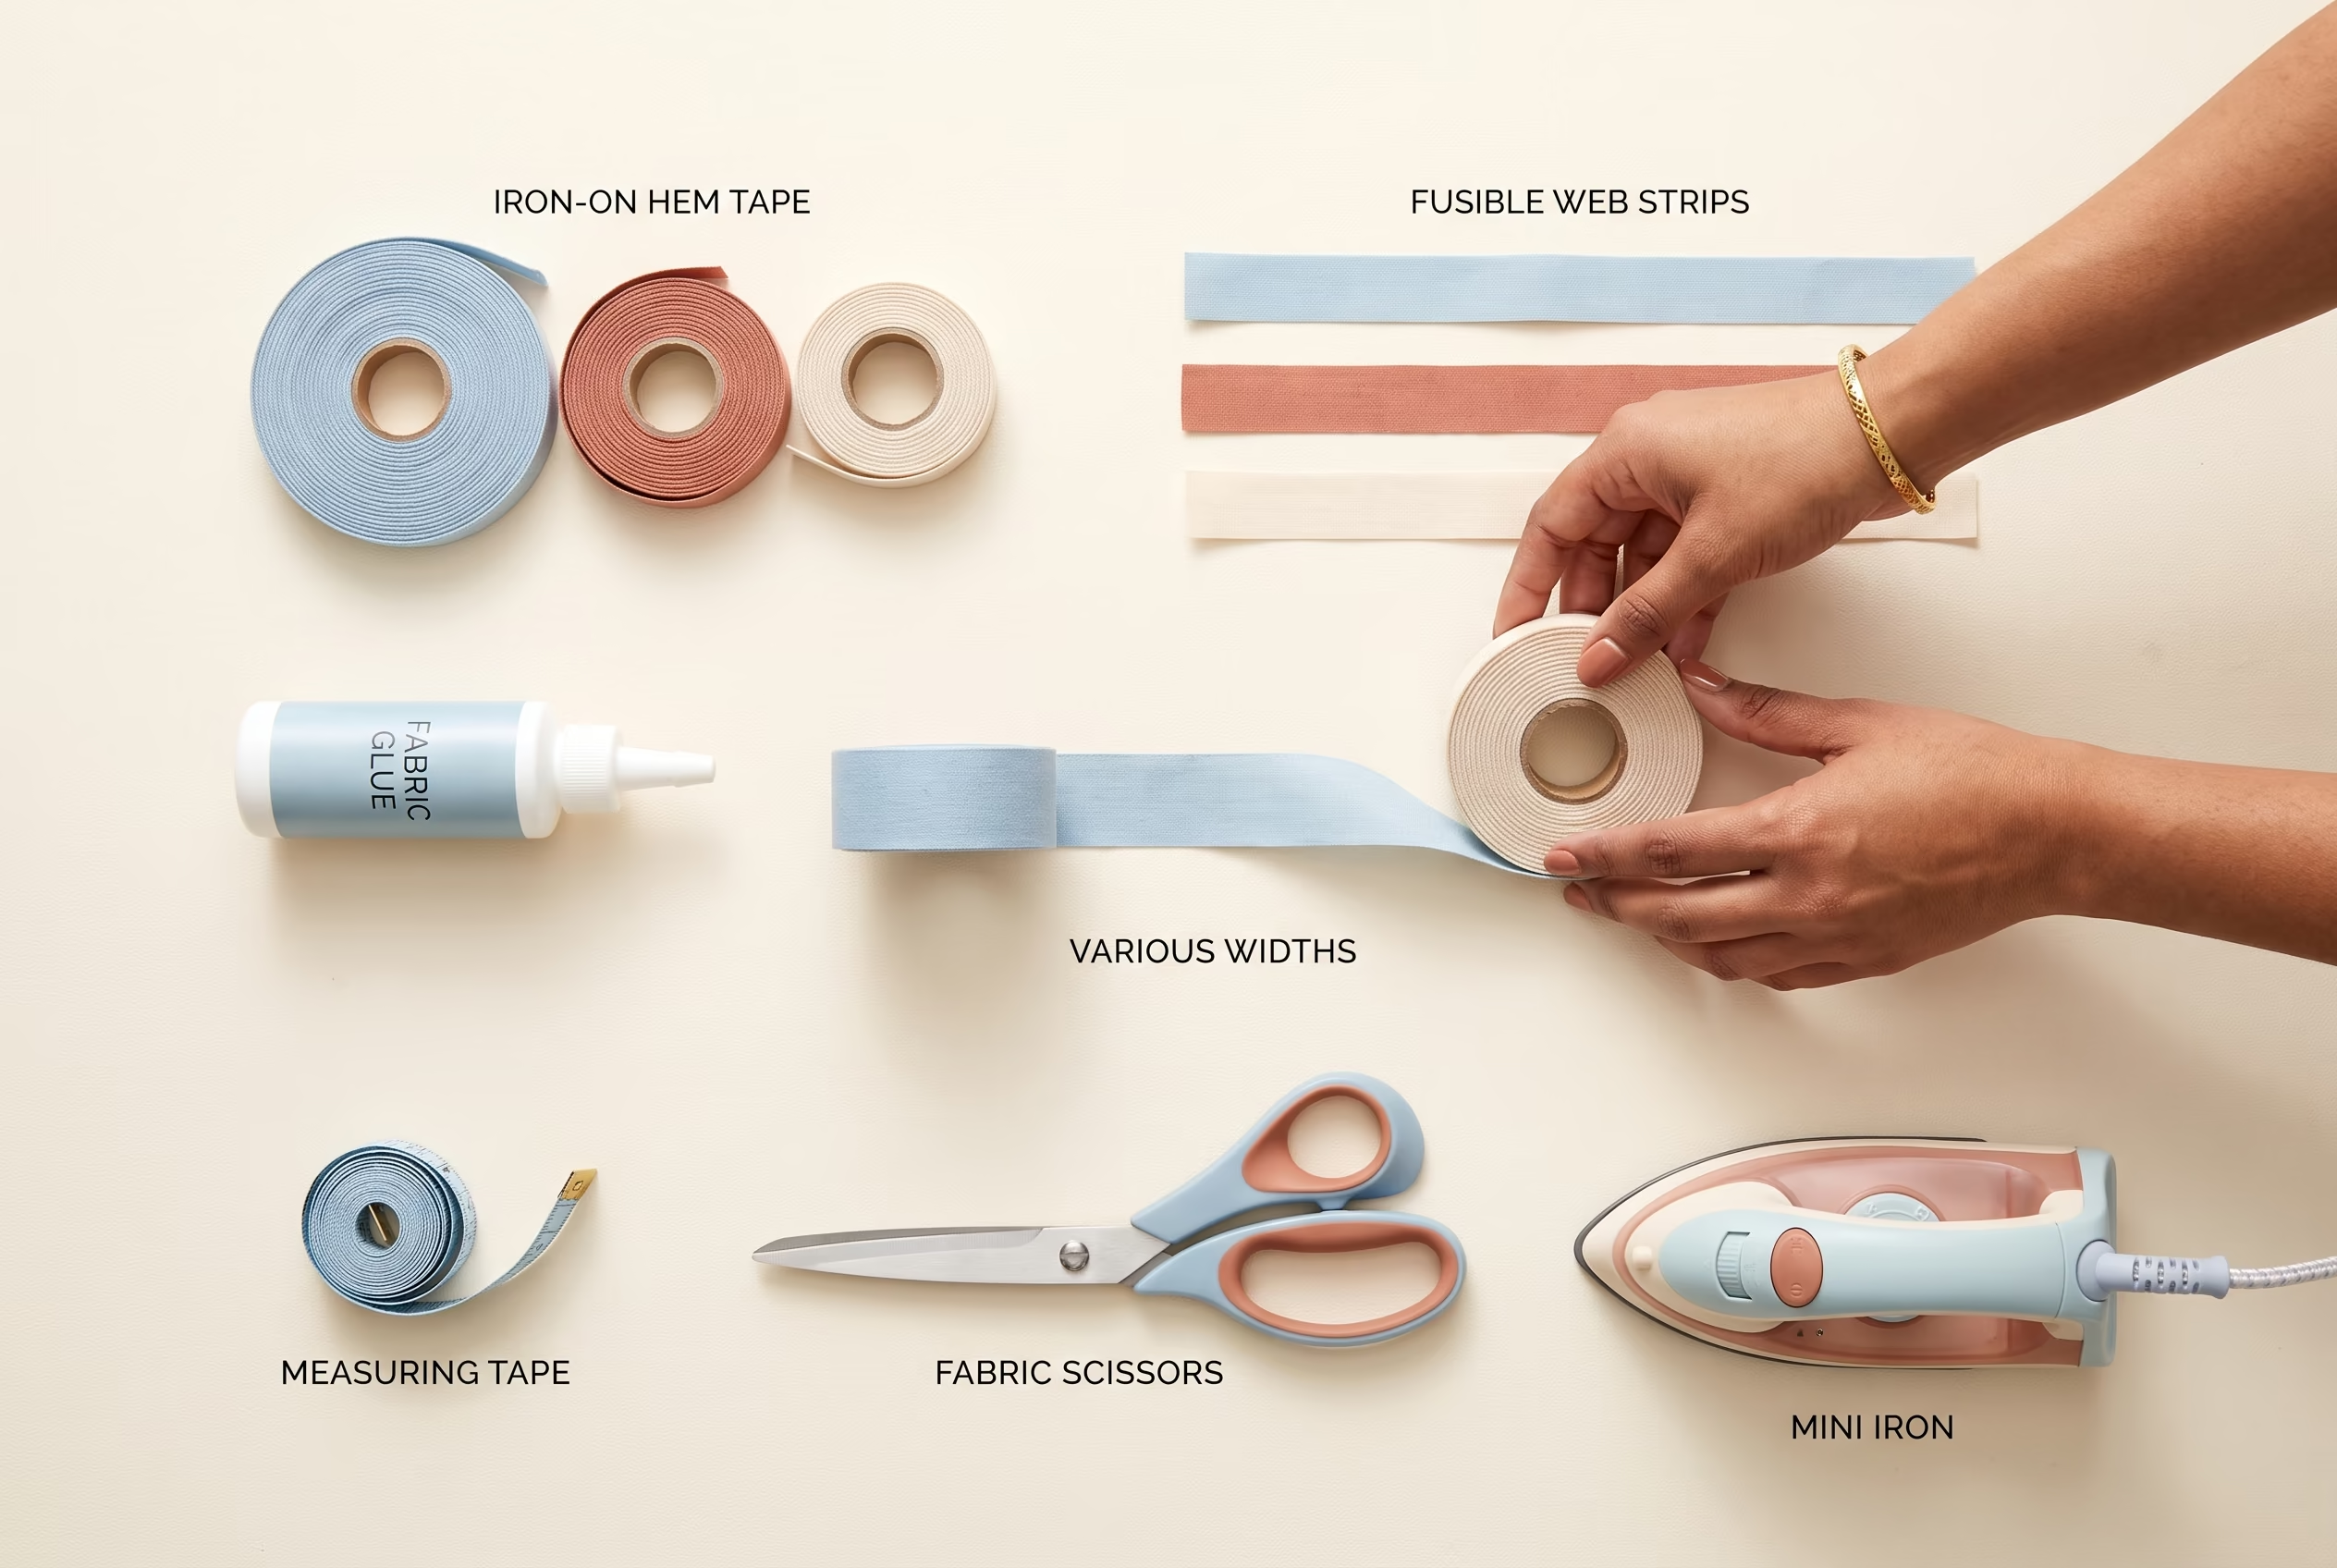
You need only five basic items to mend a ripped seam: a hand-sewing needle (size 7-9 for medium-weight fabrics), thread that matches your fabric type, straight pins, small scissors, and an iron for pressing the finished seam.
Here’s what each tool does:
- Needle: Choose a size appropriate to your fabric, smaller numbers (5-7) for lightweight fabrics, larger numbers (9-11) for heavy denim or canvas
- Thread: All-purpose polyester thread works for most repairs; match the color to your garment or go one shade darker
- Pins: Hold the seam edges aligned while you work; use fine pins that won’t leave permanent holes
- Scissors: Small, sharp embroidery scissors work best for trimming thread tails cleanly
- Iron: Pressing the seam flat after repair makes it nearly invisible and helps the stitches settle
Optional but helpful: A seam ripper to remove any remaining broken stitches, a thimble to protect your finger when pushing the needle through thick fabric, and a needle threader if you struggle with threading.
Most sewing enthusiasts already have these items in a basic repair kit. If you’re starting from scratch, expect to spend $10-15 for quality supplies that will last for dozens of repairs. For more guidance on sewing machine tips and hand-sewing techniques, explore additional resources on proper tool selection.

CLOVER-Embroidery or crewel needles have long eyes to take one or more threads of standard cotton or ribbon
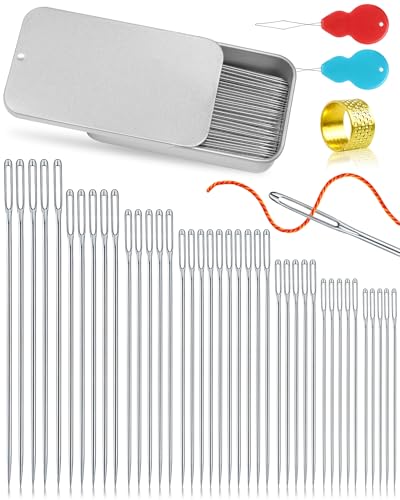
【Material】Our large eye pointed stitching needles are made of high quality stainless steel, with sharp needles, smooth surface, durable and not easy to bend, not easy to rust, corrosion resistant, the resistance through the cloth is small, it is easier to slip through.

Set of 30 assorted hand needles sizes 2 through 7 in square compact
How to Hand Sew a Ripped Seam Without a Sewing Machine
Hand-sewing a ripped seam takes 10-20 minutes and produces a repair that’s just as durable as machine stitching when you use a backstitch. This technique works for any fabric weight and requires no special equipment beyond a needle and thread.
Step-by-step process:
Prepare the seam: Turn the garment inside out and examine the ripped area. Remove any loose or broken threads with scissors or a seam ripper. Press the seam flat with an iron if it’s wrinkled.
Pin the edges: Align the two fabric edges exactly as they were originally sewn, matching the old stitch holes. Pin perpendicular to the seam line every 1-2 inches, starting from one end of the rip and working to the other. Extend your pins at least 1 inch beyond the rip on both sides to anchor the repair.
Thread your needle: Cut 18-24 inches of thread (longer pieces tangle). Thread the needle and pull the thread through until both ends meet, then tie them together in a double knot. This doubled thread creates a stronger repair.
Start with a backstitch: Insert the needle from the wrong side (inside the garment) about 1/4 inch before the rip begins, pulling the thread through until the knot catches. Take a small stitch forward (about 1/8 inch), then bring the needle back to where your thread first emerged. This creates the first backstitch.
Continue backstitching: Move forward 1/8 inch and bring the needle up through the fabric. Insert it back down at the end of your previous stitch, creating an overlapping pattern. Each stitch should be small and even, following the original seam line. Remove pins as you reach them.
Secure the end: When you’ve stitched 1/2 inch past the end of the rip, take 3-4 tiny stitches in the same spot to create a knot. Trim the thread close to the fabric.
Press the seam: Turn the garment right-side out and press the repaired seam with an iron to flatten the stitches and blend the repair.
Choose hand-sewing if: You don’t own a machine, the rip is in an awkward location that’s hard to reach with a machine, or you’re repairing delicate fabric that might be damaged by machine feeding.
For more detailed guidance on hand sewing techniques, check out additional tutorials that cover various stitch types and their applications.
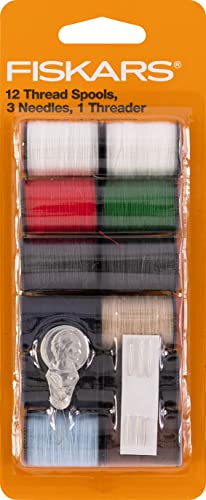
Fiskars Hand Sewing Thread Fashion Pack contains 12 spools of poly thread and is ideal for sewing accessories and supplies

𝑩𝒊𝒓𝒕𝒉𝒅𝒂𝒚 𝑮𝒊𝒇𝒕𝒔 𝑰𝒅𝒆𝒂𝒔: This sewing kit is terrific gifts for people who travel frequently, mother, grandmother, backpacker, adults, kids and teen girls! The emergency kit is also suitable for both men and women, beginners and professionals alike, and it is definitely something that everyone needs in their life

BEAUTIFUL CASE: 30pcs Hand Sewing Needles in Round plastic Compact. All Needles in Assorted Sizes-- 1pcs 44mm (super large eye needle), 2pcs 51mm (large eye needle), 3pcs 46mm (large eye needle), 8pcs 42mm, 8pcs 37mm,8pcs 31mm. We offer 2 Threaders
What Type of Thread Should I Use to Mend a Seam?
Use all-purpose polyester thread for most seam repairs because it’s strong, slightly elastic, and works with both natural and synthetic fabrics. Match the thread weight to your fabric, standard 50-weight thread for medium fabrics like cotton and linen, 40-weight for heavier materials like denim, and 60-weight for lightweight silks and rayons.
Thread selection guide:
| Fabric Type | Recommended Thread | Why It Works |
|---|---|---|
| Cotton, linen, everyday clothing | All-purpose polyester, 50-weight | Balanced strength and flexibility |
| Denim, canvas, upholstery | Heavy-duty polyester, 40-weight | Extra strength for thick fabrics |
| Silk, rayon, lightweight knits | Fine polyester or silk thread, 60-weight | Won’t create bulk or show through |
| Stretchy fabrics (leggings, activewear) | Elastic thread or polyester with slight give | Stretches with fabric movement |
| Outdoor gear, bags | Bonded nylon or polyester | Weather-resistant and extremely strong |
Color matching tip: If you can’t find an exact match, go one shade darker rather than lighter, darker thread blends better visually. For printed fabrics, match the dominant background color.
Common mistake: Using cotton thread on synthetic fabrics or vice versa. Cotton thread lacks the stretch that synthetic fabrics need and can snap under stress. Polyester thread works universally, making it the safest choice for repairs when you’re unsure of fabric content.
For insights on thread quality and how it affects your sewing projects, explore additional resources on selecting the right materials.
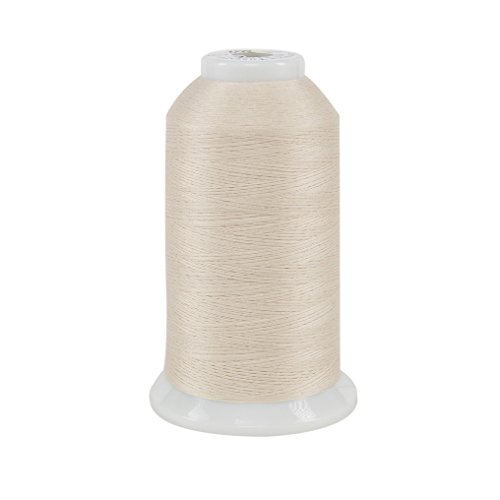
THREAD CONE: Features one 3,280 yard cone of Superior Threads So Fine! 50-weight thread made from 3 plies of 100% polyester

THREAD CONE: Features one 3,280 yard cone of Superior Threads So Fine! 50-weight thread made from 3 plies of 100% polyester
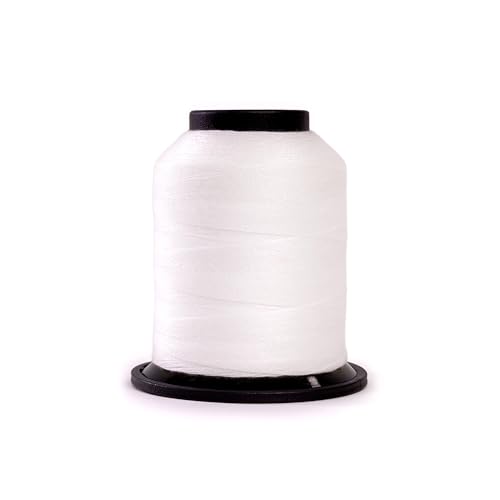
PERFECT SIZE - The Finesse cone is the perfect balance between spool and cone, giving it just the right amount of yardage for one king-sized quilt, or multiple smaller projects. The size allows you to try out lots of different colors without buying more thread than you need. Their "just right" size allows the mini-cones to fit in an average sewing drawer. As an additional bonus, they’re stackable!
Can I Use Fabric Glue Instead of Sewing for a Ripped Seam?
Fabric glue can temporarily hold a ripped seam but won’t provide the durability or flexibility of stitching, especially for garments that undergo stress or frequent washing. Glue works best as a quick fix for non-structural seams or as a temporary hold until you can properly sew the repair.
When fabric glue is acceptable:
- Decorative seams that don’t bear weight (like a ruffled overlay or trim)
- Emergency repairs when you’re away from home and need a temporary fix
- Holding seam edges in place before sewing (as a substitute for pins)
- Non-washable items like costume pieces or display garments
When you must sew instead:
- Any seam that experiences tension (side seams, inseams, shoulder seams)
- Garments that will be washed regularly
- Stretchy fabrics that need to flex
- Items you want to last more than a few wears
Application method if you choose glue: Clean the fabric edges, apply a thin line of fabric glue (like Aleene’s Fabric Fusion or Beacon Fabri-Tac) to both sides, press together firmly, and let cure for 24 hours before wearing. Clamp or weight the seam while it dries.
The reality is that fabric glue costs $5-8 per bottle and provides inferior results compared to a $0.10 thread repair that takes 10 minutes. For permanent repairs on any garment you care about, sewing is always the better choice.
How to Fix a Ripped Seam on Stretchy Fabric Like Leggings
Stretchy fabrics require a stitch that can flex with the material, either a narrow zigzag stitch on a machine or a stretch hand-sewing stitch using elastic thread. Standard straight stitches will snap the first time the fabric stretches, causing the seam to fail again immediately.

Machine method (recommended for leggings):
- Set your machine to a narrow zigzag stitch (1.5mm width, 2.5mm length)
- Use polyester thread or woolly nylon thread in the needle
- Stretch the fabric slightly as you sew to allow the stitches to accommodate movement
- Backstitch at both ends to secure
Hand-sewing method:
- Use elastic thread or regular polyester thread with a stretch stitch
- Try a stretch backstitch: Take a regular backstitch, but before pulling the thread completely tight, stretch the fabric slightly, then complete the stitch
- Alternatively, use a zigzag hand stitch: Instead of stitching in a straight line, angle your needle slightly left and right as you work forward, creating a zigzag pattern
Critical for athletic wear: If you’re repairing workout leggings or yoga pants, the seam must stretch to at least 25-30% beyond its resting length without breaking. Test your repair by gently stretching the fabric before wearing.
Choose this method if: Your garment is made from spandex, lycra, jersey knit, or any fabric that stretches significantly when worn. Regular woven fabrics don’t need this treatment.
For more information on working with different fabric types and seam durability, explore guides that address specific material challenges.
How to Fix a Seam That Ripped at the Crotch of Pants
Crotch seams experience the highest stress of any garment seam and require reinforcement beyond a simple re-stitch to prevent immediate re-failure. Repair the seam using a backstitch or machine straight stitch, then add a second row of stitching 1/8 inch away from the first, and consider adding a fabric patch on the inside for extra strength.
Reinforced repair method:
Assess the damage: Check if the fabric itself is worn thin or if only the stitching failed. If the fabric is threadbare, you’ll need to patch it before re-stitching.
Prepare the area: Turn the pants inside out. Trim any frayed threads and press the seam flat. If there’s a small hole in the fabric (not just the seam), cut a piece of lightweight cotton or muslin 2 inches larger than the hole.
Apply a patch (if needed): Place the patch fabric on the inside of the garment, centered over the damaged area. Pin it in place. This adds a second layer of fabric to distribute stress.
Stitch the seam: Align the original seam edges and pin. Sew along the original seam line using a backstitch by hand or a straight stitch on a machine. If you added a patch, your stitches will go through all layers.
Add reinforcement stitching: Sew a second parallel line of stitches 1/8 inch away from the first, within the seam allowance. This doubles the strength of the repair.
Finish the edges: If the fabric is prone to fraying, apply a small amount of fray check or clear nail polish to the raw edges of the seam allowance.
Why crotch seams fail repeatedly: This area experiences friction from walking, sitting, and standing, plus fabric stretch in multiple directions. If your repair fails again within a few weeks, the fabric itself is worn out and the garment may not be worth continued repairs.
Prevention tip: When buying new pants, check that crotch seams have double stitching or flat-felled seams, which are significantly more durable than single-line stitching.
Why Does My Seam Keep Ripping After I Fix It?
A seam that repeatedly fails after repair usually indicates one of three problems: the thread is too weak for the fabric, the original seam allowance is too narrow to hold stitches securely, or the fabric itself is worn thin and can no longer support stitching. Addressing the root cause requires either reinforcing the seam with a wider allowance, using stronger thread, or accepting that the garment has reached the end of its usable life.
Common causes and solutions:
Thread mismatch: If you’re using lightweight thread on heavy fabric or cotton thread on stretchy material, the thread will snap under normal stress. Switch to heavy-duty polyester thread (40-weight) or elastic thread for knits.
Too-narrow seam allowance: Garments with 1/4-inch or narrower seam allowances don’t have enough fabric to grip the stitches securely. Solution: Stitch slightly wider (into the garment by 1/8 inch) to catch more fabric, or add a fabric strip to widen the seam allowance before re-stitching.
Worn fabric: If the fabric tears easily when you tug it gently, or if you can see light through it when held up, the material is too degraded to hold stitches. No amount of re-sewing will fix this, the garment needs patching or retirement.
Stress point without reinforcement: High-stress areas like underarms, crotches, and pocket corners need reinforcement stitching (double rows or bar tacks) to distribute tension. A single line of stitching will always fail in these locations.
Incorrect stitch type: Straight stitches on stretchy fabric will pop every time the fabric stretches. You must use zigzag or stretch stitches for knit materials.
Decision rule: If a seam fails twice in the same spot after proper repair with appropriate thread and reinforcement, the garment has reached the end of its practical life. Your time is better spent on a new item than repeatedly repairing failing fabric.
For troubleshooting other common issues, check out resources on sewing machine troubleshooting and repair techniques.
What Is a Ladder Stitch and When Should I Use It for Seam Repair?
A ladder stitch (also called a slip stitch or invisible stitch) is a hand-sewing technique that closes a seam from the outside of a garment with nearly invisible stitches. Use it when you need to close a seam that can’t be accessed from the inside, such as closing a stuffed pillow, finishing a lined garment, or repairing a visible seam where you don’t want stitches to show.
When to use ladder stitch:
- Closing openings in pillows, stuffed toys, or cushions after turning them right-side out
- Repairing a seam on the outside of a garment where you can’t turn it inside out (like a jacket lining)
- Hemming pants invisibly without a machine
- Any repair where you want the stitching to be completely hidden
When NOT to use ladder stitch:
- High-stress seams that need maximum strength (ladder stitch is weaker than backstitch)
- Seams you can easily access from the inside (regular backstitch is faster and stronger)
- Thick fabrics where the stitch won’t hide well
How to ladder stitch:
- Fold under the raw edges of both sides of the seam so they meet neatly
- Thread a needle with a single strand of matching thread and knot the end
- Hide the knot inside one folded edge and bring the needle out at the fold
- Take a 1/4-inch stitch inside the opposite fold, directly across from where your thread emerged
- Bring the needle back to the first side and take another 1/4-inch stitch inside the fold
- Continue alternating sides, creating a ladder pattern with the thread
- Every few stitches, pull the thread gently to draw the edges together, the stitches will disappear into the folds
- Secure with several tiny stitches in place and hide the knot inside the fold
The ladder stitch is slower than backstitch but produces an almost invisible repair when done carefully with matching thread. It’s a valuable technique for visible repairs but shouldn’t be your default choice for standard seam mending.
Is Mending a Seam Strong Enough for Heavy Use Items?
A properly mended seam using backstitch or machine straight stitch with appropriate thread can be just as strong as the original construction, and in some cases stronger if you add reinforcement stitching. The key factors are using thread that matches or exceeds the original thread weight, stitching along the entire failed section plus 1/2 inch on each side, and adding a second row of stitching for high-stress areas.
Strength comparison:
- Single backstitch by hand: 85-95% of original seam strength (adequate for most garments)
- Double backstitch or reinforced hand-sewing: 100-110% of original strength
- Machine straight stitch: 100% of original strength when using matching thread
- Machine straight stitch with reinforcement row: 120-150% of original strength
For heavy-use items (work pants, bags, outdoor gear, upholstery):
- Use heavy-duty thread (40-weight or bonded polyester)
- Stitch two parallel rows 1/8 inch apart
- Add bar tacks (several stitches in the same spot) at stress points
- Consider adding a fabric patch on the inside for additional support
For everyday clothing (shirts, casual pants, dresses):
- Standard all-purpose thread is sufficient
- Single row of backstitch or machine stitching works well
- Extend stitching 1/2 inch beyond the rip on both sides
Real-world test: A properly mended seam should withstand the same use that caused the original failure without re-breaking. If you’re repairing work jeans that ripped from squatting, the mended seam should survive the same movement. If it doesn’t, you need stronger thread or reinforcement.
Common mistake: Stopping your stitching exactly where the rip ends. Always extend your repair stitching at least 1/2 inch into the intact seam on both sides to prevent the rip from continuing.
Can Beginners Mend a Ripped Seam or Should I Take It to a Tailor?
Beginners can absolutely mend a ripped seam, it’s one of the easiest and most practical sewing repairs to learn, requiring only basic hand-sewing skills that can be mastered in 15-20 minutes. Taking a simple seam repair to a tailor costs $8-20 and involves a trip to the shop, while doing it yourself costs pennies and builds a valuable skill.
Beginner-friendly repairs (do it yourself):
- Straight seams on medium-weight fabrics (cotton shirts, casual pants)
- Side seams, inseams, and shoulder seams on everyday clothing
- Seams that ripped cleanly with intact fabric
- Garments you can turn inside out easily
Consider a tailor for:
- Curved seams on tailored garments (suit jackets, dress pants with complex construction)
- Seams combined with zippers or other hardware
- Delicate or expensive fabrics (silk, wool suiting, designer garments)
- Repairs that require fabric patching or complex reconstruction
- Garments with torn fabric rather than just failed stitching
Learning curve: Most beginners can complete their first seam repair in 30-45 minutes, including time to gather supplies and learn the backstitch. By the third repair, that time drops to 10-15 minutes. The skill pays for itself after just 2-3 repairs compared to tailor costs.
Start with: An old garment you don’t care about, or practice on fabric scraps before attempting your favorite jeans. The worst outcome is a slightly visible repair line, the garment won’t be ruined.
Confidence builder: Successfully mending your first seam is incredibly satisfying and opens the door to other basic repairs like replacing buttons, hemming pants, and patching holes. These skills save hundreds of dollars over time and extend the life of your wardrobe significantly.
For beginners looking to expand their skills, explore guides on sewing techniques and basic garment construction.
Common Mistakes When Sewing a Ripped Seam Back Together
The most common mistakes when mending seams are using thread that’s too thick for the fabric, pulling stitches too tight (which puckers the fabric), skipping the pinning step (causing misaligned edges), and not extending the repair beyond the visible rip (which allows the tear to continue). Avoiding these errors ensures a durable, nearly invisible repair.
Top mistakes and how to avoid them:
Using the wrong thread weight: Heavy thread on lightweight fabric creates visible bumps and can tear the material. Thin thread on heavy fabric snaps under stress. Match your thread weight to the fabric, when in doubt, use standard 50-weight all-purpose thread.
Pulling stitches too tight: Overtightening causes the fabric to pucker and creates stress points that can lead to new rips. Your stitches should lie flat against the fabric without pulling it. Test by gently stretching the seam after a few stitches, it should flex slightly without puckering.
Skipping pins: Trying to hold fabric edges together while sewing leads to misaligned seams and uneven stitching. Always pin perpendicular to the seam line every 1-2 inches, matching the original seam line exactly.
Not removing old thread: Broken thread remnants create bumps and prevent new stitches from lying flat. Take 30 seconds to pick out loose threads before starting your repair.
Stopping at the rip edge: If you end your stitching exactly where the visible rip stops, the tear will continue from that point. Always extend your repair stitching at least 1/2 inch into the intact seam on both sides.
Using a single thread strand: Doubled thread (threading the needle and knotting both ends together) creates a much stronger repair with minimal extra effort. Single-strand stitching is appropriate only for very lightweight fabrics.
Forgetting to backstitch at ends: Starting and ending without securing your stitches means the entire repair can unravel with one pulled thread. Always take 3-4 tiny stitches in place at the beginning and end, or tie secure knots.
Not pressing the finished seam: An unpressed seam looks lumpy and obvious. A quick pass with an iron flattens the stitches and makes the repair nearly invisible.
How Much Does It Cost to Get a Seam Professionally Repaired?
Professional seam repair typically costs $8-20 depending on your location, the complexity of the seam, and the type of garment. Simple straight seams on casual clothing cost less ($8-12), while curved seams on tailored garments or repairs involving linings cost more ($15-25). Turnaround time is usually 3-7 days.
Price breakdown by repair type:
- Basic straight seam (side seam, inseam, shoulder): $8-12
- Crotch seam with reinforcement: $12-18
- Curved or tailored seam (jacket, dress pants): $15-25
- Seam with lining repair: $18-30
- Multiple seams on one garment: $20-40
Geographic variation: Urban areas and high-cost-of-living cities charge 30-50% more than rural or suburban locations. A seam repair that costs $10 in a small town might cost $15-18 in a major city.
DIY cost comparison: Mending the same seam yourself costs approximately $0.10-0.25 in thread, plus 10-20 minutes of time. If you repair just 3-4 seams per year, you’ll save $30-60 compared to professional services.
When professional repair makes sense: If you’re repairing an expensive garment ($200+), a complex tailored piece, or something with sentimental value, the $15-20 cost is worth the peace of mind. For everyday clothing, DIY repair is more practical and builds a useful skill.
Finding a tailor: Look for local alterations shops, dry cleaners that offer alterations, or independent tailors. Ask about pricing before dropping off the garment, and check reviews to ensure quality work.
How Long Does It Take to Hand Stitch a Ripped Seam?
Hand-stitching a ripped seam takes 10-20 minutes for most repairs, depending on the length of the rip and your sewing experience. A 3-4 inch seam rip on a straight seam typically takes 10-12 minutes, while longer rips (6-8 inches) or curved seams may take 20-30 minutes. Machine stitching reduces this time to 3-5 minutes but requires setup and access to a sewing machine.
Time breakdown for hand-sewing:
- Preparation (removing old thread, pinning): 2-3 minutes
- Threading needle and knotting: 1 minute
- Stitching (backstitch): 1-2 minutes per inch of seam
- Securing and trimming: 1 minute
- Pressing: 1-2 minutes
Factors that increase time:
- Thick or stiff fabric (denim, canvas) requires more force per stitch
- Curved seams need more careful alignment
- Very long rips (10+ inches) simply require more stitches
- First-time repairs as you learn the technique
Factors that decrease time:
- Experience (your third repair will be twice as fast as your first)
- Using a thimble to push the needle through thick fabric
- Pre-pinning carefully so you don’t have to stop and adjust
Machine vs. hand comparison: Machine stitching is faster for the actual sewing (30-60 seconds per seam) but requires setting up the machine, threading it, and accessing the seam area with the machine arm. For small, quick repairs, hand-sewing is often faster door-to-door because there’s no setup time.
Realistic expectation: Plan for 15 minutes for your first few repairs, dropping to 10 minutes as you gain confidence. This is still faster than driving to a tailor, dropping off the garment, and picking it up later.
FAQ
How do I know if a seam can be repaired or if the garment is too damaged?
Check if the fabric itself is intact and strong. If the material tears easily when you gently tug it, or if there are holes in the fabric (not just the seam), the garment may be too worn to repair successfully. Ripped seams with strong fabric are always repairable.
What’s the strongest hand stitch for seam repair?
Backstitch is the strongest hand stitch for seam repair because it creates overlapping thread paths that mimic machine stitching. Each stitch reinforces the previous one, making it nearly as strong as machine sewing when done with doubled thread.
Can I repair a seam on a waterproof jacket without ruining the waterproofing?
Yes, but you’ll need to seal the needle holes after stitching. Repair the seam normally, then apply seam sealer (like Gear Aid Seam Grip) over the stitching line on the inside. This re-waterproofs the area where the needle punctured the fabric.
Should I use the same color thread or contrasting thread for repairs?
Use matching thread for invisible repairs on the inside of garments. Contrasting thread is acceptable for visible decorative stitching or when you want the repair to be a design feature, but it will always be more noticeable than matched thread.
How do I prevent seams from ripping in the first place?
Choose garments with double-stitched or flat-felled seams in high-stress areas, avoid wearing clothes that are too tight (which stresses seams), and reinforce stress points with bar tacks when you first notice strain. Regular inspection catches small issues before they become full rips.
Can I use a sewing machine for all seam repairs?
Most seam repairs can be done by machine if you can access the area with the machine arm and turn the garment inside out. Curved seams, tight spaces (like sleeve armholes), and repairs on items that can’t be turned inside out (like pillows) are better suited to hand-sewing.
What if the seam ripped because the garment is too small?
If a seam ripped due to tightness, repairing it will only result in another failure. You’ll need to either let out the seam (if there’s enough seam allowance to work with) or accept that the garment no longer fits properly. Repairs can’t add fabric that isn’t there.
Is it worth repairing cheap fast-fashion clothing?
This depends on the garment’s condition and your attachment to it. If the fabric is still strong and you like the item, a 10-minute repair is worthwhile regardless of original cost. If the fabric is thin and worn, your time is better spent on a replacement.
How do I repair a seam that’s in a hard-to-reach place?
Use a curved needle for tight spaces, or carefully hand-sew from the outside using a ladder stitch to make the repair invisible. Some areas (like the inside of a narrow sleeve) may require turning the garment partially inside out or using a long needle to reach.
Can I reinforce a seam before it rips?
Absolutely. If you notice a seam showing stress (puckering, visible strain, or a few popped stitches), add a second row of stitching 1/8 inch from the original seam line while the fabric is still intact. This preventive reinforcement is much easier than repairing a full rip.
What’s the difference between seam allowance and seam line?
The seam line is where the stitching actually goes, the line that holds two pieces of fabric together. Seam allowance is the extra fabric between the seam line and the raw edge, typically 1/4 to 5/8 inch. When repairing, you stitch along the seam line, not the edge.
Should I wash the garment before or after repairing the seam?
Repair first, then wash. Washing a garment with a ripped seam can cause the rip to extend further, making the repair more difficult. After repairing, wash as normal, a properly sewn seam will hold through regular laundering.
Conclusion
Learning how to mend a ripped seam transforms a frustrating wardrobe failure into a quick 10-minute fix that costs pennies and extends the life of your favorite clothes. The basic technique, pinning the edges, backstitching along the seam line, and pressing the finished repair, works for nearly every fabric and garment type, from casual t-shirts to work pants.
Start with a simple straight seam on a garment you don’t mind practicing on. Gather your basic supplies (needle, matching thread, pins, scissors), follow the step-by-step process outlined above, and you’ll have a wearable repair in less time than it takes to drive to a tailor. The confidence you gain from that first successful repair opens the door to dozens of other basic sewing skills that save money and reduce waste.
Next steps: Identify a garment in your closet with a ripped seam and repair it this week. Keep a basic sewing kit (needle, thread in common colors, pins, small scissors) in an accessible spot so you can handle repairs as soon as they happen, before small rips become large tears. Consider exploring additional sewing tips to expand your repair skills beyond basic seams.
The most valuable aspect of seam repair isn’t just saving $10-15 per professional repair, it’s the satisfaction of fixing something yourself and the knowledge that you can maintain your wardrobe independently. Every seam you mend is one less garment in a landfill and one more skill in your self-sufficiency toolkit.


