Quick Answer
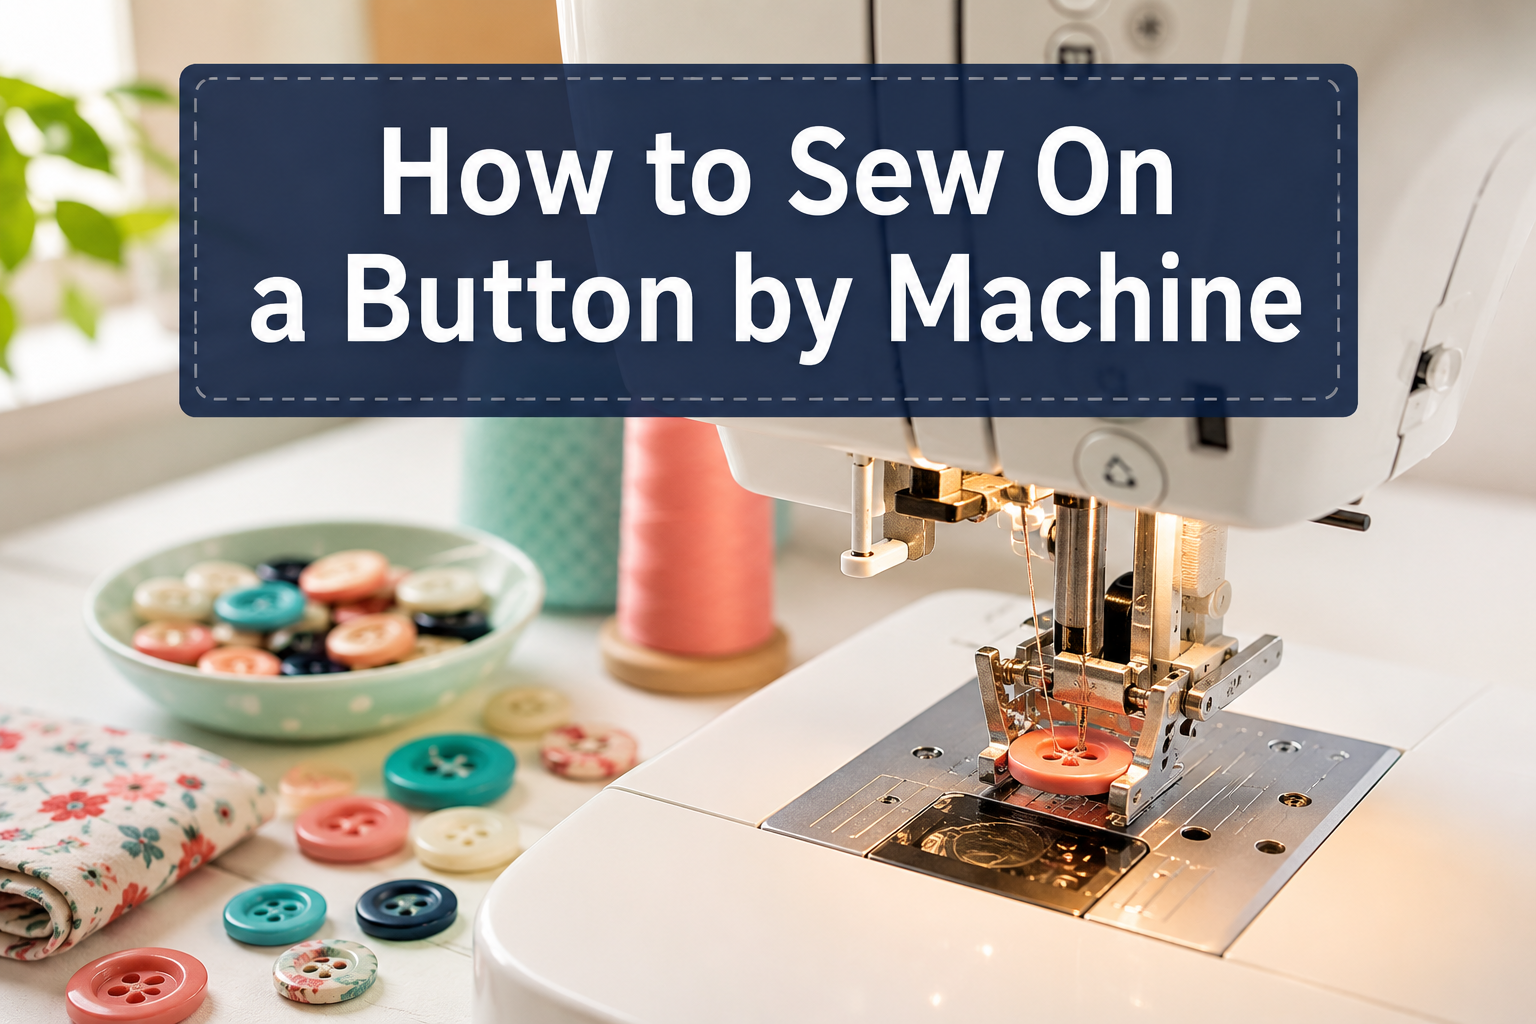
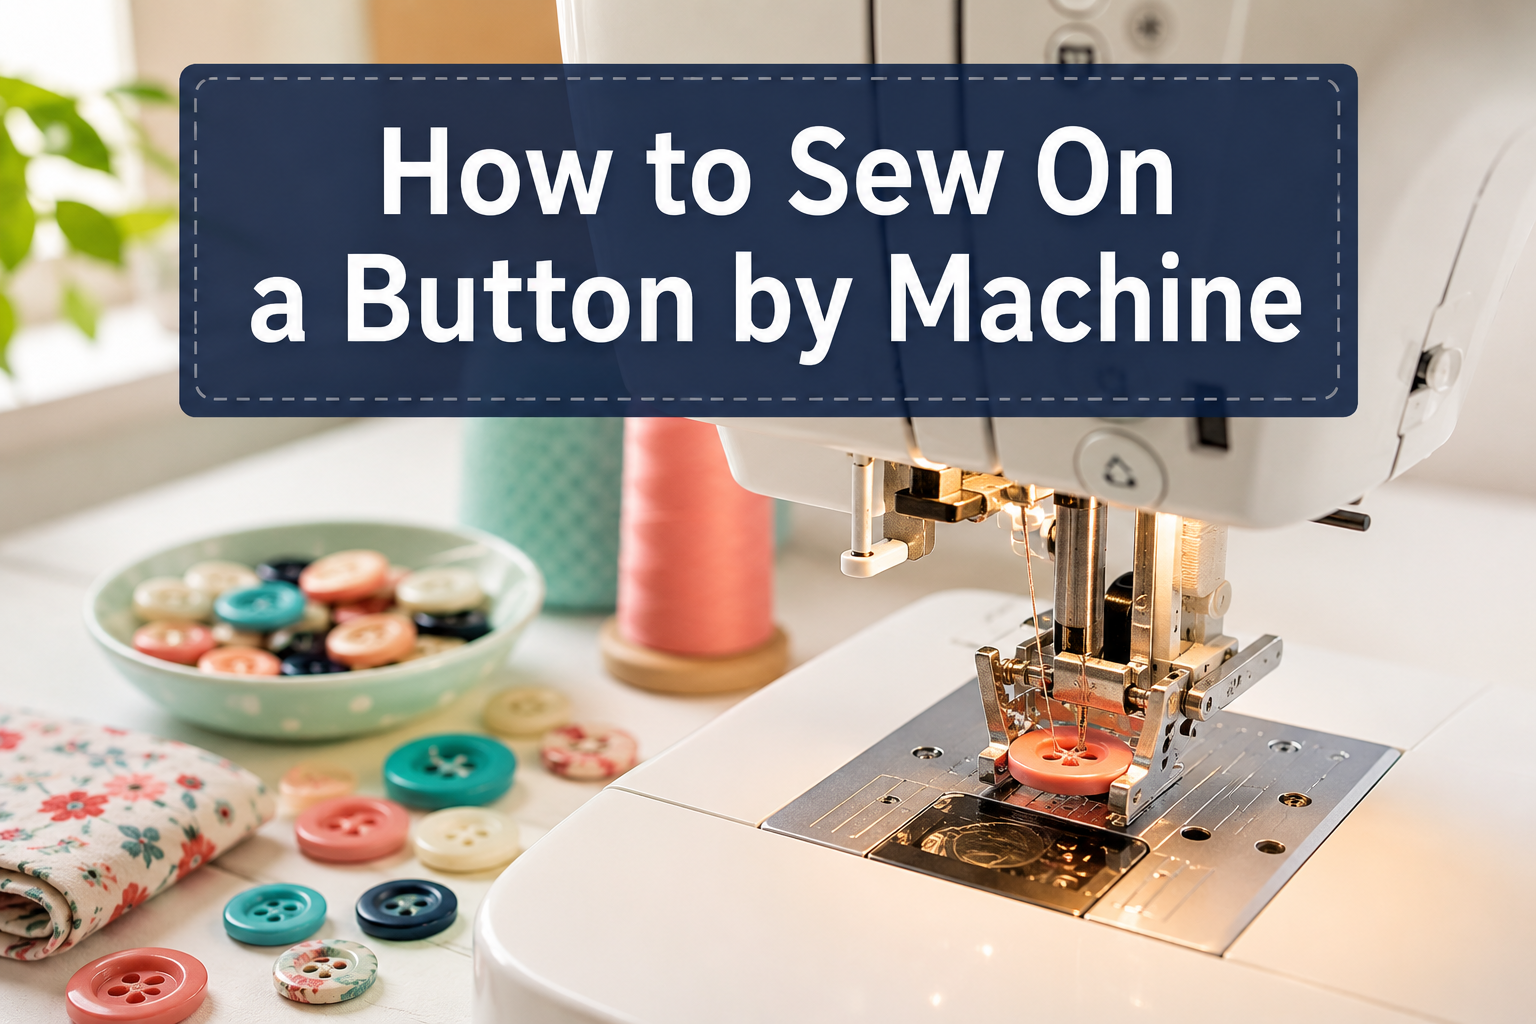
You can sew on a button by machine using a zigzag stitch with your feed dogs lowered and a button sewing foot (or standard foot). The machine stitches back and forth through the button holes while the fabric stays stationary, creating a secure attachment in about 30 seconds per button. Most modern sewing machines can handle this task, though you’ll need to adjust your stitch width to match the distance between button holes.
Key Takeaways
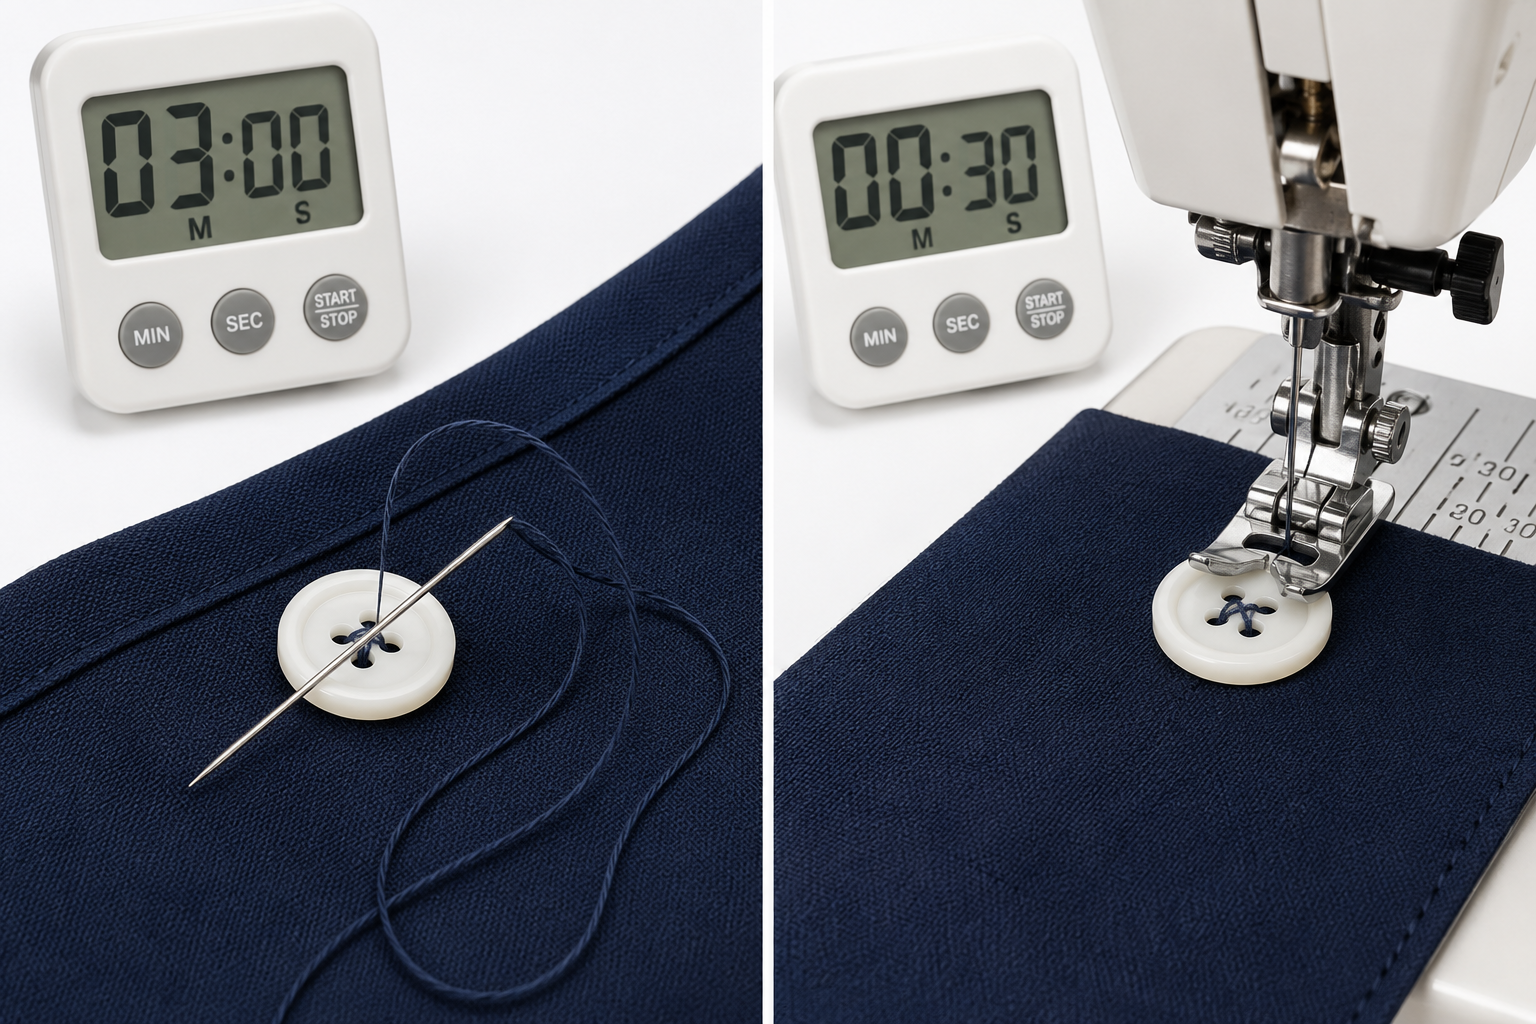
- Machine button sewing takes 30-60 seconds per button compared to 2-3 minutes by hand, making it ideal for projects with multiple buttons
- You must lower or cover your feed dogs to prevent fabric movement while the needle stitches in place
- A button sewing foot is helpful but not required, you can use a standard presser foot with the feed dogs lowered
- Set your machine to zigzag stitch and adjust the width to match the distance between button holes (typically 3-5mm for standard buttons)
- Four-hole buttons require two separate stitch sequences, one for the first pair of holes, then rotate and stitch the second pair
- Shank buttons and heavy-duty applications may be better suited to hand sewing for maximum durability
- Most mechanical and computerized machines can sew buttons if they have zigzag capability and adjustable stitch width
- Common mistakes include forgetting to lower feed dogs, using incorrect stitch width, and sewing too fast, which can break needles or buttons
Can You Sew a Button On with a Sewing Machine?
Yes, you can sew buttons on with a sewing machine, and it’s significantly faster than hand sewing. Most sewing machines manufactured after the 1960s have the capability to attach flat buttons with two or four holes using a zigzag stitch function. The machine essentially replicates the back-and-forth motion of hand sewing but does it in seconds rather than minutes.
The process works by setting your machine to a zigzag stitch, lowering the feed dogs (the teeth that normally move fabric forward), and positioning the button under the presser foot. The needle then moves side to side through the button holes while the fabric remains stationary, creating secure stitches that hold the button in place.
This technique works best for:
- Flat buttons with 2 or 4 holes
- Medium-weight woven fabrics like cotton, denim, and linen
- Projects requiring multiple buttons (shirts, blouses, jackets)
- Replacement buttons on garments where speed matters
When to skip machine sewing:
- Shank buttons (buttons with a loop on the back instead of holes)
- Very thick fabrics like heavy wool coats where extra thread slack is needed
- Delicate vintage buttons that might crack under machine pressure
- Decorative buttons where hand-stitching adds a custom finish
What Foot Do I Need to Sew a Button On by Machine?
A button sewing foot (also called a button foot or button attachment foot) is the ideal accessory for machine button attachment, but it’s not absolutely necessary. This specialized foot has a small rubber or plastic gripper that holds the button steady while you stitch, preventing it from shifting during the sewing process.
If you don’t have a button sewing foot, you can use your standard presser foot or even sew with the presser foot raised (though this requires more manual control). The key is ensuring the button stays flat and aligned under the needle as it moves back and forth.
Button sewing foot features:
- Rubber gripper or indentation to hold button securely
- Clear or open design for better visibility
- Compatible with most snap-on presser foot systems
- Typically costs $8-15 as an aftermarket accessory
Using a standard foot instead:
Lower the presser foot gently onto the button without applying too much pressure. Some sewers place a toothpick or matchstick between the button and fabric to create a thread shank (extra slack that allows the button to sit properly when fastened). If your sewing machine parts are well-maintained, either foot option will work reliably.

1-STEP BUTTONHOLE FOOT, #XC2691051 fits BROTHER CS8060, CS8150, NV500D

you will get 13 different styles presser foot a nail button pressing foot, an invisibile zipper foot, a 3mm narrow edge presser foot, a 1/4"quilting foot, a satin stitch foot, a roller foot, a zipper foot, a blind stitch foot, an open toe embroidery foot ,a zig zag foot,a stitch in ditch foota straight stitch foot and a sewing presser foot.
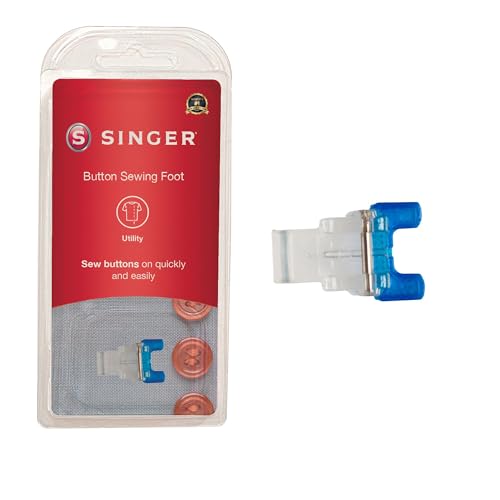
✅ EFFORTLESS BUTTON SEWING: Become the button master with this button sewing presser foot designed for quick and precise button attachment. Perfect for replacing missing buttons, garment repairs, uniforms, and DIY sewing projects at home.
Do I Need to Lower the Feed Dogs to Sew a Button?
Yes, you must lower or cover your feed dogs before sewing on a button by machine. Feed dogs are the metal teeth beneath the presser foot that grip and move fabric forward during normal sewing. When attaching a button, the fabric needs to stay completely stationary while the needle stitches back and forth through the button holes.
Most modern machines have a lever or switch that lowers the feed dogs below the throat plate. On older machines or models without this feature, you can cover the feed dogs with a darning plate (a small metal plate that creates a flat surface over the feed dogs) or use a piece of cardstock as a temporary cover.
How to lower feed dogs:
- Consult your machine manual for the specific location of the feed dog control
- On mechanical machines, look for a small lever near the free arm or on the back of the machine
- On computerized machines, check for a button or menu setting
- Test by turning the handwheel, the feed dogs should not rise above the throat plate
What happens if you forget:
The feed dogs will try to move the fabric forward with each stitch, causing the button to shift position and creating uneven, loose stitches. The needle might miss the button holes entirely or strike the button edge, potentially breaking the needle or cracking the button. If you’re experiencing sewing machine jamming issues, forgetting to lower feed dogs during button attachment is a common culprit.
What Stitch Setting for Sewing Buttons by Machine
Set your machine to a zigzag stitch with zero stitch length (so the fabric doesn’t advance) and adjust the width to match the distance between your button holes. For most standard shirt buttons, a width of 3-4mm works well, while larger coat buttons might require 5-6mm.
Step-by-step stitch settings:
- Stitch type: Zigzag (not straight stitch)
- Stitch length: 0 or the lowest setting available
- Stitch width: Start at 0, then gradually increase to match button hole spacing
- Tension: Normal (3-5 on most machines)
- Speed: Slow to medium, never sew buttons at full speed
Finding the right width:
Before sewing through the button, turn your handwheel manually to test the stitch width. Lower the needle into the left button hole, then turn the wheel to see if the needle swings to the right hole. Adjust the width dial until the needle moves precisely between holes without hitting the button material.
A common mistake is setting the width too wide, which causes the needle to strike the button edge and break. Too narrow, and the stitches won’t catch both holes properly, resulting in a loose button that falls off quickly.

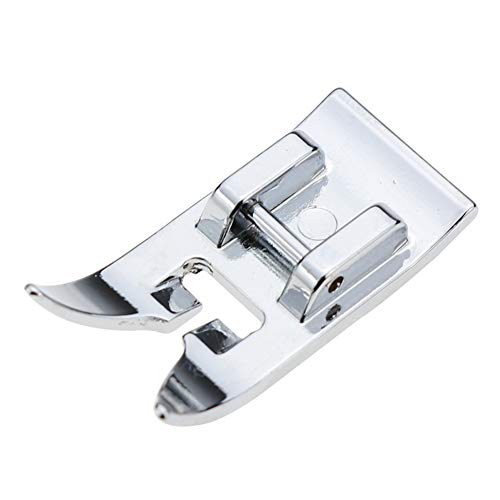
This versatile Zigzag Presser Foot is a true all-purpose accessory, designed to perform most common stitch types on your sewing machine, from straight and zigzag to many decorative patterns.

Narrow Slot: This straight stitch presser foot has a centered needle opening that supports the width while preventing lightweight fabrics from pulling into the feed dogs. The restricted opening maintains tension consistency on chiffon and silk, reducing the puckering common with wider all-purpose feet.
How to Attach a 4-Hole Button with a Sewing Machine
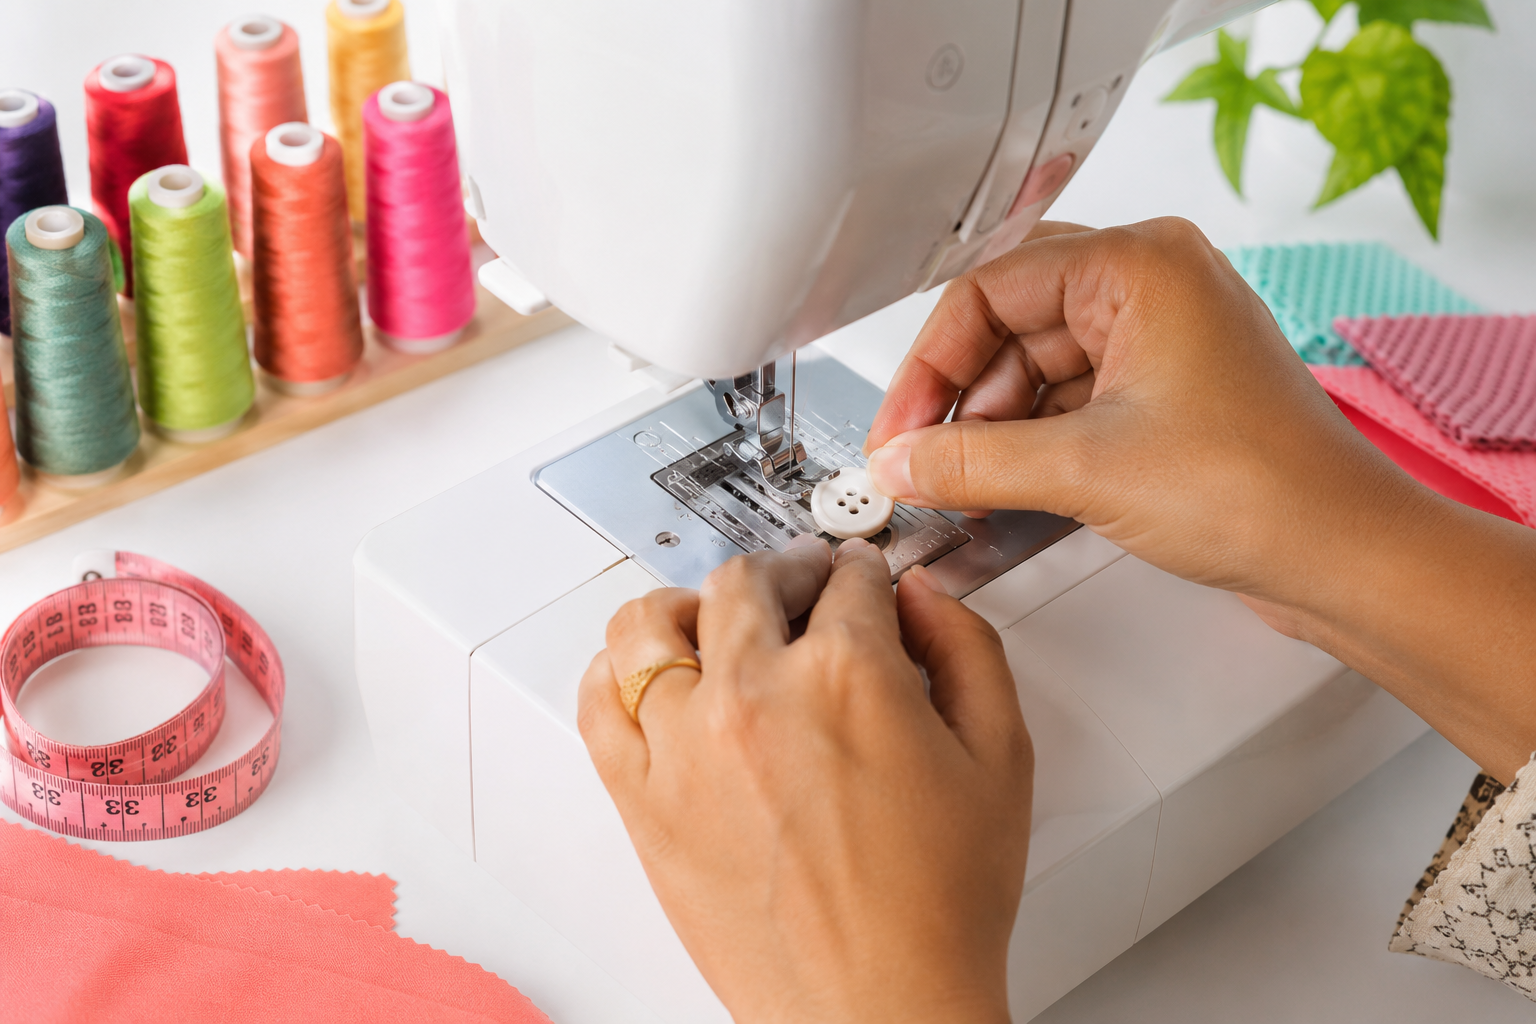
Attaching a four-hole button requires two separate stitch sequences because your machine can only stitch between two holes at a time. You’ll sew the first pair of holes, then rotate the button 90 degrees and sew the second pair, creating a cross pattern or parallel lines depending on your preference.
Complete process for 4-hole buttons:
- Mark button placement with fabric chalk or a pin
- Lower feed dogs and attach button foot (or standard foot)
- Set zigzag stitch with 0 length and appropriate width
- Position button so the needle aligns with the top two holes
- Turn handwheel manually to verify needle enters both holes correctly
- Sew 6-8 stitches at slow speed, keeping button steady
- Stop with needle up and carefully rotate button 90 degrees
- Sew second pair of holes with another 6-8 stitches
- Raise presser foot and pull fabric away, leaving 4-6 inch thread tails
- Tie off threads on the wrong side of fabric or use your machine’s tie-off function
Creating a thread shank:
For thicker fabrics or buttons that need to sit away from the fabric surface, place a toothpick, matchstick, or thick needle on top of the button between the holes before sewing. This creates extra slack in the thread. After sewing, remove the spacer, pull the button away from the fabric, and wrap the excess thread around the stitches beneath the button several times before tying off.
Cross pattern vs. parallel lines:
Most sewers prefer a cross pattern (X shape) because it distributes stress evenly across all four holes. To achieve this, position your first stitches diagonally across the button rather than straight across. For a parallel line pattern (two separate bars), keep the button orientation the same for both stitch sequences.
What Is the Difference Between Sewing a Button by Hand vs Machine?
Machine sewing is 4-6 times faster than hand sewing and creates uniform, consistent stitches, while hand sewing offers more control, works for all button types including shank buttons, and allows you to create custom thread shanks more easily. Hand-sewn buttons also tend to be slightly more durable on heavy-duty garments because you can add more thread wraps and create a more flexible attachment.
Speed comparison:
- Machine: 30-60 seconds per button (including setup)
- Hand: 2-4 minutes per button for secure attachment
Durability factors:
Hand-sewn buttons typically use 6-8 passes of thread through each hole with a final shank wrap and secure knot, creating a thick, flexible thread column. Machine-sewn buttons use 6-8 zigzag stitches (12-16 thread passes total) but in a more rigid formation. For everyday wear on shirts and blouses, both methods are equally durable. For heavy coats, work jackets, or children’s clothing that gets rough treatment, hand sewing with extra reinforcement is often better.
When machine sewing wins:
- Sewing 6+ buttons on a shirt or dress
- Production sewing or small business projects
- Consistent, professional appearance across multiple garments
- When speed matters more than customization
When hand sewing is better:
- Shank buttons (machine can’t accommodate the raised back)
- Heavy winter coats requiring substantial thread slack
- Vintage or delicate buttons that might crack under presser foot pressure
- Visible buttons where you want decorative thread patterns
- Repairs where you’re matching existing hand-sewn buttons
If you’re working on a project with mixed button types, consider using your machine for the flat buttons and hand-sewing any shank buttons. This hybrid approach saves time while ensuring each button is attached with the most appropriate method.
Can All Sewing Machines Sew Buttons On?
Most sewing machines with zigzag stitch capability can sew on buttons, but not all machines are equally suited to the task. Modern mechanical and computerized machines typically handle button attachment well, while very basic straight-stitch-only machines and some vintage models cannot perform this function.
Machines that CAN sew buttons:
- Modern mechanical machines with zigzag function (most models since 1970)
- Computerized machines with adjustable stitch width
- Heavy-duty machines designed for thick fabrics
- Machines with lowerable feed dogs or darning plate capability
Machines that CANNOT or should not:
- Straight-stitch-only machines (no zigzag function)
- Some antique treadle machines without zigzag cams
- Sergers and overlock machines (designed for edge finishing, not button attachment)
- Embroidery-only machines without standard stitch functions
Key features to check:
Before attempting to sew buttons by machine, verify your machine has these capabilities. If you’re unsure about your specific model, consult your manual or check our guide on how to thread a sewing machine for brand-specific information.
- Zigzag stitch with adjustable width (typically 0-7mm range)
- Stitch length adjustment that can be set to zero
- Feed dog control (lever to lower them or a darning plate accessory)
- Manual speed control or ability to sew slowly
If your machine lacks a feed dog lowering mechanism, you can still sew buttons by covering the feed dogs with a darning plate or even a piece of sturdy cardstock taped over the throat plate. This isn’t ideal for frequent button sewing but works in a pinch.
Best Sewing Machines for Attaching Buttons
While most modern machines can attach buttons, some models make the process easier with dedicated button sewing programs, automatic stitch width adjustment, and included button feet. Machines with these features are particularly valuable if you sew garments frequently or run a small alterations business.
Top features for button sewing:
- One-step buttonhole and button program that automatically sets stitch parameters
- Included button sewing foot in the accessory kit
- Easy feed dog drop (lever or button rather than requiring tools)
- Slow speed setting or needle up/down control for precision
- Wide throat space for maneuvering larger garments
Machine categories ranked for button sewing:
Computerized machines (best option): Many computerized models have a dedicated button sewing mode that automatically sets the correct stitch type, length, and width. You simply select the button program, position the button, and press the foot pedal. The machine sews the perfect number of stitches and stops automatically. This is ideal for beginners or anyone sewing multiple buttons regularly.
Heavy-duty mechanical machines (excellent): Machines designed for thick fabrics and heavy-duty sewing typically have strong motors and precise stitch control, making them reliable for button attachment on everything from silk to denim. They may lack automatic programs but offer consistent performance.
Basic mechanical machines (good): Entry-level machines with zigzag capability can sew buttons effectively, though you’ll need to manually adjust all settings and count stitches yourself. This requires more attention but works perfectly well once you develop the technique.
Vintage machines (variable): Some vintage machines with zigzag cams can sew buttons beautifully, while others lack the necessary stitch width or feed dog control. If you’re considering whether old sewing machines are better than new ones, button sewing capability is one area where modern machines often have an advantage.
For most home sewers, any reliable mechanical or computerized machine with zigzag capability will handle button attachment well. The convenience features on higher-end models save time but aren’t essential for quality results.

This Button Sew On Presser Foot is high quality sewing feet that provide the user with ease of use for tasks they could be extremely tedious if done by hand. Start sewing with the best .


14PCS sewing presser foot set: Suitable for most sewing machines, various styles can meet different sewing needs
Why Does My Button Keep Breaking When I Sew It by Machine?
Buttons break during machine sewing due to excessive presser foot pressure, incorrect needle positioning that strikes the button edge, sewing too fast, or using fragile vintage buttons that can’t withstand machine pressure. The most common culprit is the needle hitting the button material between holes because the stitch width is set too wide or the button shifted during sewing.
Common causes and solutions:
Stitch width too wide: If your zigzag width exceeds the distance between button holes, the needle will strike the button material with each stitch, eventually cracking it. Always test the width by turning the handwheel manually before sewing at speed. Adjust the width dial down until the needle swings cleanly between holes without touching the button edge.
Excessive presser foot pressure: Pressing down too hard on the button can crack it before you even start sewing, especially with plastic or vintage buttons. Lower the presser foot gently, just enough to hold the button in place. Some machines have adjustable presser foot pressure, reduce it for button sewing if this option is available.
Sewing too fast: Running your machine at full speed gives you no time to react if the button starts to shift or if you notice the needle approaching the button edge. Always sew buttons at slow to medium speed, and consider using your handwheel for the first few stitches until you’re confident the alignment is correct.
Button quality issues: Cheap plastic buttons, vintage bakelite buttons, or buttons with thin material between holes are more prone to breaking. If you’re working with valuable or fragile buttons, hand sewing is the safer choice. For everyday plastic buttons, ensure they’re good quality before attempting machine attachment.
Needle strikes during setup: When positioning the button initially, make sure the needle is raised to its highest position. Lower it manually with the handwheel to check alignment before pressing the foot pedal. A needle that starts in the down position might be resting on the button material, and the first stitch could crack it.
If you’re experiencing other machine issues alongside button breaking, such as thread breaking or skipped stitches, your machine may need maintenance or tension adjustment.
How to Sew a Shank Button On with a Machine
You cannot sew a true shank button (one with a solid loop on the back instead of holes) with a standard sewing machine because the shank prevents the button from sitting flat against the fabric. However, you can create a thread shank on a flat button using your machine, which serves the same purpose by providing space between the button and fabric for the buttonhole fabric to fit through.
Creating a machine-sewn thread shank:
- Place a spacer (toothpick, matchstick, or thick tapestry needle) on top of the button between the holes before sewing
- Sew the button normally with the spacer in place, which forces the stitches to be slightly loose
- Remove the spacer after completing all stitches
- Pull the button away from the fabric to expose the loose thread loops underneath
- Wrap the thread around these loops 4-6 times to create a thread column (shank)
- Secure with a knot on the wrong side of the fabric
When you need a shank:
- Thick fabrics like wool coats, fleece, or quilted materials
- Buttons on garments where the buttonhole fabric is thick
- Anywhere the button needs to sit away from the fabric surface to function properly
- Professional-looking button attachment on tailored garments
For true shank buttons: These must be sewn by hand. Position the button on the fabric, thread a needle with doubled thread, and stitch through the fabric and shank loop 6-8 times, creating a thread column beneath the shank. Wrap the thread around this column several times and tie off securely on the wrong side.
The machine method for creating thread shanks works well for most applications, but hand sewing gives you more control over shank length and thread tension, making it preferable for heavy-duty garments or when you need a very specific shank height.
Is It Faster to Sew Buttons by Hand or Machine?
Machine sewing is significantly faster, taking 30-60 seconds per button compared to 2-4 minutes by hand, but the time advantage only matters if you’re sewing multiple buttons. For a single button replacement, the time spent setting up your machine (lowering feed dogs, changing to button foot, adjusting stitch settings) might equal or exceed the time to hand-sew one button.
Time breakdown for machine sewing:
- Initial setup (first button): 2-3 minutes
- Each additional button: 30-60 seconds
- Total for 8 buttons: 6-10 minutes
Time breakdown for hand sewing:
- Setup (threading needle): 30 seconds
- Each button: 2-4 minutes
- Total for 8 buttons: 16-32 minutes
Break-even point: If you’re sewing 3 or more buttons, machine sewing saves time. For 1-2 buttons, hand sewing is often faster when you factor in machine setup. This is why many sewers keep a needle and thread handy for quick repairs but use their machine when constructing a new garment with multiple buttons.
Speed tips for machine button sewing:
- Keep your button foot attached if you’re sewing multiple buttons in one session
- Mark all button positions before starting so you can work continuously
- Use the same thread color for all buttons to avoid changing thread
- Practice the technique on scrap fabric first to build speed and confidence
When speed doesn’t matter: For heirloom sewing, visible decorative buttons, or garments where you want a handmade aesthetic, hand sewing is worth the extra time regardless of efficiency. The choice between hand and machine sewing should consider both time and the desired final appearance.
Common Mistakes When Sewing Buttons with a Sewing Machine
The most frequent mistakes when machine-sewing buttons are forgetting to lower the feed dogs, using the wrong stitch width, sewing too fast, and failing to secure thread ends properly. These errors result in loose buttons, broken needles, cracked buttons, or buttons that fall off after minimal wear.
Top mistakes and how to avoid them:
1. Forgetting to lower feed dogs: This is the number one mistake. The feed dogs will try to move the fabric forward, causing the button to shift and creating a tangled mess. Always check that feed dogs are lowered or covered before starting. Make this part of your pre-sewing checklist.
2. Incorrect stitch width: Setting the width by guessing rather than testing leads to needles striking the button edge or missing holes entirely. Always turn the handwheel manually for the first stitch to verify the needle swings correctly between holes. Adjust the width dial until the movement is perfect.
3. Sewing at full speed: Buttons require precision that’s impossible at high speed. Use your machine’s slow speed setting if available, or apply very light pressure to the foot pedal. Many broken needles and cracked buttons result from sewing too fast.
4. Not securing thread ends: Machine-sewn buttons can unravel if thread ends aren’t secured properly. Either use your machine’s tie-off function, pull threads to the wrong side and tie manually, or sew a few stitches in place with zero width before starting the zigzag (creating a thread anchor).
5. Wrong needle position: Starting with the needle down or in the wrong position can cause immediate button damage. Always begin with the needle at its highest point, then lower it manually to check alignment before sewing.
6. Excessive presser foot pressure: Pressing down too hard can crack buttons before you even start sewing. Lower the foot gently, just enough to hold the button steady. If your button has any give or movement under the foot, that’s ideal.
7. Skipping the test stitch: Diving straight into sewing without testing the stitch width and needle position on scrap fabric is risky, especially with expensive buttons or delicate fabrics. Always do a test run first.
8. Using the wrong thread: Thread that’s too thick won’t fit through button holes easily, while thread that’s too thin may not be strong enough. All-purpose polyester thread in 40-50 weight is ideal for most button applications. For heavy-duty buttons on coats, consider using buttonhole twist or topstitching thread.
If you’re experiencing multiple issues with your machine beyond button sewing, it might be time to check our guide on how often to service a sewing machine to ensure your equipment is in good working order.
Is Machine-Sewn Button Strong Enough for Heavy Coats?
Machine-sewn buttons are generally strong enough for most heavy coats, but hand-sewn buttons with a proper thread shank and reinforcement stitching are more durable for extreme-duty applications like work jackets, children’s outerwear, or coats that will be worn daily in harsh conditions. The key factor isn’t whether you use a machine or hand-sew, but rather the thread quality, number of stitches, and presence of a proper shank.
Factors affecting button strength:
Thread type: Use heavy-duty thread like buttonhole twist, topstitching thread, or doubled all-purpose thread for coat buttons. Regular-weight thread may not withstand the stress of repeated buttoning and unbuttoning on heavy fabric.
Number of stitches: Machine sewing typically creates 6-8 zigzag stitches (12-16 thread passes), which is comparable to hand sewing. More stitches don’t necessarily mean stronger attachment, thread quality and proper tension matter more.
Thread shank: Heavy coats need a thread shank to accommodate the thick fabric layers. Machine-sewn buttons without a shank will be under constant stress and may pull through the fabric or break threads. Always use the toothpick method to create a shank when machine-sewing buttons on coats.
Fabric reinforcement: For maximum strength on heavy coats, add a small button or fabric patch on the wrong side of the fabric as reinforcement. Sew through both the outer button and the reinforcement button simultaneously (this is easier to do by hand but possible by machine with careful positioning).
Stress distribution: Four-hole buttons distribute stress better than two-hole buttons. If you’re replacing buttons on a heavy coat, choose four-hole buttons and sew them in a cross pattern for maximum durability.
When to hand-sew instead:
- Work jackets or uniforms that get daily heavy use
- Children’s coats (kids are rough on buttons)
- Vintage or heirloom coats where durability is paramount
- Coats with very thick fabric (over 4mm) where machine access is difficult
- Situations where you need extra-long thread shanks
For most wool coats, peacoats, and winter jackets worn by adults in normal conditions, machine-sewn buttons with proper thread and a thread shank will last for years. The convenience and speed of machine sewing make it a practical choice for home sewers and small alterations businesses.
How to Sew Buttons on Knit Fabric with a Machine
Sewing buttons on knit fabric requires extra care because knits stretch, and machine stitching can create puckering or distortion if not done correctly. The key is to stabilize the fabric behind the button area, use a slight zigzag rather than maximum width, and avoid pulling the fabric taut while sewing.
Step-by-step for knit fabrics:
Stabilize the fabric: Place a small square of fusible interfacing, tear-away stabilizer, or even a scrap of woven fabric behind the button area on the wrong side. This prevents the knit from stretching during sewing and distributes button stress across a larger area.
Mark button position carefully: Knits can shift easily, so use fabric chalk or a fabric marker to mark the exact button placement. Pin the stabilizer in place if using a non-fusible type.
Use a ballpoint needle: Regular sharp needles can damage knit fibers. A ballpoint or jersey needle (size 70/10 or 80/12) will slide between fibers rather than piercing them, preventing runs and holes.
Reduce stitch width slightly: Knits need some give, so use a slightly narrower zigzag than you would on woven fabric. This creates a less rigid button attachment that can flex with the fabric.
Don’t pull the fabric: Let the fabric lie naturally under the presser foot. Pulling or stretching knit fabric while sewing creates puckering that won’t relax out later.
Create a thread shank: Knits need shanks even more than wovens because the fabric thickness changes when stretched. Use the toothpick method to ensure adequate space between button and fabric.
Test on scrap first: Knit fabrics vary widely in stretch and recovery. Always test your technique on a scrap of the same fabric before sewing buttons on your finished garment.
Preventing button pull-through:
Knit fabrics are more prone to button pull-through (where the button tears through the fabric under stress) than wovens. Always use interfacing or a reinforcement button on the wrong side for knit garments. This is especially important for cardigans, knit jackets, and any garment where the buttons will be under tension when worn.
Alternative for very stretchy knits: For extremely stretchy fabrics like jersey or rib knits, consider using snaps instead of buttons, or use buttons purely decoratively with a hidden snap closure doing the actual fastening work. This prevents stress on the knit fabric while maintaining the button aesthetic.
Understanding fabric tension settings can also help you achieve better results when working with knit fabrics on your machine.
FAQ
Can I sew a button without a button foot?
Yes, you can use a standard presser foot or even sew with the foot raised if you hold the button steady manually. A button foot makes the process easier by gripping the button, but it’s not essential for successful button attachment.
How many stitches should I use when machine-sewing a button?
Six to eight zigzag stitches (12-16 thread passes) provide adequate strength for most applications. More stitches create bulk without significantly increasing durability. For heavy-duty buttons, focus on thread quality and proper shank creation rather than stitch count.
Why does my needle keep breaking when sewing buttons?
Needle breakage occurs when the stitch width is too wide and the needle strikes the button edge, when you’re sewing too fast, or when the button shifts during sewing. Always test the stitch width manually with the handwheel before sewing at speed.
Can I use a straight stitch to sew on a button?
No, straight stitch won’t work because it only creates a single line of stitches. You need a zigzag stitch that moves side to side to pass through both button holes and create a secure attachment.
Do I need special thread for machine-sewing buttons?
All-purpose polyester thread works well for most buttons. For heavy coats or high-stress applications, use buttonhole twist or topstitching thread for extra strength. Avoid cotton thread, which is weaker and less durable than polyester.
How do I keep the button from moving while I sew?
Use a button sewing foot with a rubber gripper, or lower your standard presser foot gently onto the button. Some sewers place a small piece of double-sided tape under the button to hold it in place, though this isn’t necessary with proper foot pressure.
Can I sew buttons on leather or vinyl with a machine?
Yes, but use a leather needle and reduce presser foot pressure to avoid marking the material. Test on scrap first, as needle holes in leather are permanent. Consider using a Teflon foot to prevent sticking.
What’s the best way to tie off threads after machine-sewing a button?
Pull all four thread tails to the wrong side of the fabric, tie them together in a square knot, then tie a second knot for security. Trim tails to 1/4 inch. Alternatively, use your machine’s tie-off function if available.
Why is my button loose after machine sewing?
Loose buttons result from insufficient stitches, thread that’s too thin, or failure to create a proper thread shank on thick fabrics. Ensure you’re using quality thread and sewing at least 6-8 zigzag stitches with appropriate tension.
Can computerized machines sew buttons automatically?
Many computerized machines have a button sewing program that automatically sets stitch parameters and sews the correct number of stitches before stopping. You still need to position the button and lower the feed dogs, but the machine handles the stitch execution.
How do I practice button sewing before trying it on a garment?
Use scrap fabric in a similar weight to your project, mark button positions, and practice the entire process including lowering feed dogs, adjusting stitch width, and creating thread shanks. Practice with inexpensive buttons until you’re confident in your technique.
Is it normal for the button to rattle slightly after machine sewing?
A slight amount of movement is normal and actually desirable, especially if you created a thread shank. The button should sit slightly away from the fabric surface to accommodate the buttonhole fabric when fastened. Excessive rattling indicates insufficient stitches or improper tension.
Conclusion
Learning how to sew on a button by machine transforms a tedious hand-sewing task into a quick, efficient process that takes less than a minute per button. By lowering your feed dogs, setting your machine to zigzag stitch with the appropriate width, and using either a button foot or standard presser foot, you can achieve professional results that are just as durable as hand-sewn buttons for most applications.
The key to success lies in proper preparation: always test your stitch width manually before sewing at speed, use quality thread appropriate to your fabric weight, and create thread shanks when working with thick fabrics or knits. While machine button sewing works beautifully for flat buttons on most garments, remember that shank buttons, very heavy coats, and delicate vintage buttons may still benefit from traditional hand sewing.
Your next steps:
- Check your machine manual to locate the feed dog control and verify zigzag capability
- Gather supplies: button foot (optional), appropriate thread, and practice buttons
- Practice on scrap fabric until you can consistently sew buttons without breaking needles or buttons
- Start with simple projects like shirt repairs before moving to more challenging applications like coat buttons on thick fabric
With practice, machine button sewing becomes second nature, saving you hours on garment construction and repairs. Whether you’re sewing a single replacement button or attaching dozens of buttons to a handmade shirt, this technique is an essential skill for any sewing enthusiast’s repertoire.