


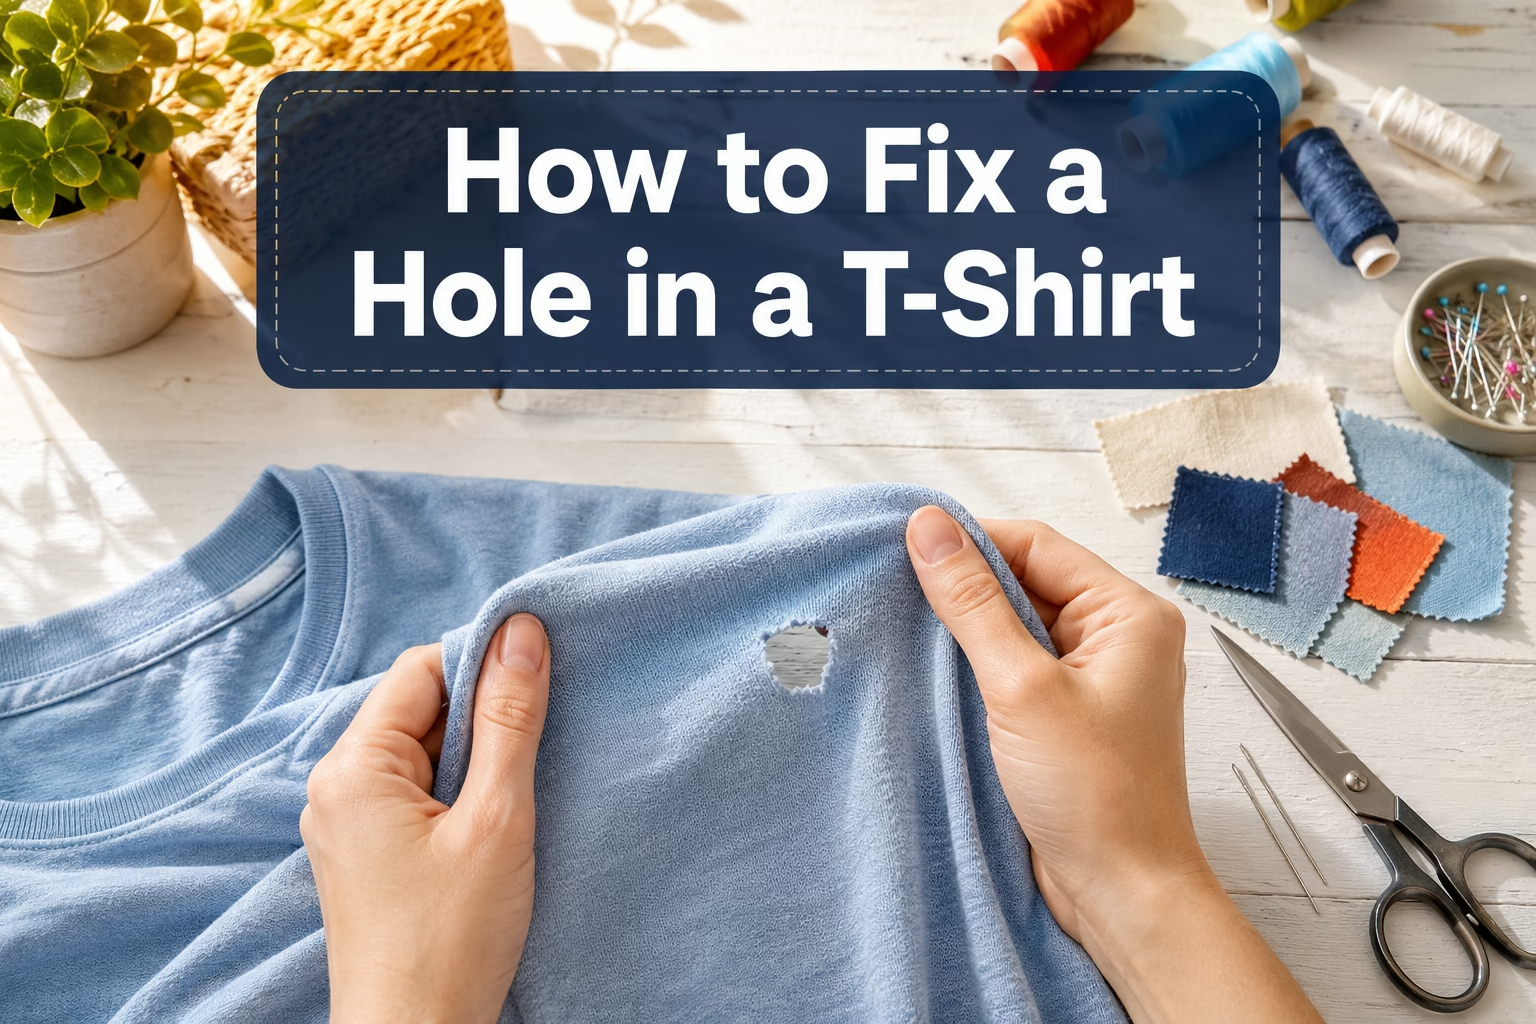
Quick Answer: You can fix a hole in a t-shirt using hand sewing (running stitch or darning), machine sewing, iron-on patches, fabric glue, or decorative embroidery. For small holes under 1/4 inch, hand sewing with matching thread takes 5-10 minutes and creates an invisible repair. Larger holes require patches or darning techniques, while no-sew methods like iron-on patches or fabric glue work well for quick fixes on casual wear.
Key Takeaways
- Hand sewing works best for small holes (under 1/4 inch) and takes 5-10 minutes with a basic running stitch or whip stitch
- Iron-on patches provide the fastest no-sew solution, bonding in 30-60 seconds under heat and lasting through 20-30 washes
- Fabric glue creates temporary repairs lasting 5-10 washes, ideal for emergency fixes on cheap t-shirts
- Darning rebuilds fabric for medium holes (1/4 to 1 inch) by weaving thread across the gap
- Thread choice matters: use 100% cotton or polyester thread matching your fabric weight, typically all-purpose thread for standard cotton tees
- Armpit holes require reinforcement stitching around the repair to prevent re-tearing from stress and friction
- Vintage t-shirts need invisible mending techniques like ladder stitch or color-matched darning to preserve collector value
- Professional repairs cost $8-$25 depending on hole size and location, worthwhile for designer or sentimental pieces
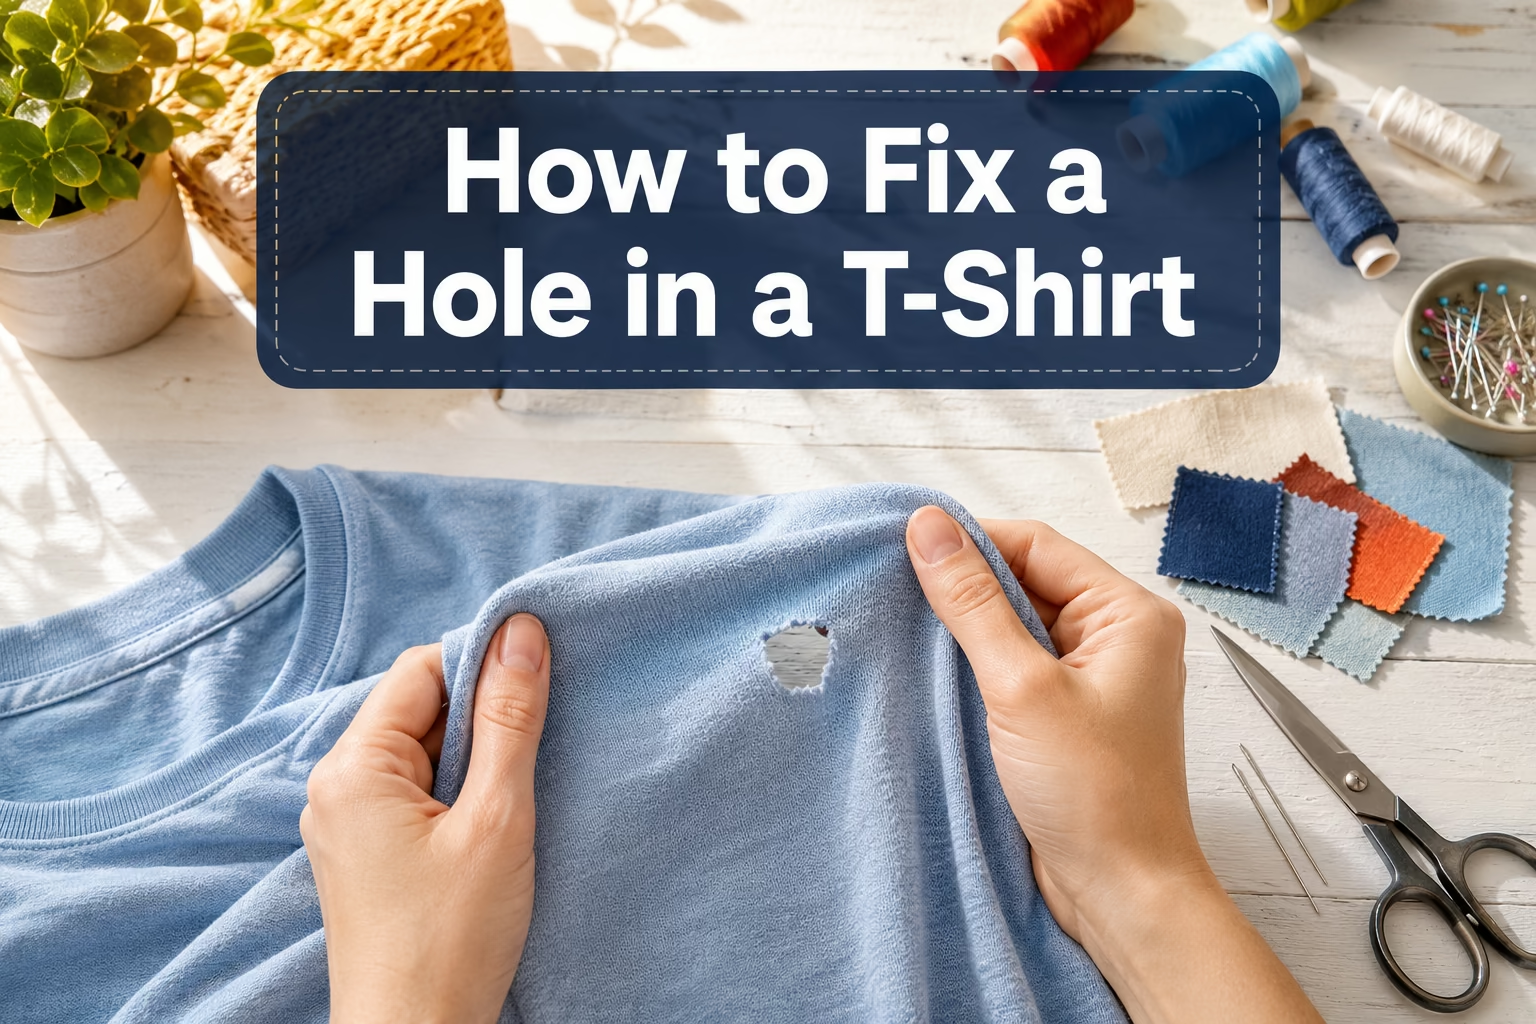
How to Sew a Small Hole in a T-Shirt by Hand
Hand sewing a small hole (under 1/4 inch) takes 5-10 minutes and creates the most invisible repair when done correctly. Use a sharp hand-sewing needle, thread that matches your t-shirt color, and work on a flat surface with good lighting.
Step-by-step process:
- Turn the shirt inside out so you’re working from the wrong side of the fabric
- Thread your needle with about 18 inches of thread and tie a small knot at the end
- Start 1/4 inch away from the hole edge, bringing the needle up through the fabric
- Use a running stitch to gather the hole edges together, taking small stitches (about 1/8 inch) perpendicular to the tear
- Pull gently to close the hole without puckering the fabric
- Backstitch twice at the end to secure, then knot and trim the thread
Common mistake: Pulling the thread too tight creates puckering and makes the repair obvious. The fabric should lie flat with no bunching around the repair area.
Choose hand sewing if: You want an invisible repair on a favorite shirt, the hole is in a visible area like the front chest, or you’re working with thin jersey knit that might pucker under a sewing machine. For guidance on proper stitching techniques, check out our sewing troubleshooting guide.
What Are the Different Ways to Fix a Hole in a T-Shirt Without Sewing

No-sew methods include iron-on patches, fabric glue, fusible interfacing, and decorative appliqués. These techniques work well for casual wear, children’s clothing, or when you need a repair in under 5 minutes without needle and thread.
Iron-on patches bond to fabric using heat-activated adhesive on the back. Press the patch over the hole with an iron set to cotton temperature (380°F) for 30-60 seconds. The bond lasts through 20-30 machine washes before edges may lift. Best for: holes up to 1 inch on casual t-shirts where appearance isn’t critical.
Fabric glue (like Aleene’s Fabric Fusion or Beacon Fabri-Tac) creates a flexible bond between fabric edges. Apply a thin line along the hole edges, press together for 30 seconds, and let cure for 24 hours before washing. Holds for 5-10 washes. Best for: emergency repairs or t-shirts you plan to replace soon.
Fusible interfacing is a thin fabric with heat-activated glue on one side. Cut a piece slightly larger than the hole, place it adhesive-side down on the inside of the shirt, and iron for 15 seconds. Adds slight stiffness but creates a durable repair. Best for: holes in high-stress areas like armpits or hems.
Decorative appliqués turn damage into design. Use embroidered patches, fabric paint, or iron-on transfers to cover holes while adding visual interest. Best for: graphic tees where you can incorporate the patch into the existing design.
Edge case: Stretchy performance fabrics (polyester blends, athletic wear) don’t bond well with standard fabric glue. Use patches specifically designed for synthetic fabrics or choose sewing methods instead.
Iron-On Patches vs Sewing for T-Shirt Holes
Iron-on patches take 2-3 minutes to apply and last 20-30 washes, while sewn repairs take 10-15 minutes but last the lifetime of the garment. Choose iron-on patches for quick fixes on casual wear; choose sewing for favorite shirts, visible repairs, or garments you wash frequently.
Comparison breakdown:
| Factor | Iron-On Patches | Hand/Machine Sewing |
|---|---|---|
| Time required | 2-3 minutes | 10-15 minutes |
| Durability | 20-30 washes | Lifetime of garment |
| Appearance | Visible patch | Can be invisible |
| Skill level | None required | Basic sewing knowledge |
| Cost per repair | $1-3 per patch | $0.10 in thread |
| Washability | Warm water only | Any temperature |
Choose iron-on patches when:
- You need a repair in under 5 minutes
- The t-shirt is casual wear or for kids who outgrow clothes quickly
- The hole is in a low-stress area (front, back, sleeves)
- You don’t have sewing skills or equipment
Choose sewing when:
- The shirt has sentimental or monetary value
- You want an invisible repair
- The hole is in a high-stress area (armpit, neckline, hem)
- You wash clothes in hot water or use a dryer on high heat
Pro tip: Combine both methods for maximum durability. Apply an iron-on patch from the inside, then hand-stitch around the edges to prevent lifting. This hybrid approach lasts 50+ washes and takes only 7-8 minutes total.
Can You Use Fabric Glue to Fix Holes in Shirts
Fabric glue works for temporary repairs lasting 5-10 washes, making it suitable for emergency fixes or low-value t-shirts you plan to replace. The bond weakens with each wash cycle and doesn’t hold up to high heat or heavy stretching.
Best fabric glues for t-shirt repairs:
- Aleene’s Fabric Fusion, permanent formula, flexible when dry, works on cotton and blends
- Beacon Fabri-Tac, quick-dry (30 seconds), strong initial bond, best for patches
- Dritz Unique Stitch, washable, clear-drying, good for small holes under 1/4 inch
Application technique:
- Clean the hole area with rubbing alcohol to remove oils
- Apply a thin, continuous line of glue along both edges of the tear
- Press edges together firmly for 30-60 seconds
- Place wax paper over the repair and weight it down for 10 minutes
- Let cure for 24 hours before wearing or washing
Limitations: Fabric glue fails on holes larger than 1/2 inch because there’s not enough surface contact. It also doesn’t work well on stretchy areas (necklines, armpits) where constant movement breaks the bond. The repair area becomes slightly stiff, which may be noticeable on thin jersey knits.
When to use fabric glue: Emergency repairs when you’re traveling, quick fixes on children’s play clothes, or temporary holds while you wait to sew properly. Not recommended for favorite shirts or garments you want to keep long-term.


Work With Fabric: Our fabric glue is suitable for all types of fabrics, including cotton, flannel, denim, leather, polyester, dolls, fabric, nylon, and other materials for repairs. Our fabric glue serves as the perfect alternative to traditional needle and thread, saving you time and effort.
What Kind of Thread Should I Use to Fix a Hole in Cotton T-Shirt
Use all-purpose polyester thread or 100% cotton thread in a weight that matches your t-shirt fabric. For standard cotton jersey t-shirts, 50-weight all-purpose thread provides the right balance of strength and flexibility, while matching the thread color to your fabric makes repairs nearly invisible.
Thread selection guide:
Polyester thread (recommended for most repairs):
- Strong and slightly elastic, moves with knit fabrics
- Colorfast and resistant to sun damage
- Works for both hand and machine sewing
- Brands: Gutermann, Coats & Clark, Mettler
Cotton thread (for 100% cotton t-shirts):
- Matches the fiber content of your garment
- Slightly weaker than polyester but more traditional
- Shrinks at the same rate as cotton fabric
- Best for vintage or high-quality cotton tees
Thread weight matters: 50-weight is standard for t-shirts. Use 40-weight (thicker) for heavy cotton or reinforced repairs, and 60-weight (thinner) for lightweight jersey or when you want the most invisible repair possible.
Color matching tip: Bring your t-shirt to the fabric store and hold thread spools against it in natural light. Choose a shade slightly darker than your fabric, it will appear lighter once sewn. For multi-colored or heathered fabrics, match the dominant color.
Avoid: Cheap thread that sheds or breaks easily, thread that’s too thick (creates visible stitches), or thread that doesn’t match your fabric’s stretch properties. If you’re experiencing thread issues with your machine, our guide on why thread keeps breaking can help troubleshoot.
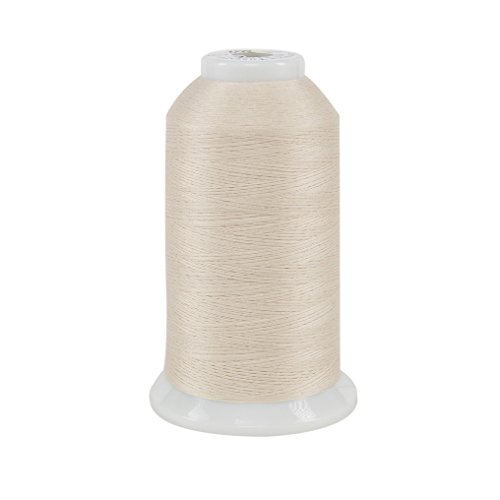
THREAD CONE: Features one 3,280 yard cone of Superior Threads So Fine! 50-weight thread made from 3 plies of 100% polyester

THREAD CONE: Features one 3,280 yard cone of Superior Threads So Fine! 50-weight thread made from 3 plies of 100% polyester
How to Fix a Hole in a T-Shirt Armpit That Keeps Getting Bigger
Armpit holes require reinforcement stitching because this high-stress area experiences constant friction and stretching. Repair the hole with a combination of darning or patching plus reinforcement stitches around the entire area to distribute stress and prevent re-tearing.
Why armpit holes keep growing: The underarm seam bears the most stress when you move your arms. Thin fabric wears through first, then the hole expands with each wear as the weakened fibers pull apart. A simple stitch across the hole will fail within days without proper reinforcement.
Reinforced repair technique:
- Trim loose threads around the hole with sharp scissors
- Cut a patch from matching jersey fabric (or use fusible interfacing) 1 inch larger than the hole
- Position the patch on the inside of the shirt, centered over the hole
- Pin in place with the shirt turned inside out
- Sew around the patch using a stretch stitch or narrow zigzag (if machine sewing) or a whip stitch (if hand sewing)
- Add reinforcement rows of stitching 1/4 inch outside the patch perimeter
- Backstitch at stress points where the armpit seam meets the side seam
For hand sewing: Use a double strand of thread for extra strength. Make your stitches small (1/8 inch) and close together around the patch edges.
Prevention tip: Once you’ve repaired one armpit, check the other side. Holes usually develop symmetrically because both arms move the same way. Reinforce the second armpit before it tears by adding a preventive patch on the inside.
Choose this method if: The hole is smaller than 1 inch and the surrounding fabric is still strong. For holes larger than 1 inch or fabric that’s worn thin throughout the armpit area, consider taking the shirt to a professional for a gusset repair (adding a diamond-shaped fabric insert).
Is It Worth Fixing Holes in Cheap T-Shirts or Just Replace Them
Fix cheap t-shirts (under $10) only if the repair takes under 10 minutes and uses supplies you already own. Replace them if the hole is larger than 1/2 inch, in a highly visible area, or if the fabric is worn thin throughout. For t-shirts over $20 or those with sentimental value, repairs are almost always worthwhile.
Cost-benefit analysis:
A basic hand-sewn repair costs about $0.10 in thread and takes 5-10 minutes. An iron-on patch costs $1-3 and takes 3 minutes. If your time is worth $15/hour, a hand repair costs you about $1.50 in time plus materials, totaling $1.60.
Replace when:
- The t-shirt costs less than $8 and you can buy a replacement easily
- Multiple holes exist or the fabric is pilling and worn throughout
- The hole is in the front center where repairs will be obvious
- You don’t like the shirt enough to spend 10 minutes on it
Repair when:
- The shirt costs over $15 or is hard to replace (band tees, event shirts, gifts)
- The hole is small (under 1/4 inch) and in a low-visibility area
- The rest of the fabric is in good condition
- You’re building sewing skills and want practice projects
Environmental consideration: The average American throws away 81 pounds of clothing per year. Repairing a t-shirt instead of replacing it saves resources and reduces landfill waste. If sustainability matters to you, repair even cheap shirts when possible.
Quick decision rule: If you hesitated before throwing the shirt away, it’s worth repairing. If you immediately thought “I should replace this,” trust that instinct.
Why Does My T-Shirt Repair Keep Coming Undone After Washing
Repairs fail after washing because of thread tension issues, inadequate knots, mismatched thread type, or washing in water that’s too hot. The most common cause is using regular thread on stretchy knit fabric, the thread doesn’t stretch with the fabric during washing, causing stitches to pop.
Top reasons repairs fail:
Wrong thread type: Cotton or polyester thread on stretchy t-shirts needs to have some give. Use polyester thread (which has slight stretch) or a dedicated stretch thread for knit fabrics. Regular cotton thread is too rigid and snaps when the fabric stretches in the wash.
Insufficient knots: Hand-sewn repairs need a secure knot at both the beginning and end, plus a backstitch for reinforcement. Tie at least two knots on top of each other and bury the thread tail in the fabric so it can’t work loose.
Too much tension: Pulling stitches too tight creates stress points that break when the fabric moves. Your stitches should be snug but allow the fabric to lie flat and stretch naturally.
Hot water and high heat: Washing in hot water (above 120°F) or drying on high heat weakens thread and adhesives. Wash repaired shirts in cold or warm water and air-dry or use low heat.
Incomplete repairs: Stopping your stitches right at the hole edge leaves weak fabric that continues to tear. Start and end your stitches at least 1/4 inch beyond the hole in strong fabric.
Fix it: Re-do the repair using polyester thread, make your stitches smaller and closer together, and add a backstitch every 3-4 stitches for reinforcement. Wash the shirt inside out in a mesh laundry bag to reduce friction. For more help with stitch problems, see our guide on why sewing machines skip stitches.
How to Fix Holes in Vintage T-Shirts Without Ruining the Value
Vintage t-shirts require invisible mending techniques that preserve the original fabric and appearance. Use a ladder stitch or Swiss darning with color-matched thread, work from the inside when possible, and never use iron-on patches or fabric glue that can damage collectible shirts or leave residue.
Invisible mending techniques for vintage tees:
Ladder stitch (slip stitch): Creates an invisible seam by catching tiny bits of fabric on alternating sides of the hole. Work from the right side of the fabric, taking stitches parallel to the hole edges. When you pull the thread tight, the edges meet invisibly. Best for small holes and tears along seams.
Swiss darning (duplicate stitch): Mimics the knit structure of jersey fabric by weaving thread in the same pattern as the original knit. Requires patience but becomes completely invisible when done with matching thread. Best for holes in the body of the shirt away from seams.
Fabric grafting: For valuable vintage shirts (concert tees worth $100+), source matching fabric from the shirt’s hem or inside seam allowance. Cut a small patch and hand-stitch it behind the hole using tiny whip stitches. The patch supports the repair without being visible from the front.
Thread selection for vintage repairs:
- Match the exact color using embroidery floss or silk thread
- For faded vintage tees, slightly lighten new thread by soaking it in diluted tea or coffee
- Use a single strand of thread for the most invisible repair
- Test your thread color on the inside hem before starting
What to avoid:
- Iron-on patches (heat can damage vintage prints and fabric)
- Fabric glue (leaves permanent residue and stiffness)
- Machine sewing (too visible and can cause additional stress to fragile fabric)
- Cutting away damaged fabric (reduces the shirt’s original material)
When to seek professional help: If your vintage t-shirt is worth over $100 or has significant collector value (original 1970s-80s band tees, rare event shirts), take it to a textile conservator or professional invisible mending service. They charge $25-75 but preserve the shirt’s value and authenticity.
What to Do If the Hole in My T-Shirt Is Too Big to Sew
Holes larger than 1 inch require patching rather than simple sewing because there’s too much missing fabric to pull edges together. Use a fabric patch on the inside, decorative appliqué on the outside, or creative embellishment to cover the damage while maintaining the shirt’s wearability.
Patching technique for large holes:
- Cut a patch from matching jersey knit fabric, at least 1 inch larger than the hole on all sides
- Round the corners of your patch to prevent them from lifting
- Position the patch on the inside of the shirt, centered behind the hole
- Pin thoroughly, use at least 6-8 pins around the perimeter
- Sew around the patch using a zigzag stitch (machine) or whip stitch (hand), staying 1/4 inch from the patch edge
- Trim the hole edges on the outside to remove frayed threads, but don’t cut into the patch
- Optional: Add decorative stitching or embroidery on the outside to blend the repair
Creative solutions for large holes:
Decorative patches: Turn damage into design with embroidered patches, fabric appliqués, or iron-on designs that complement your t-shirt’s style. Place a band logo over a hole in a concert tee, or add a pocket to cover chest damage.
Visible mending: Embrace the Japanese art of sashiko or boro by using contrasting thread to create decorative running stitches around and across the hole. This technique celebrates the repair rather than hiding it.
Fabric paint or bleach: For holes in graphic tees, extend the design over the damaged area using fabric paint or strategic bleaching to create an intentional distressed look.
Cut and redesign: Transform a damaged t-shirt into a crop top, tank top, or tote bag. A large hole in the body becomes irrelevant when you cut the shirt into a new shape.
When the hole is truly too large: If more than 25% of a panel (front, back, or sleeve) is damaged, or if the fabric is worn thin throughout, the shirt has reached the end of its wearable life. Consider repurposing the fabric for cleaning rags, quilting squares, or pet bedding.
How to Prevent More Holes From Forming in T-Shirts
Prevent t-shirt holes by washing in cold water inside mesh bags, avoiding overloading the washer, keeping sharp objects away from fabric, and addressing small snags immediately before they become holes. Most holes form from friction against rough surfaces, belt buckles, or washing machine agitators.
Primary prevention strategies:
Wash smarter:
- Turn t-shirts inside out before washing to protect the outer surface
- Use mesh laundry bags for delicate or favorite shirts
- Wash in cold water on gentle cycle to reduce fabric stress
- Avoid overloading the washer (clothes need room to move freely)
- Separate heavy items (jeans, towels) from lightweight t-shirts
Reduce friction:
- Check for rough spots on belt buckles, bag straps, and jewelry that catch fabric
- Smooth rough edges on countertops, car seats, and furniture where you frequently lean
- File down sharp edges on washing machine drums or dryer baffles
- Avoid sitting on rough surfaces (concrete, splintered wood) while wearing thin tees
Address damage early:
- Fix small snags and pulls immediately before they enlarge
- Trim loose threads rather than pulling them (pulling unravels more fabric)
- Reinforce high-stress areas (armpits, necklines) before holes form
- Apply clear nail polish to the back of small snags to prevent running
Quality matters:
- Buy t-shirts with higher thread counts (150+ for jersey knit)
- Choose tightly woven fabrics over loose, thin knits
- Avoid t-shirts under $5, they’re made from low-quality fabric that pills and tears easily
- Look for double-stitched seams in stress areas
Common hole locations and causes:
- Lower front (belly button area): Belt buckles, countertop edges, car seatbelts
- Armpits: Friction from arm movement, deodorant chemicals weakening fabric
- Upper back (shoulder blade area): Backpack straps, purse straps, car seats
- Neckline: Pulling shirt on/off roughly, washing machine agitator
- Hem: Catching on rough surfaces, washing machine drum
Pro tip: Rotate your t-shirts so you’re not wearing the same ones every week. Frequent washing and wearing accelerates fabric breakdown. Aim to wash t-shirts every 2-3 wears unless visibly soiled.
Can You Fix a Hole in a Graphic Tee Without Covering the Design
You can fix holes in graphic tees without covering the design by using invisible mending from the back, strategic patching around the graphic, or incorporating the repair into the design aesthetic. The technique depends on whether the hole is in the printed area or nearby.
Hole in the graphic itself:
If the hole damages the printed design, your options are limited. The best approach is reverse patching, place a color-matched patch on the inside of the shirt and secure it with tiny hand stitches around the hole perimeter. The patch supports the damaged area without covering the front design. The hole will still be visible but won’t get larger.
For small holes (under 1/4 inch) in solid-color areas of the graphic, carefully darn the hole using thread that matches the print color. Work from the back when possible, bringing the needle through only the top layer of fabric to avoid visible stitches on the front.
Hole near the graphic:
Position a decorative patch or embroidered design adjacent to the graphic to complement rather than compete with it. For example, add small star patches around a band logo, or place a pocket below a chest graphic to cover lower damage.
Creative integration:
- Extend the design: Use fabric paint or embroidery to extend elements of the graphic over the hole area
- Distressed look: If the graphic has a vintage or grunge aesthetic, embrace the hole as part of the worn look and simply reinforce the edges to prevent growth
- Strategic layering: Wear the damaged graphic tee over a contrasting long-sleeve shirt so the underlayer shows through the hole intentionally
What doesn’t work: Iron-on patches directly over graphics create a lumpy, obvious repair and may damage the print with heat. Fabric glue can seep through and discolor the graphic. Avoid both methods on printed areas.
Professional option: Screen printing shops can sometimes recreate damaged portions of graphics for $15-30, though this only makes sense for valuable or irreplaceable shirts. For help with other garment repairs, explore our garment sewing resources.
How Much Does It Cost to Get a T-Shirt Hole Repaired Professionally
Professional t-shirt hole repair costs $8-$25 depending on hole size, location, and repair complexity. Simple holes in seams cost $8-12, while invisible mending on vintage shirts or complex darning runs $20-35. Tailors and alterations shops offer the most affordable rates, while textile conservators charge premium prices for collector-quality repairs.
Price breakdown by repair type:
| Repair Type | Cost Range | Turnaround Time |
|---|---|---|
| Simple seam repair | $8-12 | 2-3 days |
| Small hole (under 1/2 inch) | $10-15 | 3-5 days |
| Medium hole with patch | $15-20 | 5-7 days |
| Armpit gusset repair | $18-25 | 5-7 days |
| Invisible mending (vintage) | $25-50 | 1-2 weeks |
| Textile conservation | $50-150 | 2-4 weeks |
Where to get professional repairs:
Local tailors and alterations shops: Most affordable option for standard repairs. Call ahead to confirm they work on casual knit garments (some only do formal wear). Expect $10-20 for typical t-shirt holes.
Dry cleaners with alterations: Many offer basic repairs. Quality varies widely, so ask to see examples of their mending work before leaving your shirt.
Textile conservators: Specialists in vintage and valuable garments. Use them for concert tees, rare vintage pieces, or shirts with collector value over $100. Charge $50+ but provide museum-quality repairs.
Online services: Companies like Denim Therapy and The Restory offer mail-in repairs starting at $15 plus shipping. Good option if local services aren’t available, but factor in 2-3 weeks total turnaround.
When professional repair makes sense:
- The t-shirt has significant monetary value ($50+)
- Strong sentimental value (gift from deceased loved one, event memorabilia)
- You lack sewing skills and the hole is in a visible area
- The repair requires specialized techniques (reweaving, gusset insertion)
- You’ve tried DIY repairs that failed
DIY vs professional cost comparison: A hand-sewn repair costs about $0.10 in thread and 10 minutes of your time. If your time is worth $15/hour, that’s $2.60 total. Professional repair costs $10-15. The professional option makes sense when you value your time highly or need guaranteed quality results.
For ongoing garment care, consider learning basic repairs yourself. Our beginner sewing guide can help you build skills that save money long-term.
FAQ
How long does it take to fix a hole in a t-shirt by hand?
A small hole (under 1/4 inch) takes 5-10 minutes to hand sew using a running stitch or whip stitch. Medium holes requiring darning take 15-20 minutes, while large holes needing patches require 20-30 minutes including prep and finishing.
Can you fix a hole in a t-shirt without it showing?
Yes, using a ladder stitch or Swiss darning with color-matched thread creates nearly invisible repairs on small holes. Work from the inside when possible, take tiny stitches, and avoid pulling thread too tight to prevent puckering.
What’s the strongest way to repair a t-shirt hole?
Combining a fabric patch on the inside with hand stitching around the perimeter creates the strongest repair. Use polyester thread in a whip stitch or zigzag pattern, and add reinforcement stitches 1/4 inch beyond the patch edges for high-stress areas.
Do iron-on patches work permanently on t-shirts?
Iron-on patches last 20-30 machine washes before edges begin lifting. They work best on casual wear washed in cold water and air-dried. For permanent repairs, sew around the patch edges after ironing to secure it indefinitely.
Why do t-shirts get holes in the same spot?
Holes form in high-friction areas where fabric rubs against belt buckles (lower front), bag straps (shoulders), or experiences repeated stress (armpits). Identifying and eliminating the friction source prevents recurring holes in the same location.
Can you fix holes in polyester t-shirts the same way as cotton?
Polyester requires synthetic-compatible thread and adhesives. Use polyester thread for sewing and patches designed for synthetic fabrics. Standard fabric glue may not bond well to polyester, choose products specifically labeled for synthetic materials.
Should you cut away frayed edges before repairing a hole?
Trim loose threads and obviously frayed bits, but don’t cut into solid fabric. Removing too much material makes the hole larger and harder to repair. Trim only what’s necessary to create clean edges for stitching.
How do you fix a hole in a stretchy t-shirt?
Use stretch thread or polyester thread (which has slight give) and a zigzag stitch if machine sewing. Hand sewing requires loose tension so stitches can stretch with the fabric. Test the repair by gently stretching before wearing.
Can you use super glue to fix a hole in a t-shirt?
No, super glue creates a hard, inflexible bond that cracks when fabric moves and can irritate skin. Use fabric glue specifically formulated for textiles, which remains flexible after drying and is safe against skin.
What’s the best stitch for repairing t-shirt holes?
For small holes, use a running stitch or whip stitch by hand, or a narrow zigzag on a machine. For medium holes, use darning (weaving thread across the gap). For patches, use a whip stitch or zigzag around the perimeter.
How do you fix a hole in a black t-shirt so it doesn’t show?
Use black polyester thread and work from the inside of the shirt. Take small, close stitches and avoid pulling tight. For the most invisible repair, use a ladder stitch that hides thread between fabric layers.
Will washing a repaired t-shirt make the hole bigger?
Properly repaired holes won’t enlarge if you use appropriate thread, secure knots, and wash in cold water inside out. Repairs fail when thread doesn’t match fabric stretch, knots come undone, or hot water weakens the thread.
Conclusion
Learning how to fix a hole in a t-shirt saves money, extends the life of favorite garments, and builds valuable sewing skills. Whether you choose quick no-sew methods like iron-on patches and fabric glue for casual wear, or invest time in invisible hand-stitching for cherished shirts, the right repair technique depends on the hole size, shirt value, and your available time.
Take action now:
- Assess your damaged t-shirts, sort by hole size and shirt value to determine which repair method suits each one
- Gather basic supplies, polyester thread in common colors, hand-sewing needles, scissors, and a few iron-on patches cover most repair needs
- Start with an easy repair, practice on a low-value shirt with a small hole to build confidence before tackling favorite garments
- Address new damage immediately, fix small snags and holes before they grow, when repairs take just minutes
- Prevent future holes, wash shirts inside out in mesh bags, reduce friction from belts and bags, and address rough surfaces that catch fabric
The skills you develop repairing t-shirts transfer to other garment repairs, making you more self-sufficient and reducing clothing waste. Start with simple hand-sewn repairs, experiment with different techniques, and don’t hesitate to seek professional help for valuable vintage pieces. For more sewing guidance and troubleshooting, visit our Best Sewing Machine for Beginners resource hub.


