


Quick Answer
Fusible interfacing bonds to fabric using heat-activated adhesive and is faster to apply, while sew-in interfacing is stitched into seams and works better for delicate or textured fabrics. Fusible is ideal for most beginner projects and quick applications, whereas sew-in offers more flexibility and is preferred for garments that need frequent washing or professional finishing. The choice depends on your fabric type, project requirements, and skill level.
Key Takeaways
- Fusible interfacing uses heat-activated glue to bond permanently to fabric, saving time and effort for most projects
- Sew-in interfacing is stitched into seam allowances and works best with delicate fabrics like silk, velvet, or textured materials
- Fusible is generally easier for beginners and faster to apply, while sew-in requires more sewing skill but offers greater control
- Some fabrics (silk, velvet, lamé, heavily textured knits) should never use fusible interfacing due to heat damage or adhesion problems
- Fusible interfacing typically costs $3-8 per yard, similar to sew-in options, making price a non-factor in most decisions
- Both types stay secure after washing when applied correctly, though fusible can occasionally lift if not pressed properly
- You can remove incorrectly applied fusible interfacing with heat and patience, but it’s easier to get sew-in right the first time
What Is Fusible Interfacing?
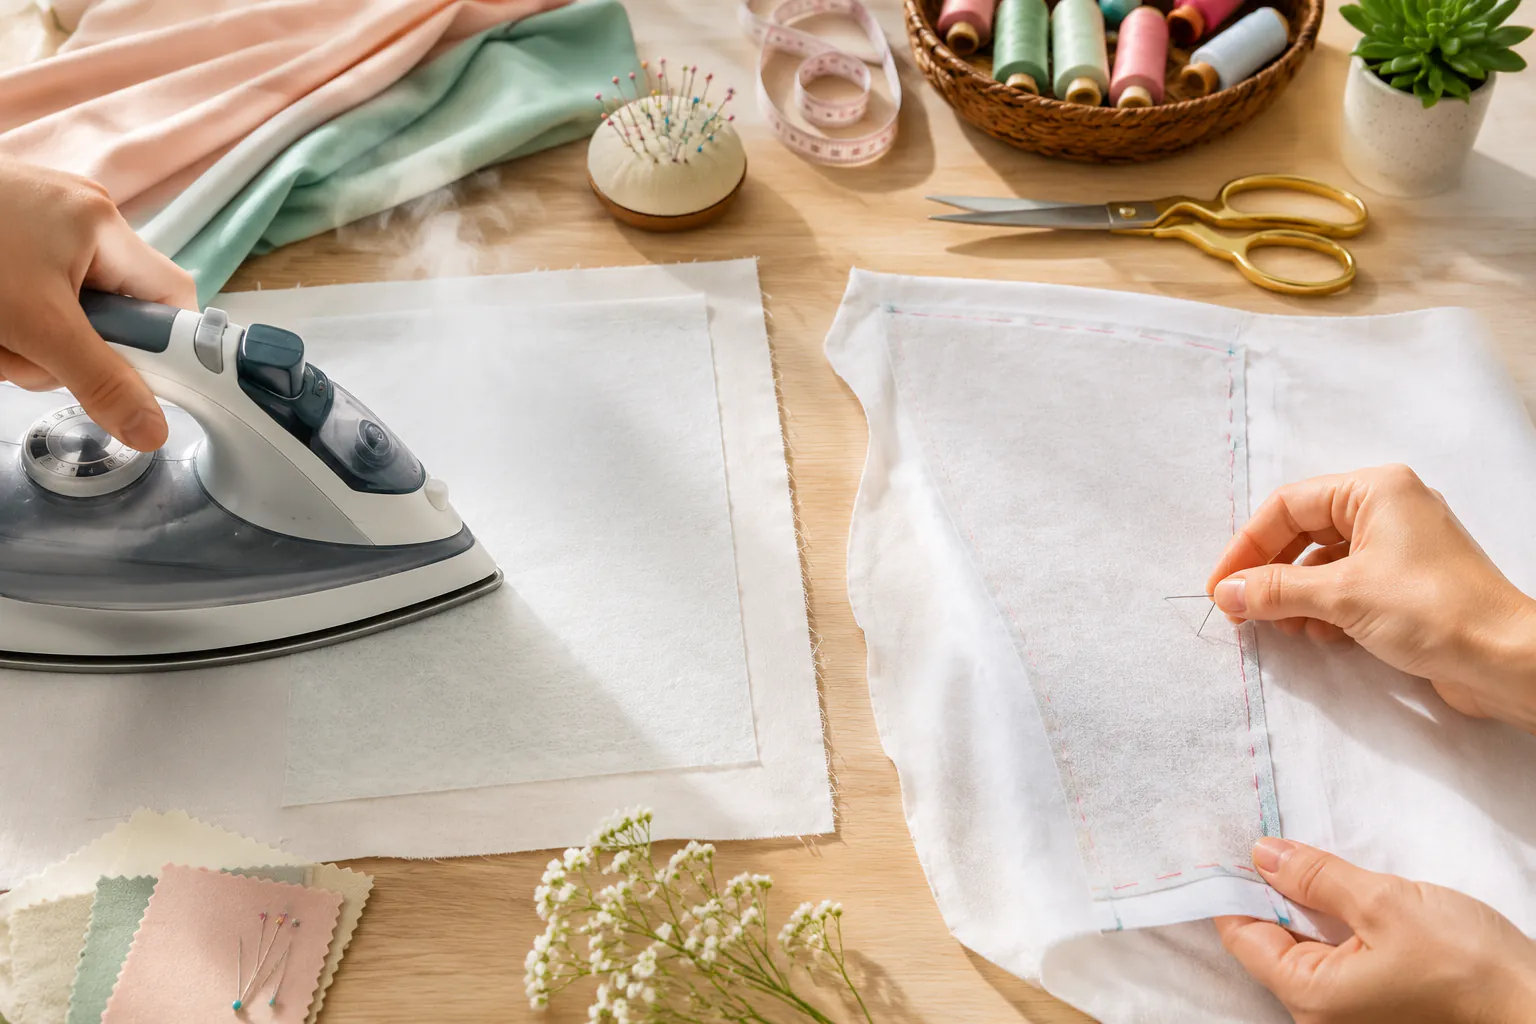
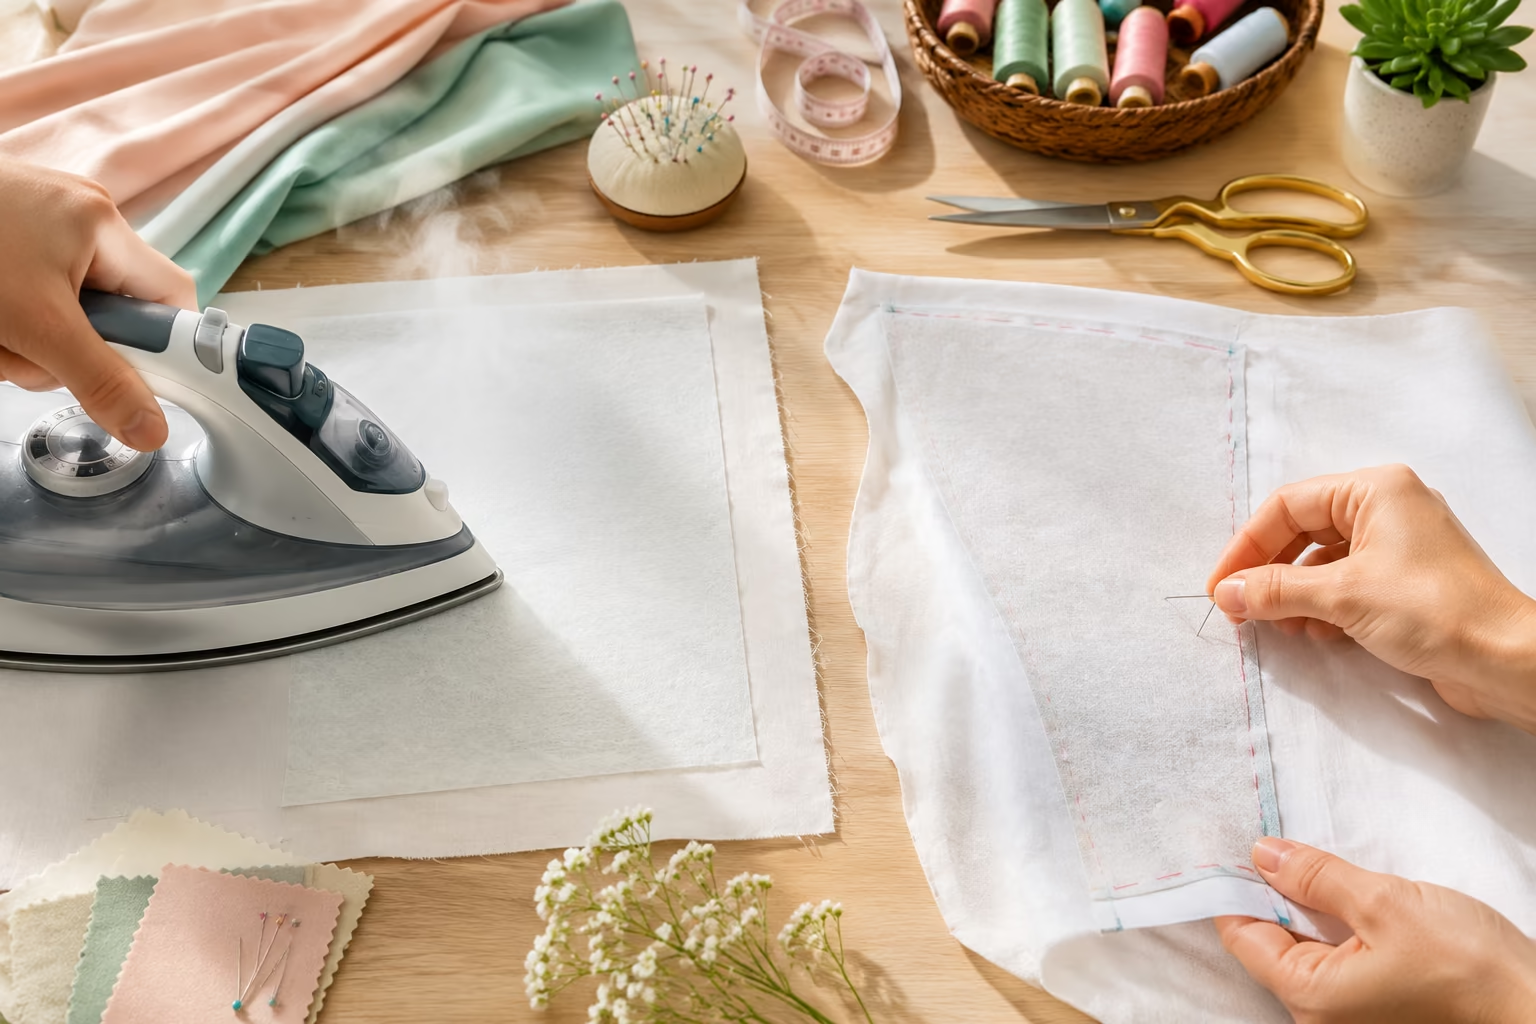
Fusible interfacing is a stabilizing fabric with heat-activated adhesive dots on one side that bonds permanently to your project fabric when pressed with an iron. The adhesive side feels slightly bumpy or textured, and once heated to the correct temperature (usually 300-350°F), it melts and creates a secure bond within 10-15 seconds of pressing.
This type of interfacing comes in various weights from sheer to heavy, making it suitable for everything from lightweight blouses to structured bag panels. The adhesive is typically made from polyamide resin that activates with heat and pressure.
Common uses for fusible interfacing:
- Collar and cuff stabilization in shirts and blouses
- Buttonhole reinforcement
- Bag construction and structure
- Waistband support
- Appliqué backing
- Quilting stabilization
When working with fusible interfacing, you’ll need a hot iron (no steam during application), a pressing cloth to protect your fabric, and a firm ironing surface. Many sewing for beginners find fusible interfacing more forgiving because mistakes can often be corrected with additional heat.
What Is Sew-In Interfacing?
Sew-in interfacing (also called non-fusible interfacing) is a stabilizing fabric without adhesive that gets stitched directly into your garment’s seam allowances. You pin or baste it to the wrong side of your fabric, then sew it in place as you construct your project, trimming it close to the stitching line afterward.
This traditional method has been used for decades and remains the gold standard for high-end garment construction and delicate fabrics. Sew-in interfacing moves with your fabric naturally because it’s only attached at the seams, not across the entire surface.
Best applications for sew-in interfacing:
- Silk and delicate fabric garments
- Vintage reproduction projects
- Tailored jackets and coats
- Bridal and formal wear
- Any fabric that can’t tolerate high heat
- Projects requiring maximum drape and flexibility
The main challenge with sew-in interfacing is that it requires more time and precision. You need to carefully match your seam allowance and ensure the interfacing doesn’t shift during construction. However, it offers unmatched control over the final drape and hand of your garment.
What’s the Difference Between Fusible and Sew-In Interfacing?
The fundamental difference lies in the application method and how the interfacing attaches to your fabric. Fusible bonds across the entire surface using adhesive, while sew-in only connects at the seam lines, leaving the fabric body free to move independently.
Key differences at a glance:
| Feature | Fusible Interfacing | Sew-In Interfacing |
|---|---|---|
| Application | Heat and pressure with iron | Stitched into seams |
| Time required | 10-15 seconds per piece | 5-10 minutes per piece |
| Skill level | Beginner-friendly | Intermediate to advanced |
| Fabric compatibility | Most woven and stable knits | All fabrics, especially delicates |
| Drape | Slightly stiffer | More natural movement |
| Durability | Very durable when applied correctly | Extremely durable |
| Repositioning | Difficult after bonding | Easy before final stitching |
Fusible interfacing changes the hand (feel) of your fabric more noticeably because the adhesive creates a laminated effect across the entire piece. Sew-in interfacing maintains more of the original fabric character because it’s only secured at the edges.
Another important distinction: fusible interfacing adds a thin layer of adhesive between your fabric and the interfacing, which can sometimes create a slightly plastic-like feel on very lightweight fabrics. Sew-in interfacing avoids this entirely, making it the preferred choice for professional dressmakers working with expensive or delicate materials.
Which Is Better: Fusible or Sew-In Interfacing?
Neither type is universally “better”, the right choice depends on your fabric, project type, skill level, and desired outcome. Fusible interfacing wins for speed, convenience, and beginner-friendliness on most standard cotton and linen projects. Sew-in interfacing is superior for delicate fabrics, professional tailoring, and situations where you need maximum control over drape and movement.
Choose fusible interfacing when:
- Working with cotton, linen, or stable woven fabrics
- Making bags, home décor, or craft projects
- You’re a beginner learning garment construction
- Time efficiency matters for your project
- You need strong, permanent stabilization
- The fabric can tolerate high heat (300°F+)
Choose sew-in interfacing when:
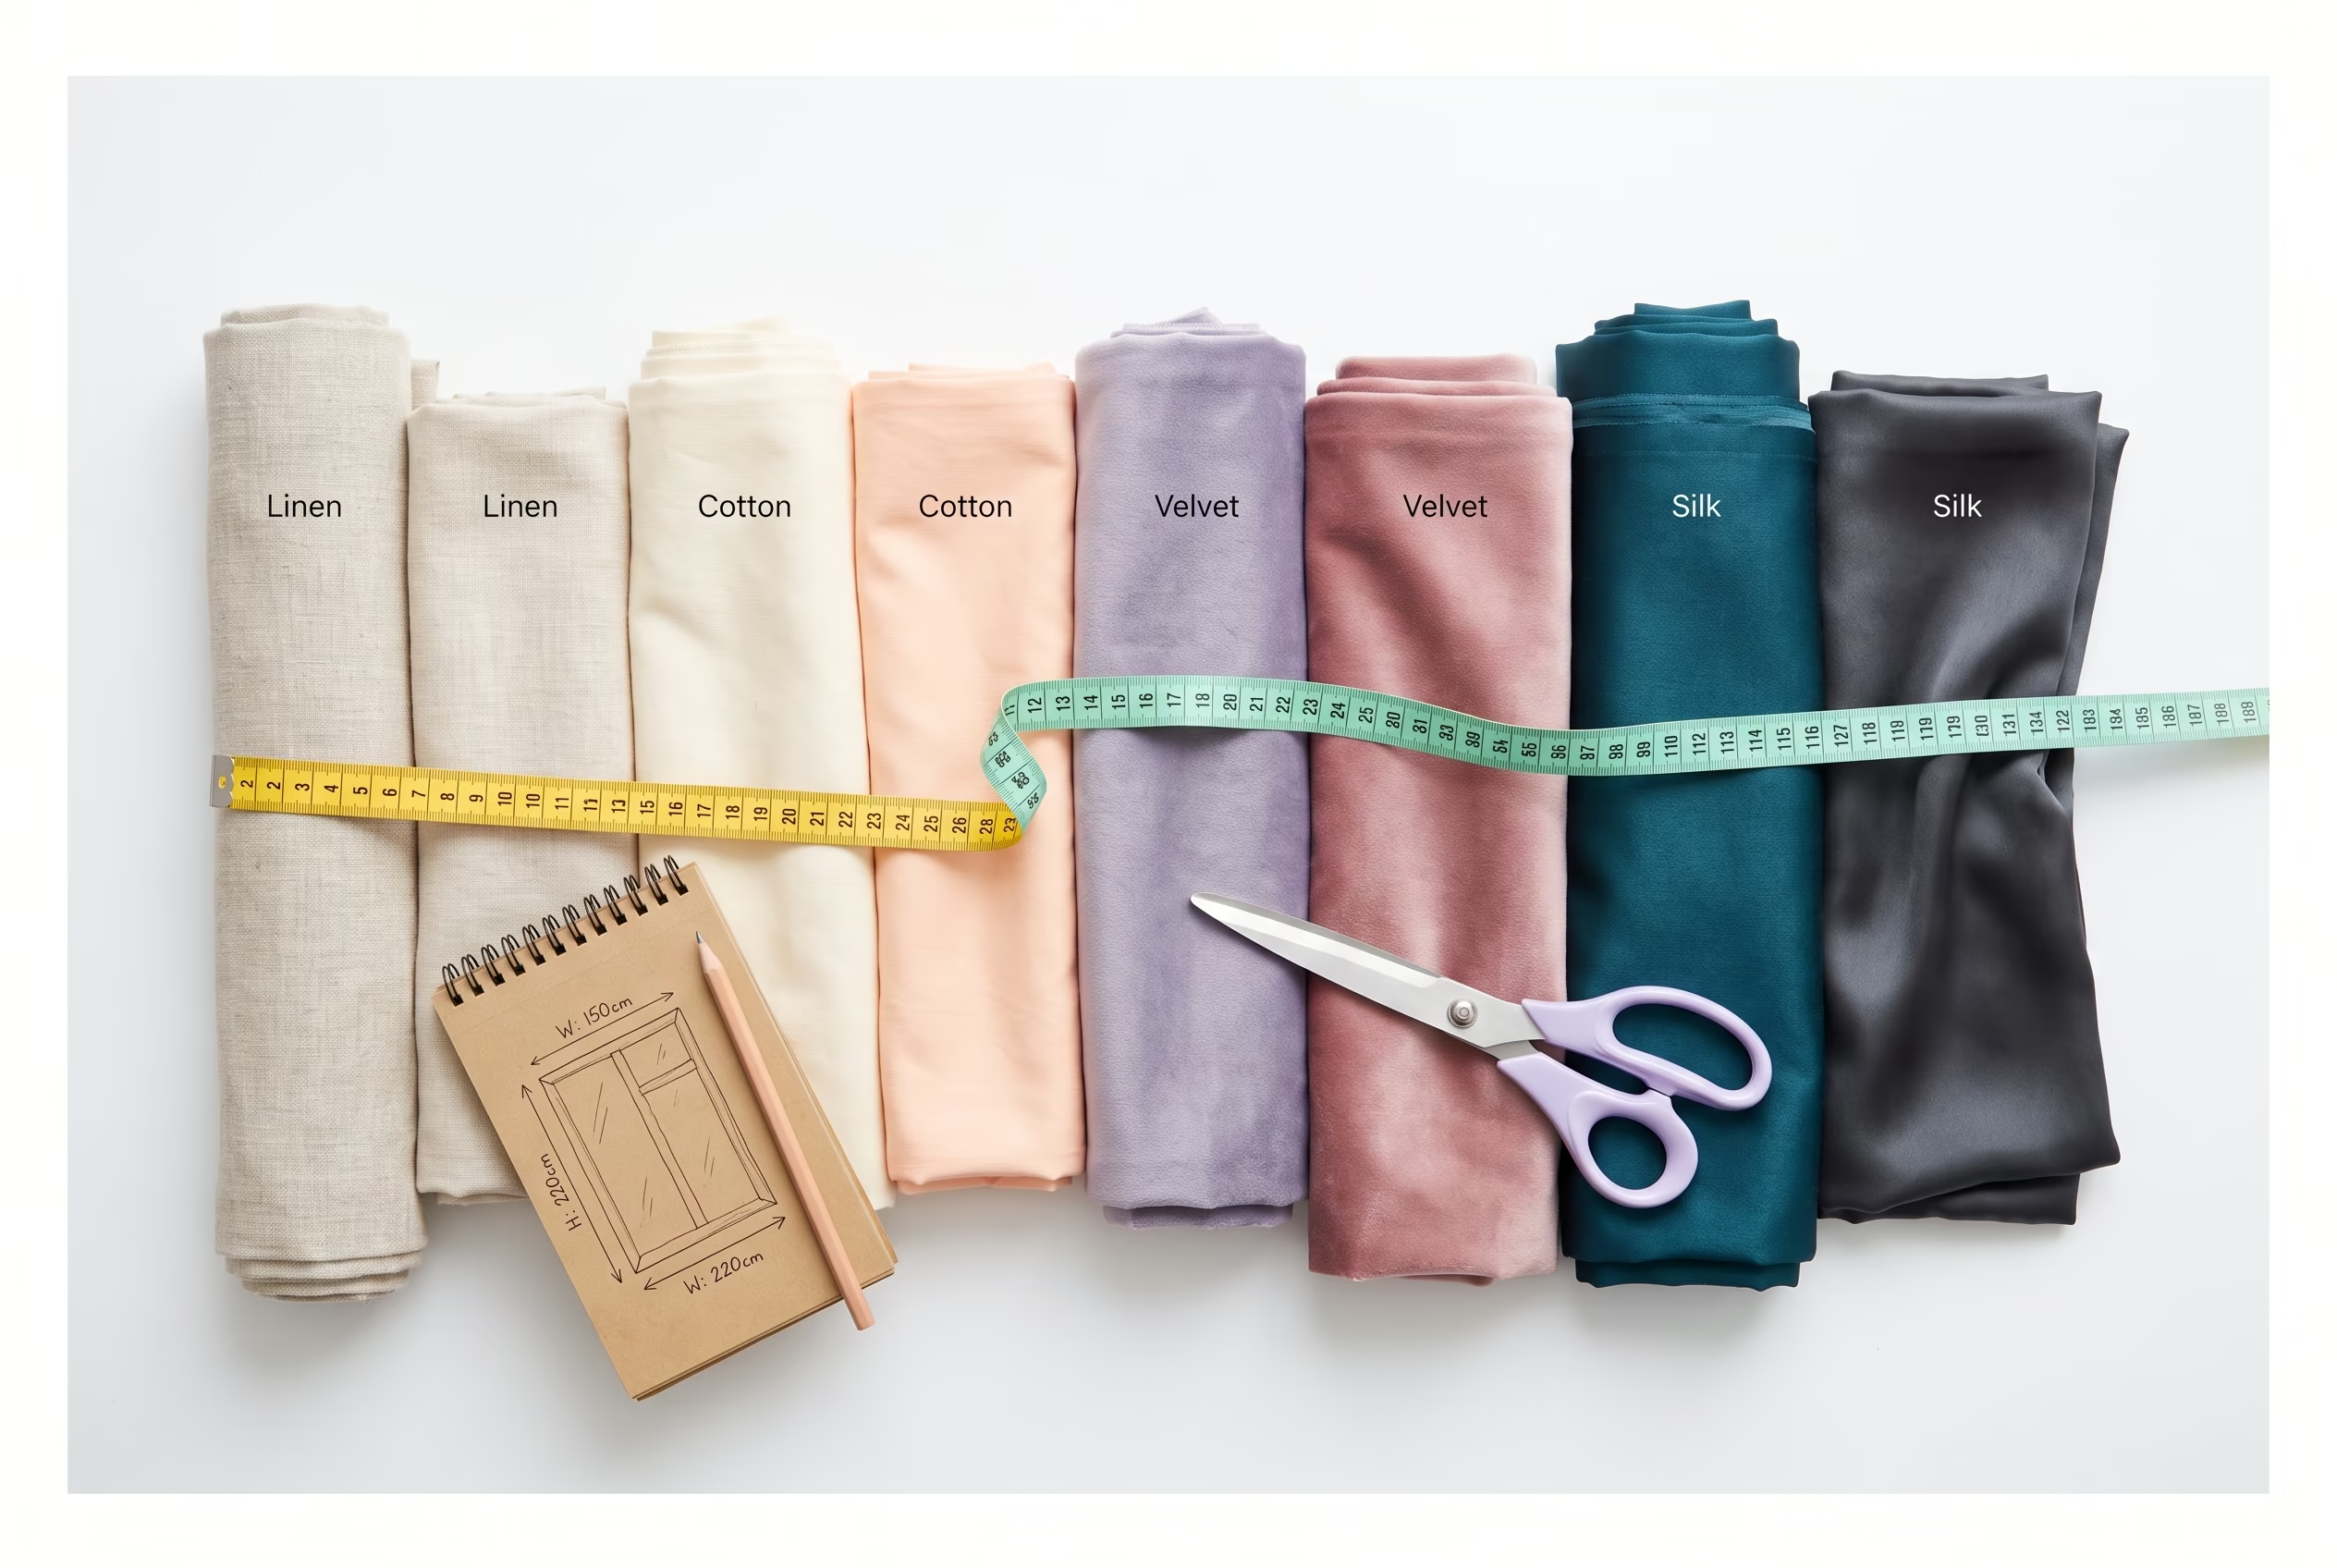
- Working with silk, velvet, lamé, or textured fabrics
- Creating tailored jackets or formal wear
- The fabric is heat-sensitive or has a nap
- You want the most natural drape possible
- Making vintage or historical reproductions
- You’re willing to invest extra time for professional results
For most home sewers working on everyday projects, fusible interfacing offers the best balance of results and effort. However, as you advance in your sewing techniques, learning to work with sew-in interfacing opens up possibilities for more sophisticated garment construction.
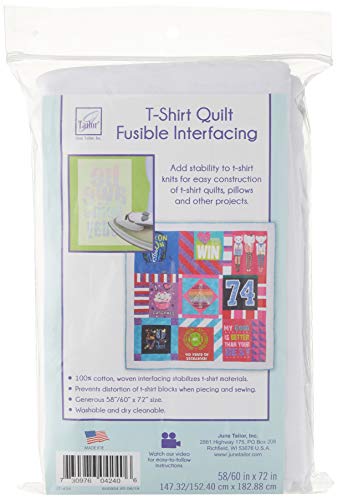
Prevents distortion and adds form when sewing or piecing with knits.

For T-Shirt Quilts, Memory Quilts, Honor Quilts, College Quilts, Baby Quilts, Concert Quilts

【Natural Cotton Fabric】- Crafted from pure cotton, this interfacing offers a soft and reliable backing, enhancing the quality and durability of your fabric projects. It's perfect for a variety of garments and crafts.
When to Use Fusible vs Sew-In Interfacing
The decision often comes down to your specific fabric and project requirements. Fusible interfacing works best for projects where you need quick, secure stabilization on heat-tolerant fabrics. Sew-in interfacing is essential when working with fabrics that can’t handle high heat, have texture that prevents good adhesion, or require the most natural drape.
Fusible interfacing is ideal for:
- Cotton shirts and blouses, collars, cuffs, and button plackets need crisp structure
- Quilting projects, stabilizes fabric for precise piecing and appliqué
- Bag making, provides body and structure to handles and panels
- Home décor, curtain headers, pillow covers, and table linens
- Buttonholes, reinforces fabric to prevent tearing
- Waistbands, adds support without bulk
Sew-in interfacing is essential for:
- Silk garments, high heat can damage or discolor delicate silk fibers
- Velvet and corduroy, the pile prevents adhesive from bonding properly
- Beaded or sequined fabrics, heat can melt embellishments
- Stretch knits, maintains fabric stretch better than fusible
- Tailored wool coats, traditional construction requires sew-in for proper shaping
- Bridal and evening wear, professional finish demands natural drape
A common mistake is using fusible interfacing on fabrics with texture or nap. The adhesive needs smooth, flat contact to bond properly. If you’re working with anything that has raised fibers, bumps, or pile, sew-in interfacing will give you much better results.
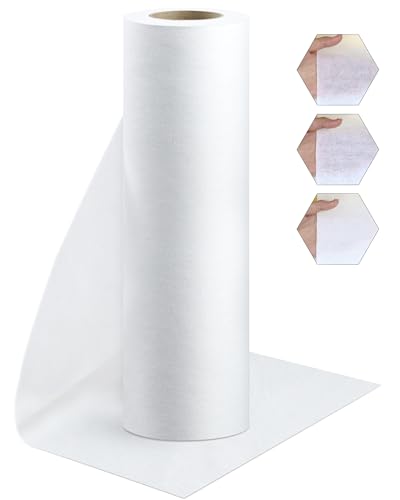
【Premium Cotton Material】- Crafted from 100% high-quality cotton, this interfacing offers a smooth and reliable foundation for various fabrics, perfect for enhancing the durability and structure of garments like t-shirts, blouses, and quilts.

【Premium Cotton Material】- Made from 100% high-quality cotton, this interfacing provides a smooth and stable foundation for various fabrics. It's ideal for t-shirts, quilts, blouses, and dress shirts, enhancing durability and shape.

Does Fusible Interfacing Come Off After Washing?
Properly applied fusible interfacing will not come off after washing and should last the lifetime of your garment. The heat-activated adhesive creates a permanent bond that withstands normal washing and wearing. However, if the interfacing wasn’t applied with sufficient heat, pressure, or time, it can begin to lift or bubble after the first few washes.
The key to permanent adhesion is following the manufacturer’s instructions exactly. Most fusible interfacing requires:
- Temperature: 300-350°F (check your specific product)
- Pressure: Firm, steady pressure with your iron (not just hovering)
- Time: 10-15 seconds per section with overlapping presses
- No steam: Steam can prevent proper bonding during initial application
- Cooling time: Let the fabric cool completely before moving it
Common reasons fusible interfacing fails:
- Iron temperature too low (adhesive doesn’t fully melt)
- Insufficient pressing time (adhesive doesn’t penetrate fabric fibers)
- Using steam during application (moisture interferes with bonding)
- Pressing cloth too thick (blocks heat transfer)
- Moving fabric before it cools (breaks partially formed bonds)
- Fabric pre-treated with starch or sizing (creates barrier)
If you notice bubbling or lifting after washing, you can often re-press the area with high heat to reactivate the adhesive. Place a pressing cloth over the area and apply firm pressure with your iron for 15-20 seconds, then let it cool completely flat.
Can You Sew Through Fusible Interfacing?
Yes, you can absolutely sew through fusible interfacing, that’s exactly what you’re supposed to do. The adhesive layer is thin enough that your sewing machine needle will pass through it without difficulty. However, the adhesive can build up on your needle over time, causing skipped stitches or sticky residue.
When sewing through fusible interfacing, use these best practices:
Needle considerations:
- Use a fresh, sharp needle (size 70/10 to 90/14 depending on fabric weight)
- Change your needle more frequently than usual
- Keep a bottle of rubbing alcohol nearby to clean adhesive buildup
- Universal or sharp needles work better than ballpoint for most applications
Potential issues and solutions:
- Sticky needle: Wipe the needle with alcohol between seams
- Skipped stitches: Change to a fresh needle or adjust your thread tension
- Gummy residue on fabric: Use a pressing cloth when applying interfacing
- Difficulty feeding: Clean your feed dogs if adhesive transfers to them
The adhesive in quality fusible interfacing is designed to be sewn through without gumming up your machine. If you’re experiencing significant problems, you might be using low-quality interfacing or applying too much heat, which can cause excess adhesive to seep through to the right side of your fabric.
For projects with multiple layers of fusible interfacing, consider using a Teflon or non-stick presser foot to prevent adhesive buildup on the foot itself.
Why Is My Fusible Interfacing Not Sticking?
Fusible interfacing fails to stick properly when the adhesive doesn’t reach the correct activation temperature, when insufficient pressure is applied, or when the fabric surface prevents good contact. The most common culprit is an iron that’s not hot enough, most fusible interfacing requires temperatures between 300-350°F, which is typically the “cotton” or “linen” setting on your iron.
Top reasons for adhesion failure:
Iron temperature too low, The adhesive needs high heat to melt and penetrate fabric fibers. If your iron’s temperature control is inaccurate or you’re using a lower setting, the bond won’t form.
Insufficient pressing time, Quick passes with the iron won’t work. You need 10-15 seconds of sustained pressure per section, lifting and repositioning rather than sliding.
Using steam, Steam during initial application can prevent proper bonding. Apply interfacing with a dry iron, then steam later if needed for shaping.
Fabric surface issues, Fabrics with sizing, starch, or fabric softener residue create a barrier. Pre-wash fabrics when possible, or at minimum press them clean before applying interfacing.
Wrong side up, It sounds obvious, but applying interfacing with the adhesive side facing up (away from fabric) is a surprisingly common mistake. The bumpy, textured side should face your fabric.
Pressing cloth too thick, While you need a pressing cloth to protect your fabric, a thick towel or multiple layers can block heat transfer. Use a single layer of cotton muslin or a thin dish towel.
How to fix interfacing that won’t stick:
- Increase your iron temperature to the highest safe setting for your fabric
- Press each section for a full 15 seconds with firm, steady pressure
- Let the fabric cool completely flat before testing the bond
- If it still won’t stick, remove the interfacing and try a different brand
- Consider switching to sew-in interfacing if your fabric simply won’t cooperate
Some synthetic fabrics and heavily textured materials will never bond well with fusible interfacing. If you’ve tried everything and the interfacing still lifts, that’s your fabric telling you to use sew-in instead.

Is Sew-In Interfacing Stronger Than Fusible?
Sew-in interfacing isn’t necessarily stronger, but it can be more durable in specific applications because it’s mechanically attached through stitching rather than relying on adhesive. Both types offer excellent strength when properly applied, but sew-in interfacing has an advantage in high-stress areas and garments that undergo frequent washing or dry cleaning.
The strength of any interfacing depends more on the weight and fiber content than whether it’s fusible or sew-in. A heavyweight fusible interfacing will be much stronger than a lightweight sew-in version, and vice versa.
Durability comparison:
Fusible interfacing strength:
- Bonds across the entire surface area, distributing stress evenly
- Can withstand normal washing and wearing indefinitely
- May eventually lift at edges in high-stress areas (armholes, necklines)
- Adhesive can degrade with repeated dry cleaning chemicals
- Excellent for projects that need permanent, non-shifting stabilization
Sew-in interfacing strength:
- Mechanically locked into seams, making it nearly impossible to separate
- Handles repeated washing and dry cleaning without degradation
- Maintains strength even in high-heat environments
- Can shift slightly within the garment body (not always a disadvantage)
- Preferred for heirloom garments meant to last decades
For most home sewing projects, the durability difference is negligible. Both types will outlast the garment itself when applied correctly. Choose based on your fabric and application method preference rather than worrying about strength differences.
Professional tailors often use sew-in interfacing in high-end garments not because it’s stronger, but because it offers more control over shaping and maintains the fabric’s natural characteristics better than fusible options.
What Fabrics Should Not Use Fusible Interfacing?
Several fabric types should never be paired with fusible interfacing because the heat required for bonding can damage the fabric, or the texture prevents proper adhesion. Delicate fabrics like silk can scorch or develop water spots from the heat and pressure, while textured fabrics like velvet won’t allow the adhesive to make proper contact.
Fabrics that should always use sew-in interfacing:
- Silk and silk blends, High heat can cause permanent water spots, discoloration, or fiber damage
- Velvet and velveteen, The pile prevents adhesive contact and heat crushes the texture
- Corduroy, Ridges prevent even bonding and heat flattens the wales
- Lamé and metallic fabrics, Heat can melt or discolor metallic fibers
- Heavily textured knits, Bumpy surfaces prevent adhesive contact
- Faux leather and vinyl, Heat causes melting, warping, or permanent marks
- Sequined or beaded fabrics, Embellishments can melt or become distorted
- Very sheer fabrics, Adhesive can show through or create stiff, unnatural areas
- Napped fabrics (flannel, fleece), Raised fibers prevent proper bonding
Fabrics that work well with fusible interfacing:
- Cotton and cotton blends
- Linen
- Stable woven polyester
- Denim and chambray
- Canvas and duck cloth
- Quilting cottons
- Most medium-weight wovens
The texture test: Run your hand over your fabric. If it feels bumpy, fuzzy, or has any raised texture, fusible interfacing probably won’t bond properly. Smooth, flat fabrics are ideal candidates for fusible application.
The heat test: Check your fabric’s care label. If it requires low heat or “do not iron,” it definitely can’t handle fusible interfacing application, which requires sustained high heat. When in doubt, test on a scrap piece first.
Do Beginners Use Fusible or Sew-In Interfacing?
Most beginners start with fusible interfacing because it’s faster, more forgiving, and requires less precision than sew-in options. Fusible interfacing eliminates the extra step of basting or pinning the interfacing in place, and it won’t shift during construction the way sew-in interfacing can if not secured properly.
For someone just learning to sew, fusible interfacing removes several potential points of frustration. You don’t need to worry about the interfacing bunching, shifting, or getting caught in your stitches. Once it’s pressed in place, it stays put while you focus on learning other construction techniques.
Why fusible interfacing is beginner-friendly:
- Instant results, You can see and feel whether it worked immediately
- No basting required, Saves time and eliminates an unfamiliar technique
- Stays in place, Won’t shift while you’re learning to control fabric under your machine
- Fewer steps, One application process instead of pin, baste, sew, trim
- Forgiving, Small mistakes in placement can often be corrected with more heat
When beginners should try sew-in interfacing:
- Working with silk or other delicate fabrics (even as a beginner)
- Following a pattern that specifically calls for sew-in
- Making a project where drape is critical
- After mastering basic construction techniques
That said, learning to use sew-in interfacing is a valuable skill that opens up more advanced sewing possibilities. Once you’re comfortable with basic garment construction, try a simple project with sew-in interfacing to build your skills. The technique isn’t difficult, it just requires more patience and attention to detail than fusible application.
Many sewing for beginners courses start with fusible interfacing for the first few projects, then introduce sew-in interfacing once students have mastered basic seaming and finishing techniques.
How Much Does Fusible Interfacing Cost vs Sew-In?
Fusible and sew-in interfacing cost roughly the same, typically ranging from $3 to $8 per yard depending on weight, quality, and brand. Price shouldn’t be a deciding factor when choosing between the two types, instead, focus on which type works best for your specific fabric and project requirements.
Typical price ranges (2026):
- Budget interfacing: $3-4 per yard (basic woven or non-woven, both fusible and sew-in)
- Mid-range interfacing: $5-7 per yard (quality brands like Pellon, Vilene, or HTC)
- Premium interfacing: $8-12 per yard (specialty weights, hair canvas, silk organza)
- Specialty interfacing: $10-15+ per yard (stretch fusible, ultra-lightweight, professional tailoring)
Cost factors that matter more than fusible vs. sew-in:
- Weight and thickness, Heavier interfacing costs more regardless of type
- Fiber content, Natural fiber interfacing (cotton, silk organza) costs more than synthetic
- Brand reputation, Established brands charge premium prices for consistent quality
- Width, Wider interfacing (60″ vs 20″) costs more per yard but may be more economical per project
Hidden costs to consider:
- Fusible interfacing may require a pressing cloth ($3-5) and uses more electricity for extended pressing
- Sew-in interfacing takes more time, which has value even if you’re not paying yourself
- Low-quality fusible can fail and require replacement, doubling your material cost
- Wrong interfacing choice can ruin expensive fabric, making the $3 savings irrelevant
Most fabric stores carry both types in comparable price ranges. A yard of mid-weight fusible interfacing and a yard of mid-weight sew-in interfacing from the same brand typically cost within $1 of each other.
Money-saving tips:
- Buy interfacing by the bolt (10+ yards) for 20-30% savings if you sew frequently
- Watch for sales at fabric stores, interfacing is often discounted 40-50% during promotions
- Test with budget interfacing first, then invest in premium for your final project
- Keep scraps organized by weight and type for small projects

Sewing Supplies Contents: Instructions and 11.6-inch wide, 30-yard long medium weight white single-sided adhesive, which can adapt to various fabric shapes and sizes. Simply trim the interfacing to the desired pattern and it can be easily used for fabrics of any size

Lightweight Fusible Interfacing: Ideal for adding gentle structure to collars, facings, and craft projects.

【Durable Non-Woven Material】- Made from high-quality polyester, this non-woven interfacing provides excellent stability and support for a variety of fabrics, enhancing both durability and structure.
Can You Remove Fusible Interfacing If Applied Wrong?
Yes, you can remove fusible interfacing that was applied incorrectly, though it requires patience and careful work. The same heat that bonded the interfacing can soften the adhesive enough to peel it away, but you risk damaging your fabric in the process. The success rate depends on your fabric type and how long the interfacing has been bonded.
How to remove fusible interfacing:
- Heat the area, Set your iron to the same temperature used for application (or slightly higher)
- Apply steam, Unlike application, steam helps soften the adhesive for removal
- Press for 10-15 seconds, Heat the interfacing thoroughly to reactivate the adhesive
- Peel while warm, Immediately after pressing, try to peel the interfacing away slowly
- Repeat as needed, Work in small sections, reheating and peeling gradually
- Remove residue, Use rubbing alcohol or adhesive remover on a cotton ball for stubborn spots
Important warnings:
- Delicate fabrics may not survive the removal process, test on a scrap first
- Dark fabrics can develop light spots where adhesive remains
- Some adhesive will stay, You may not get 100% removal, especially on textured fabrics
- Fabric may be damaged, Repeated high heat can weaken fibers or cause discoloration
When removal is nearly impossible:
- Interfacing bonded for more than 24 hours (adhesive fully cures)
- Very lightweight or delicate fabrics (removal process causes more damage than leaving it)
- Interfacing applied to the right side of fabric (adhesive may have penetrated too deeply)
- Low-quality interfacing with aggressive adhesive
Better alternatives to removal:
- Cut around the mistake, If the interfacing is only on part of your fabric, cut that section out and use the rest
- Incorporate it into design, Add a facing or lining to hide the mistake
- Start over, Sometimes buying new fabric is less frustrating than removal attempts
This is one area where sew-in interfacing has a clear advantage. If you pin or baste sew-in interfacing in the wrong place, you simply remove the pins or cut the basting stitches and reposition it. No heat, no adhesive, no risk of fabric damage.
Does Fusible Interfacing Make Fabric Stiff?
Fusible interfacing does add some stiffness to fabric, but the amount depends on the interfacing weight, your base fabric, and the quality of the interfacing you choose. Lightweight fusible interfacing on cotton might be barely noticeable, while heavyweight interfacing on silk will create dramatic stiffness. The goal is to choose an interfacing weight that provides the structure you need without over-stiffening your fabric.
The stiffness comes from two sources: the interfacing fabric itself and the thin layer of adhesive that bonds it to your fabric. Quality fusible interfacing uses minimal adhesive that remains flexible after bonding, while cheap interfacing can create a cardboard-like feel.
How to minimize unwanted stiffness:
- Match weight to purpose, Use the lightest weight that achieves your goal
- Test first, Always test interfacing on a fabric scrap before cutting your project pieces
- Choose quality brands, Premium interfacing uses flexible adhesive that doesn’t over-stiffen
- Consider knit interfacing, Tricot knit fusible interfacing adds stability with less stiffness
- Use strategically, Interface only the areas that need structure (collars, cuffs, buttonholes)
Interfacing weight guide:
- Sheer/featherweight, Barely noticeable stiffness, for lightweight fabrics
- Lightweight, Slight crispness, for blouses and shirts
- Medium-weight, Noticeable structure, for jackets and bags
- Heavyweight, Significant stiffness, for structured bags and crafts
- Extra-firm, Board-like stiffness, for box bottoms and rigid projects
When stiffness is desirable:
- Shirt collars and cuffs (need to hold shape)
- Buttonhole areas (prevent stretching and tearing)
- Bag panels and handles (provide structure and body)
- Waistbands (support weight of skirt or pants)
- Appliqué backing (prevent puckering)
When stiffness is problematic:
- Flowing garments (maxi dresses, circle skirts)
- Draped necklines (cowls, waterfall collars)
- Soft, comfortable clothing (t-shirts, loungewear)
- Sheer overlays (should remain fluid)
If your interfaced fabric feels too stiff, you likely chose too heavy a weight. Unfortunately, there’s no way to soften interfacing once applied. This is why testing on scraps is crucial, you can feel the exact result before committing to your project fabric.
Sew-in interfacing generally creates less stiffness than fusible because there’s no adhesive layer and the interfacing only attaches at the seams, allowing more independent movement between the layers.
Conclusion
Choosing between fusible vs sew-in interfacing doesn’t have to be complicated. Fusible interfacing offers speed, convenience, and beginner-friendly application for most cotton and linen projects, while sew-in interfacing provides superior results for delicate fabrics, professional tailoring, and situations where natural drape matters most. Both types deliver excellent durability and structure when matched correctly to your fabric and project.
Your next steps:
- Assess your fabric, Check the care label and texture to determine heat tolerance
- Consider your skill level, Start with fusible if you’re new to interfacing
- Buy samples, Purchase small amounts of both types to test on fabric scraps
- Test before cutting, Always interface a scrap piece to check stiffness and appearance
- Build your stash, Keep several weights of both fusible and sew-in interfacing on hand
- Practice the techniques, Master proper pressing for fusible and basting for sew-in
The best sewers know how to use both types effectively and choose based on each project’s specific needs rather than defaulting to one type for everything. As you gain experience, you’ll develop an intuition for which interfacing will give you the results you want.
Start your next project with confidence by testing your interfacing choice on scraps first. The few minutes spent testing will save hours of frustration and ensure your finished project has exactly the structure and drape you envisioned. For more guidance on sewing techniques and troubleshooting common issues, explore our comprehensive guides for sewers at every skill level.
FAQ
Can you use fusible interfacing on stretchy fabrics? Yes, but use knit fusible interfacing specifically designed for stretch fabrics. Regular woven fusible interfacing will eliminate the stretch and create a stiff, uncomfortable result. Knit fusible interfacing stretches with your fabric while still providing structure.
How do you know which side of fusible interfacing is the adhesive side? The adhesive side feels slightly bumpy or textured with tiny dots of glue, while the non-adhesive side is smooth. If you’re still unsure, touch a hot iron to a corner for one second, the adhesive side will feel slightly sticky when warm.
Can you layer multiple pieces of interfacing? Yes, you can layer interfacing for extra structure, but apply each layer separately with proper heat and pressure. Let each layer cool completely before adding the next. This technique works well for bag bottoms or heavily structured areas.
Does interfacing shrink when washed? Some interfacing can shrink, especially cotton-based types. Pre-wash interfacing before use if your project fabric will be washed, or choose pre-shrunk interfacing. Most synthetic fusible interfacing is stable and won’t shrink significantly.
Can you use fusible interfacing on both sides of fabric? Technically yes, but it’s rarely necessary and creates excessive stiffness. If you need structure on both sides, consider using a heavier weight interfacing on one side instead, or sandwich your fabric between two layers of sew-in interfacing.
What’s the difference between woven and non-woven interfacing? Woven interfacing has a grain line like fabric and can be cut on the bias for stretch. Non-woven interfacing has no grain and can be cut in any direction. Woven generally drapes better, while non-woven is more economical and easier for beginners.
Can you iron directly on fusible interfacing? Never iron directly on the adhesive side of fusible interfacing, it will stick to your iron and create a mess. Always use a pressing cloth between your iron and the fabric, and apply interfacing with the adhesive side facing your project fabric.
How long does fusible interfacing take to bond? Proper bonding requires 10-15 seconds of sustained pressure with a hot iron per section. Quick passes won’t create a permanent bond. Press, lift, reposition, and press again rather than sliding the iron, and let the fabric cool completely before moving it.
Is interfacing necessary for all sewing projects? No, many projects don’t require interfacing at all. Use interfacing when you need to add structure, prevent stretching, or stabilize areas like buttonholes and collars. Simple projects like pillowcases, basic skirts, or casual tops often don’t need interfacing.
Can you use regular fabric as interfacing? Yes, lightweight cotton fabric like muslin or batiste can work as sew-in interfacing in a pinch. However, purpose-made interfacing is engineered for specific weights and behaviors, so it will generally give better, more predictable results than substituting regular fabric.
What happens if you use too heavy interfacing? Too-heavy interfacing creates excessive stiffness, makes the fabric difficult to sew through, and can cause puckering or distortion. The garment will feel uncomfortable and won’t drape naturally. Always test on scraps and choose the lightest weight that achieves your structural goals.
Can you dye interfacing? Most synthetic interfacing won’t accept dye well, but natural fiber interfacing (cotton, silk organza) can be dyed with fabric dye. However, fusible interfacing adhesive may be affected by the hot dye bath, potentially reducing its bonding ability. Dye before applying if needed.


