


Quick Answer
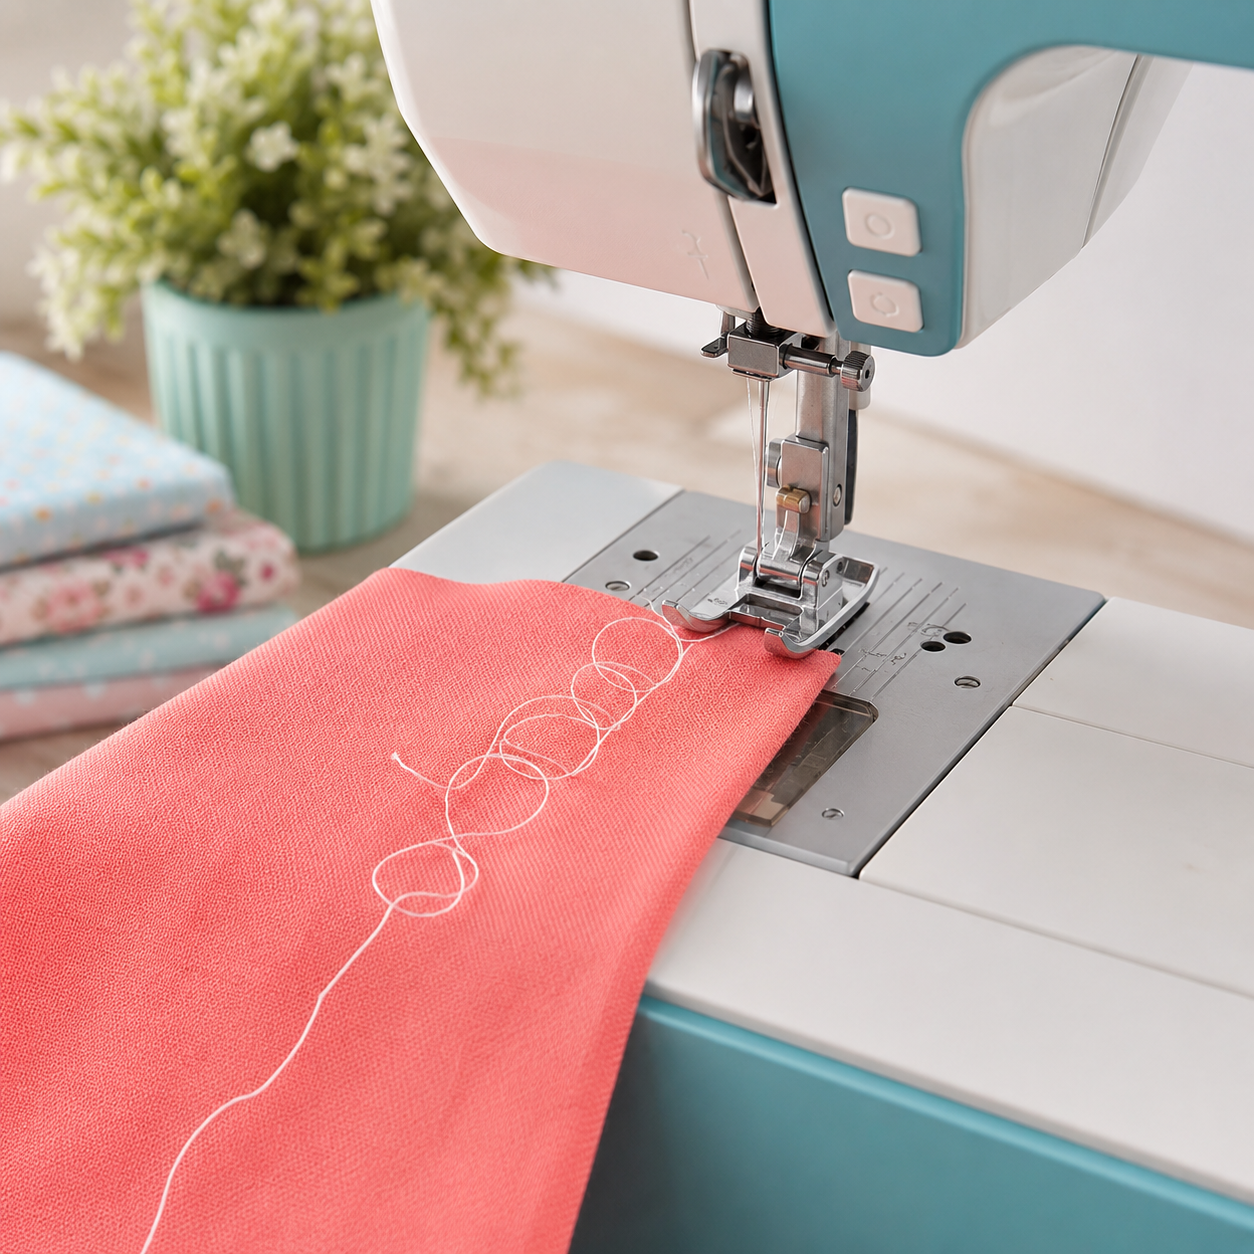
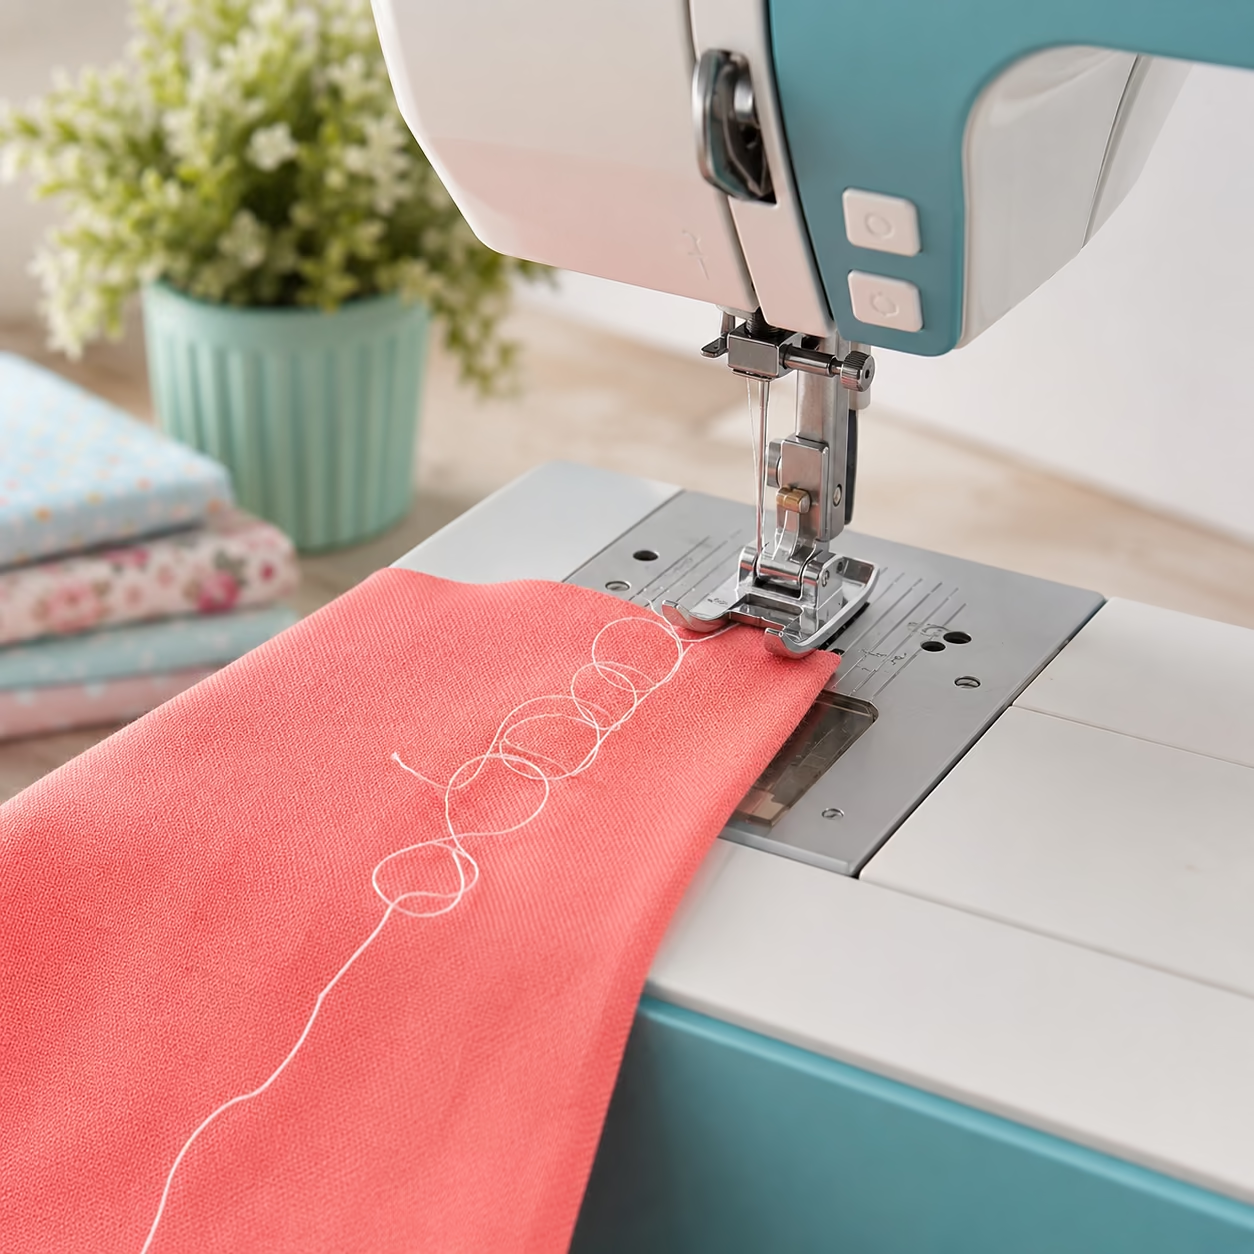
Bobbin thread showing on top of your fabric happens when the upper thread tension is too tight, the machine is threaded incorrectly, or the bobbin is inserted improperly. The upper thread can’t form proper loops with the bobbin thread underneath, so it pulls the bobbin thread through to the top surface. Most cases can be fixed by adjusting the upper tension dial, re-threading the machine completely, or checking that the bobbin is seated correctly in its case.
Key Takeaways
- Upper tension too tight is the most common cause, the top thread pulls the bobbin thread through to the surface
- Incorrect threading of the upper thread path prevents proper tension and loop formation
- Improper bobbin insertion disrupts the thread pickup and causes uneven stitches
- Wrong needle size or damaged needle can prevent threads from interlocking correctly
- Thread weight mismatch between top and bobbin threads creates tension imbalances
- Dirty bobbin case with lint buildup interferes with smooth thread flow
- Thick fabrics may require tension adjustments different from your normal settings
- Start troubleshooting by re-threading both top and bobbin threads completely before adjusting tension
- Test on scrap fabric after each adjustment to see results before sewing your project
- Most tension problems can be solved without professional service
Why Is My Bobbin Thread Showing on Top of Fabric?
Your bobbin thread appears on the top of your fabric because the upper thread tension is pulling too hard, dragging the bobbin thread up through the fabric layers instead of locking with it underneath. When tension is balanced correctly, the two threads meet and lock between the fabric layers, keeping each thread on its respective side. If that balance is disrupted, usually because the top thread is too tight, the bobbin thread gets yanked to the surface where it becomes visible.
This problem shows up as small dots or loops of bobbin thread color appearing on the top side of your work, often along the stitch line. The stitches may look puckered or uneven, and the fabric might gather slightly. The issue becomes especially noticeable when you’re using contrasting thread colors (like white bobbin thread with black top thread).
Common scenarios that cause this:
- Tension dial set too high (above 5-6 on most machines)
- Thread not seated properly in the tension discs
- Presser foot up when threading (which releases tension discs)
- Bobbin thread path blocked or tangled
- Using old, brittle thread that doesn’t flow smoothly
The good news? This is one of the most fixable sewing machine problems, and you usually don’t need a technician to solve it.
How to Fix Bobbin Thread Pulling to Top Side
Start by completely re-threading your machine with the presser foot up, then lowering it before you sew. This simple reset solves the problem about 40% of the time because it ensures the thread seats properly in the tension discs. Remove the top thread entirely, raise the presser foot, and follow your machine’s threading path carefully, making sure the thread clicks into each guide and sits firmly between the tension discs.
Step-by-step fix process:
- Re-thread the upper thread with presser foot raised, following every guide point
- Check bobbin insertion,remove and reinsert, ensuring it rotates the correct direction
- Lower presser foot before testing (tension discs only engage when foot is down)
- Test on scrap fabric using the same fabric type as your project
- Adjust upper tension down by one number if bobbin thread still shows
- Test again and repeat tension adjustment until stitches look balanced
- Clean the bobbin area if problem persists after tension adjustment
Between each step, sew a few inches on scrap fabric that matches your project material. Look at both sides, the top should show only top thread, and the bottom should show only bobbin thread, with no loops or dots of the opposite color.
Quick decision rule: If re-threading doesn’t fix it, lower your upper tension by 1-2 numbers. If lowering tension to 3 or below doesn’t help, the problem is mechanical (threading path, bobbin case, or needle) rather than tension-related.

Bobbin Case 15 Class Machine #15277

What you get: the package includes 4 pieces sewing machine bobbin case, you can change and replace according to your own interest, or share with others

Tough polypropylene bobbin box organizes those loose bobbins,can be reused many times.
What’s the Difference Between Tension Problems and Threading Problems?
Tension problems occur when the thread is correctly routed through all guides but the tension discs are squeezing too tight or too loose. Threading problems happen when the thread misses a guide, doesn’t seat in the tension discs, or follows the wrong path entirely. Both cause similar symptoms, but threading problems won’t improve no matter how much you adjust the tension dial.
Signs you have a threading problem (not tension):
- Adjusting the tension dial makes no difference at all
- Thread breaks frequently or loops wildly
- The problem appeared suddenly after changing thread
- You can see thread bypassing a guide or hook
- The machine makes unusual clicking or grinding sounds
Signs you have a tension problem (not threading):
- Adjusting tension dial changes the stitch appearance
- Problem developed gradually over several projects
- Stitches look consistent but wrong on one side
- Thread flows smoothly without breaking
- Problem affects only certain fabrics or thread types
Threading problems require you to stop and re-thread completely, checking your manual for the correct path. Tension problems require incremental dial adjustments and testing. Many sewers waste time adjusting tension when they actually have a threading issue, always re-thread first before touching the tension dial.
What Tension Setting Should I Use to Stop Bobbin Thread Showing?
Most sewing machines work best with upper tension set between 4 and 5 for standard cotton fabric and all-purpose thread. If your bobbin thread shows on top, lower the upper tension to 3 or 3.5 and test again. The goal is to find the lowest tension setting that still produces even, secure stitches without loops on either side.
Tension guidelines by fabric type:
| Fabric Type | Recommended Upper Tension | Notes |
|---|---|---|
| Lightweight cotton, silk | 3-4 | Lower tension prevents puckering |
| Medium cotton, linen | 4-5 | Standard setting for most projects |
| Denim, canvas, heavy cotton | 5-6 | Higher tension handles thick layers |
| Knits, jersey, stretch | 3-4 | Lower tension allows fabric stretch |
| Multiple layers (quilting) | 4.5-5.5 | May need slight increase |
Never set tension above 7 unless you’re working with extremely heavy upholstery fabric or multiple thick layers. If you need tension above 6 for normal fabric, something else is wrong, check your threading, needle size, and bobbin insertion.
Common mistake: Cranking tension up to 8 or 9 when bobbin thread shows. This makes the problem worse by pulling even harder on the bobbin thread. Always adjust down first, not up.

A BOBBIN CASE TENSION GAUGE for the SMALL BOBBIN CASES "L" Style for the Embroidery Machines and other Industrial Sewing Machines.

TENSION GAUGE: The Towa Bobbin Tension Gauge is a must-have tool that helps measure thread bobbin tension

How to Adjust Upper Thread Tension on Your Sewing Machine
The upper tension dial is usually located on the front or top of your machine, marked with numbers from 0 to 9 (or sometimes 1 to 10). Turn the dial to a lower number to loosen tension, or to a higher number to tighten it. Make adjustments in small increments, one number at a time, and test on scrap fabric after each change.
Adjustment process:
- Note your current setting before making changes (usually marked with a line or arrow)
- Lower by one full number if bobbin thread shows on top
- Sew 4-6 inches on scrap fabric identical to your project
- Examine both sides of the test stitches in good light
- Adjust again if needed and repeat testing
- Mark your ideal setting with a piece of tape or photo for future reference
The presser foot must be down when you sew your test stitches, or the tension discs won’t engage and you won’t see accurate results. Some sewers test with the foot up and wonder why nothing changes.
When to adjust bobbin tension instead: Almost never. Bobbin tension is factory-set and rarely needs adjustment. If you’ve tried everything else and the problem persists across multiple projects and thread types, then, and only then, consider adjusting the tiny screw on your bobbin case by 1/8 turn. But start with upper tension 95% of the time.
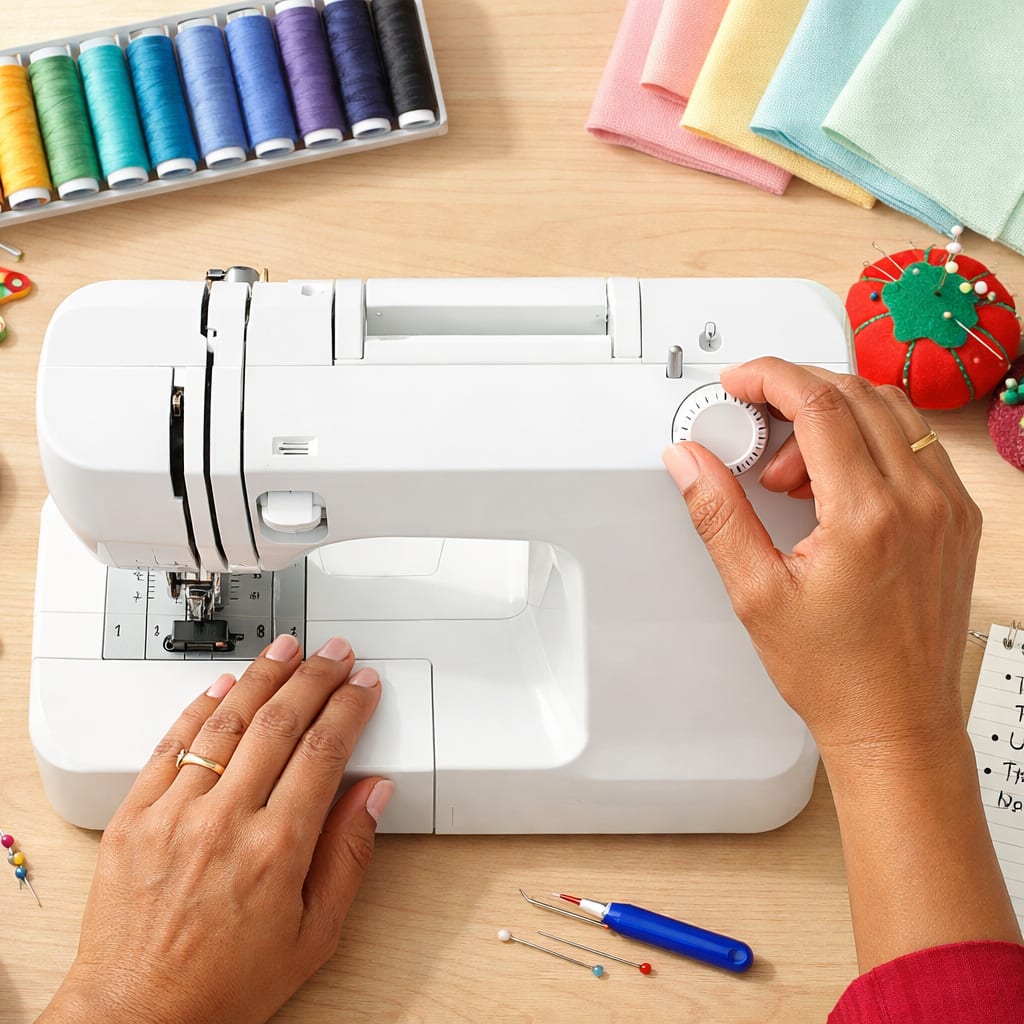

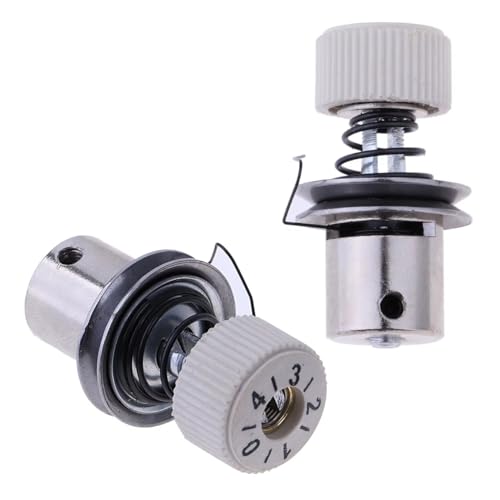
2SET thread tension check spring and beehive spring.

Industrial Sewing Machine Tension Spring, Check, WILL FIT, BROTHER, JUKI + MORE
Is My Bobbin Inserted Correctly If Thread Shows on Top?
Your bobbin might be inserted incorrectly even if it seems to be sitting in the case. The thread must unwind in the correct direction, clockwise or counterclockwise depending on your machine model, or it won’t create proper tension as it feeds. An incorrectly inserted bobbin can cause the bobbin thread to show on top, create loose stitches, or cause thread nesting underneath.
How to check bobbin insertion:
- Remove the bobbin completely from the case or drop-in area
- Check your manual for the correct thread direction (usually shown with an arrow)
- Look for the thread tail position, it should exit the case in a specific direction
- Reinsert the bobbin so it rotates the way the manual shows
- Pull the thread tail, it should have slight resistance, not spin freely
- For drop-in bobbins, ensure the thread is caught in the tension spring slot
Drop-in bobbin check: The thread should come off the bobbin and pass through a small tension slot or under a finger of metal before exiting. If you can pull the thread with zero resistance, it’s not threaded through the tension point.
Front-loading bobbin check: After inserting the bobbin in its case, hold the thread tail and gently tug. The bobbin should resist slightly and not spin wildly. If it spins freely, the thread isn’t seated in the case’s tension slot.
Many machines have a small diagram on or near the bobbin area showing the correct direction. If you’ve lost your manual, search online for “[your machine model] bobbin direction” to find the right orientation.
Can the Wrong Needle Cause Bobbin Thread to Show Through?
Yes, using the wrong needle size or a damaged needle absolutely causes bobbin thread to appear on top. A needle that’s too small for your thread or fabric can’t create a large enough hole for the thread to pass through cleanly, causing the upper thread to pull tighter than intended. A bent or dull needle deflects as it penetrates the fabric, disrupting the timing between the needle and bobbin hook.
Needle problems that cause tension issues:
- Needle too small for thread weight (size 70/10 with heavy thread)
- Needle too large for delicate fabric (size 100/16 with silk)
- Dull or damaged point that snags fabric instead of piercing cleanly
- Bent needle that throws off the hook timing
- Wrong needle type for fabric (universal needle on knits, ballpoint on woven)
- Needle inserted incorrectly (not pushed fully up into the clamp or facing wrong direction)
Needle size guide:
- Size 70/10 or 80/12: Lightweight fabrics, fine thread
- Size 90/14: Medium-weight cotton, standard all-purpose thread (most common)
- Size 100/16 or 110/18: Heavy denim, canvas, upholstery, thick thread
Replace your needle every 8-10 hours of sewing or after every project, whichever comes first. Needles are cheap, and a fresh needle solves many mysterious problems. If you hear a popping sound as the needle penetrates fabric, it’s dull and needs immediate replacement.
Quick test: Remove your needle and look at the point under good light or with a magnifying glass. Run your fingernail gently along the point, if you feel any burr or rough spot, replace it.
How Do I Know If My Sewing Machine Tension Is Too Tight or Too Loose?
Examine both sides of your test stitches to diagnose tension problems. If the bobbin thread shows on top, your upper tension is too tight. If the upper thread shows on the bottom (bobbin side), your upper tension is too loose. Perfect tension creates stitches that lock between the fabric layers, with each thread visible only on its own side.
Visual diagnosis guide:
Upper tension too tight:
- Bobbin thread dots or loops visible on top
- Top fabric may pucker or gather
- Stitches feel stiff and inflexible
- Thread may break frequently
Upper tension too loose:
- Top thread loops visible on bottom (bobbin side)
- Stitches look loose and sloppy
- Fabric doesn’t feed smoothly
- Seams pull apart easily
Tension balanced correctly:
- Each thread visible only on its respective side
- Stitches lie flat and smooth
- Fabric doesn’t pucker or gather
- Seam feels secure when pulled gently
Hold your test fabric up to a light source and look at the stitches from the side. With correct tension, you should see the threads interlocking in the middle of the fabric layers, not on either surface.
The tug test: Sew a straight line on scrap fabric, then hold both ends and pull firmly (not hard enough to tear). The threads should hold without breaking, and neither thread should pull through to the other side. If the seam breaks easily or threads pull through, tension needs adjustment.
What Are Common Mistakes When Threading a Sewing Machine?
The most common threading mistake is threading the machine with the presser foot down, which keeps the tension discs closed and prevents the thread from seating between them. When you lower the foot to sew, the thread isn’t properly engaged in the tension system, causing erratic stitches and bobbin thread showing on top.
Top threading mistakes that cause tension problems:
- Threading with presser foot down (tension discs don’t open)
- Missing the thread take-up lever at the top of the machine
- Skipping a thread guide along the path
- Not seating thread between tension discs (it sits on top instead of between)
- Threading in wrong direction (some machines thread right-to-left, others left-to-right)
- Using old thread that’s brittle or has weak spots
- Not pulling enough thread through before starting (needs 6-8 inches of tail)
- Thread spool placed incorrectly (cap too tight or thread catching on spool notch)
The correct threading sequence for most machines:
- Raise presser foot fully
- Place thread spool on pin with thread unwinding in correct direction
- Follow thread path from spool pin to tension discs
- Thread goes down, around, and up through take-up lever
- Thread down through remaining guides to needle
- Thread needle front to back (or side to side, per your manual)
- Lower presser foot before sewing
When in doubt, consult your manual’s threading diagram. Many modern machines have numbered threading paths printed right on the machine body, follow those numbers in order.
Pro tip: After threading, hold the thread tail and turn the handwheel toward you one full rotation. This pulls the bobbin thread up through the needle plate. Pull both thread tails to the back before you start sewing. This prevents thread nests and ensures both threads are properly engaged.
Does Thread Weight Affect Bobbin Thread Showing on Top?
Thread weight significantly affects tension balance, and using different weights in the top and bobbin can cause the lighter thread to pull through to the wrong side. Standard all-purpose thread is 50-weight, if you use 30-weight (heavier) thread on top with 50-weight in the bobbin, the heavier top thread may pull the lighter bobbin thread to the surface.
Thread weight basics:
- Higher number = thinner thread (60-weight is very fine, 30-weight is thick)
- 50-weight is standard all-purpose thread for most projects
- 40-weight is slightly heavier, good for topstitching
- 30-weight is thick, used for decorative stitching
- 60-weight is fine, used for delicate fabrics and invisible hems
Best practice: Use the same weight thread in both the top and bobbin for balanced tension. If you must use different weights, put the heavier thread on top and adjust the upper tension down slightly to compensate.
When using specialty threads:
- Metallic or decorative thread on top: Use lightweight bobbin thread (60-weight) and loosen upper tension
- Heavy topstitching thread: Use regular 50-weight in bobbin, increase upper tension slightly
- Invisible thread (monofilament): Use regular thread in bobbin, loosen upper tension significantly
Old thread loses strength and elasticity, which affects how it flows through the tension system. Thread that’s been sitting for 3-5 years may be brittle and cause tension problems even if it looks fine. When troubleshooting, try fresh thread from a new spool to rule out thread quality issues.
When to Replace Your Sewing Machine Needle to Fix Tension Issues
Replace your needle immediately if you’ve adjusted tension and re-threaded multiple times without improvement. A dull, bent, or damaged needle is often the hidden cause of tension problems because it disrupts the precise timing between the needle and the bobbin hook mechanism. Even if the needle looks fine to the naked eye, microscopic damage can throw off stitch formation.
Replace your needle when:
- You’ve completed a project (every 6-8 hours of sewing)
- You hear a popping or punching sound as the needle penetrates fabric
- You’ve hit a pin or sewn over something hard
- Thread breaks repeatedly in the same spot
- Stitches look uneven or skipped even after tension adjustment
- You can’t remember when you last changed it
How to check if your needle is the problem:
- Remove the current needle
- Insert a brand-new needle in the correct size for your fabric
- Ensure the flat side faces the correct direction (usually toward the back)
- Push the needle up as far as it will go before tightening the screw
- Test on scrap fabric without changing any other settings
If the new needle fixes the problem, the old needle was damaged. If the problem persists, continue troubleshooting other causes.
Needle direction matters: Most machines require the flat side of the needle shank to face the back, but some older or specialty machines differ. Check your manual if you’re unsure. An incorrectly oriented needle won’t pick up the bobbin thread properly, causing all kinds of tension issues.
How to Clean Your Bobbin Case to Fix Thread Problems
Lint and thread debris accumulate in the bobbin case area faster than anywhere else on your machine, and this buildup interferes with smooth thread flow and proper tension. A dirty bobbin case can cause bobbin thread to show on top, create uneven stitches, or make the machine sound rough. Clean this area every 3-4 bobbins or whenever you notice lint accumulation.
Cleaning process:
- Turn off and unplug your machine
- Remove the bobbin and bobbin case (if removable)
- Use a small brush (often included with your machine) to sweep out all lint
- Blow out remaining debris with canned air or a small handheld vacuum
- Wipe the bobbin case with a soft, dry cloth (no oil unless manual specifies)
- Check the bobbin case tension spring for thread wrapped around it
- Inspect the feed dogs and remove any lint or thread caught in the teeth
- Reinsert bobbin case and bobbin, ensuring proper orientation
Areas that trap lint:
- Under the needle plate (remove plate if possible)
- Around the bobbin case tension spring
- In the bobbin case slot or drop-in area
- Between the feed dog teeth
- Around the hook race (the circular track the hook travels)
How often to clean: Light cleaning after every project, deep cleaning (removing needle plate) every 10-15 hours of sewing or monthly if you sew frequently. Dark fabrics and fleece shed more lint than light cotton, so adjust your cleaning schedule based on what you sew.
Never use canned air at full force directly into the machine’s interior, it can blow lint deeper into the mechanisms. Use short, gentle bursts aimed at sweeping debris out toward you, not in.
Is Bobbin Thread Showing on Top Normal for Thick Fabrics?
Thick fabrics like denim, canvas, or multiple quilt layers often require tension adjustments different from your standard settings, and seeing a tiny bit of bobbin thread on top isn’t always a problem. The increased fabric thickness changes how the threads interlock, and sometimes a slight adjustment up (not down) in upper tension helps the threads lock properly between the thick layers.
Thick fabric tension rules:
- Increase upper tension by 0.5 to 1 number higher than normal
- Use a larger needle (size 100/16 or 110/18) to penetrate thick layers
- Slow down your sewing speed to give the machine time to form proper stitches
- Use a walking foot for even fabric feeding on very thick or multiple layers
- Lengthen stitch length to 3.0-3.5mm for better thread lock
If you see bobbin thread on top when sewing thick fabrics, try increasing (not decreasing) the upper tension first. This seems counterintuitive, but thick fabric needs more thread tension to pull the threads tight enough to lock between the layers.
When it’s actually a problem: If you see large loops of bobbin thread or the stitches look obviously wrong, that’s not normal even for thick fabric. Re-thread completely and check that you’re using the right needle size and type for the material.
Quilting tip: When quilting multiple layers (top, batting, backing), start with your normal tension and test. If the bobbin thread shows slightly on top, increase upper tension by 0.5 to 1 number. If the top thread shows on the back, decrease upper tension. The goal is balanced stitches that hold all layers securely without puckering.
Troubleshooting Sewing Machine Tension Problems Step by Step
Follow this systematic troubleshooting sequence to diagnose and fix bobbin thread showing on top. Work through each step in order, testing on scrap fabric after each change. Most problems resolve within the first three steps.
Complete troubleshooting checklist:
Step 1: Re-thread everything
- Remove top thread completely
- Remove bobbin
- Raise presser foot
- Re-thread top following manual exactly
- Reinsert bobbin in correct direction
- Pull up bobbin thread through needle plate
- Lower presser foot and test
Step 2: Check needle
- Insert fresh needle in correct size for fabric
- Ensure flat side faces correct direction
- Push needle up fully before tightening
- Test on scrap fabric
Step 3: Adjust upper tension
- Note current tension setting
- Lower tension by 1 number
- Test on scrap fabric
- Repeat if needed (don’t go below 2)
Step 4: Clean bobbin area
- Remove bobbin and case
- Brush out all lint and debris
- Check for thread wrapped around tension spring
- Reinsert and test
Step 5: Check thread quality
- Try fresh thread from new spool
- Ensure top and bobbin are same weight
- Check that thread unwinds smoothly from spool
Step 6: Verify fabric and needle match
- Confirm needle size appropriate for fabric weight
- Check needle type matches fabric (ballpoint for knits, etc.)
- Test with same fabric as project, not different material
Step 7: Inspect bobbin case
- Check for scratches or burrs on bobbin case
- Ensure bobbin case tension screw hasn’t loosened
- Verify bobbin case is fully seated in machine
If problem persists after all steps: You may have a timing issue or mechanical problem that requires professional service. This is rare, 95% of tension problems resolve with the steps above.
FAQ
Why does my bobbin thread show on top only sometimes? Inconsistent bobbin thread showing usually means your threading isn’t fully seated in the tension discs, or you’re threading with the presser foot down. The problem appears randomly because the thread sometimes catches properly and sometimes doesn’t. Always raise the presser foot before threading to open the tension discs fully.
Can I adjust bobbin tension instead of upper tension? You can, but you shouldn’t in most cases. Bobbin tension is factory-set and rarely needs adjustment. Always exhaust all upper tension, threading, and needle troubleshooting before touching the tiny screw on your bobbin case. If you must adjust it, turn only 1/8 turn at a time and test immediately.
What number should my tension be set to? Most machines work best at 4 to 5 for standard cotton fabric and all-purpose thread. Start at 4.5 if your machine has half-numbers. Adjust up or down from there based on your specific fabric, thread, and project. There’s no universal “correct” number, it varies by machine and materials.
Why does my thread keep breaking when I adjust tension? Thread breaking during tension adjustment usually means you’ve adjusted too tight (above 6-7) or you have a different problem like a damaged needle, rough spot in the thread path, or old brittle thread. Lower tension back to 4, replace your needle, and try fresh thread before adjusting again.
Do I need to adjust tension for every fabric type? Not necessarily. Many sewers find one tension setting that works for most medium-weight fabrics and only adjust for very lightweight, very heavy, or stretchy materials. Keep notes on what settings work for your common fabrics so you don’t have to experiment each time.
How do I know if my bobbin case is damaged? A damaged bobbin case has visible scratches, burrs, or rough spots where thread passes through. Run your finger gently along the thread path, it should feel completely smooth. Any rough spot will catch thread and cause tension problems. Bobbin cases are inexpensive and easy to replace.
Can using cheap thread cause tension problems? Yes, low-quality thread often has thick and thin spots, breaks easily, or sheds lint that clogs your machine. It may also lack the elasticity needed to flow smoothly through the tension system. Invest in good-quality thread from brands like Gutermann, Coats & Clark, or Aurifil for consistent results.
Why does my tension problem only happen on certain colors of thread? Different thread colors from the same brand can have slightly different thicknesses due to dye absorption. Black thread is often slightly thicker than white or pastels. If one color causes problems, adjust tension by 0.5 to 1 number for that color and keep a note for future reference.
Should I oil my bobbin case to fix tension issues? Only if your manual specifically instructs you to oil that area. Most modern machines have self-lubricating bobbin areas that should never be oiled. Adding oil where it doesn’t belong attracts lint and can damage plastic parts. Check your manual before oiling anything.
How long should it take to fix bobbin thread showing on top? Most cases resolve in 5-10 minutes once you systematically re-thread, check the needle, and adjust tension. If you’ve been troubleshooting for more than 20 minutes without improvement, you likely have a mechanical issue that needs professional attention.
Can a bent needle cause bobbin thread to show even if it still sews? Absolutely. A needle can be bent just enough to disrupt timing without being obviously damaged. The needle and bobbin hook must pass within millimeters of each other at precisely the right moment. Even a slight bend throws off this timing, causing tension problems, skipped stitches, or bobbin thread showing on top.
What’s the difference between upper tension and bobbin tension? Upper tension is controlled by the dial on your machine and adjusts how tightly the top thread is squeezed as it flows to the needle. Bobbin tension is controlled by a tiny screw on the bobbin case and adjusts how easily thread unwinds from the bobbin. You should adjust upper tension 95% of the time and almost never touch bobbin tension.
Conclusion
Bobbin thread showing on top of your fabric is frustrating but almost always fixable with simple adjustments. Start by re-threading your entire machine with the presser foot raised, ensuring the thread seats properly in the tension discs. Check that your bobbin is inserted in the correct direction and that you’re using a fresh needle in the right size for your fabric. Lower your upper tension by one number at a time, testing on scrap fabric after each adjustment until the stitches look balanced on both sides.
Remember that most tension problems stem from threading errors, not actual tension settings. Before you touch the tension dial, re-thread completely and replace your needle. Clean your bobbin area regularly to prevent lint buildup from interfering with smooth thread flow. Keep notes on what tension settings work for your common fabrics and threads so you can quickly dial in the right setting for future projects.
Take action now: Grab a piece of scrap fabric and test your current tension. If you see bobbin thread on top, re-thread your machine completely, insert a fresh needle, and adjust your upper tension down to 3.5 or 4. Sew a test line and examine both sides. Make small adjustments until both threads stay on their respective sides, then mark that setting for future reference. With these troubleshooting steps in your toolkit, you’ll spend less time fighting your machine and more time enjoying your sewing projects in 2026.


