


Quick Answer
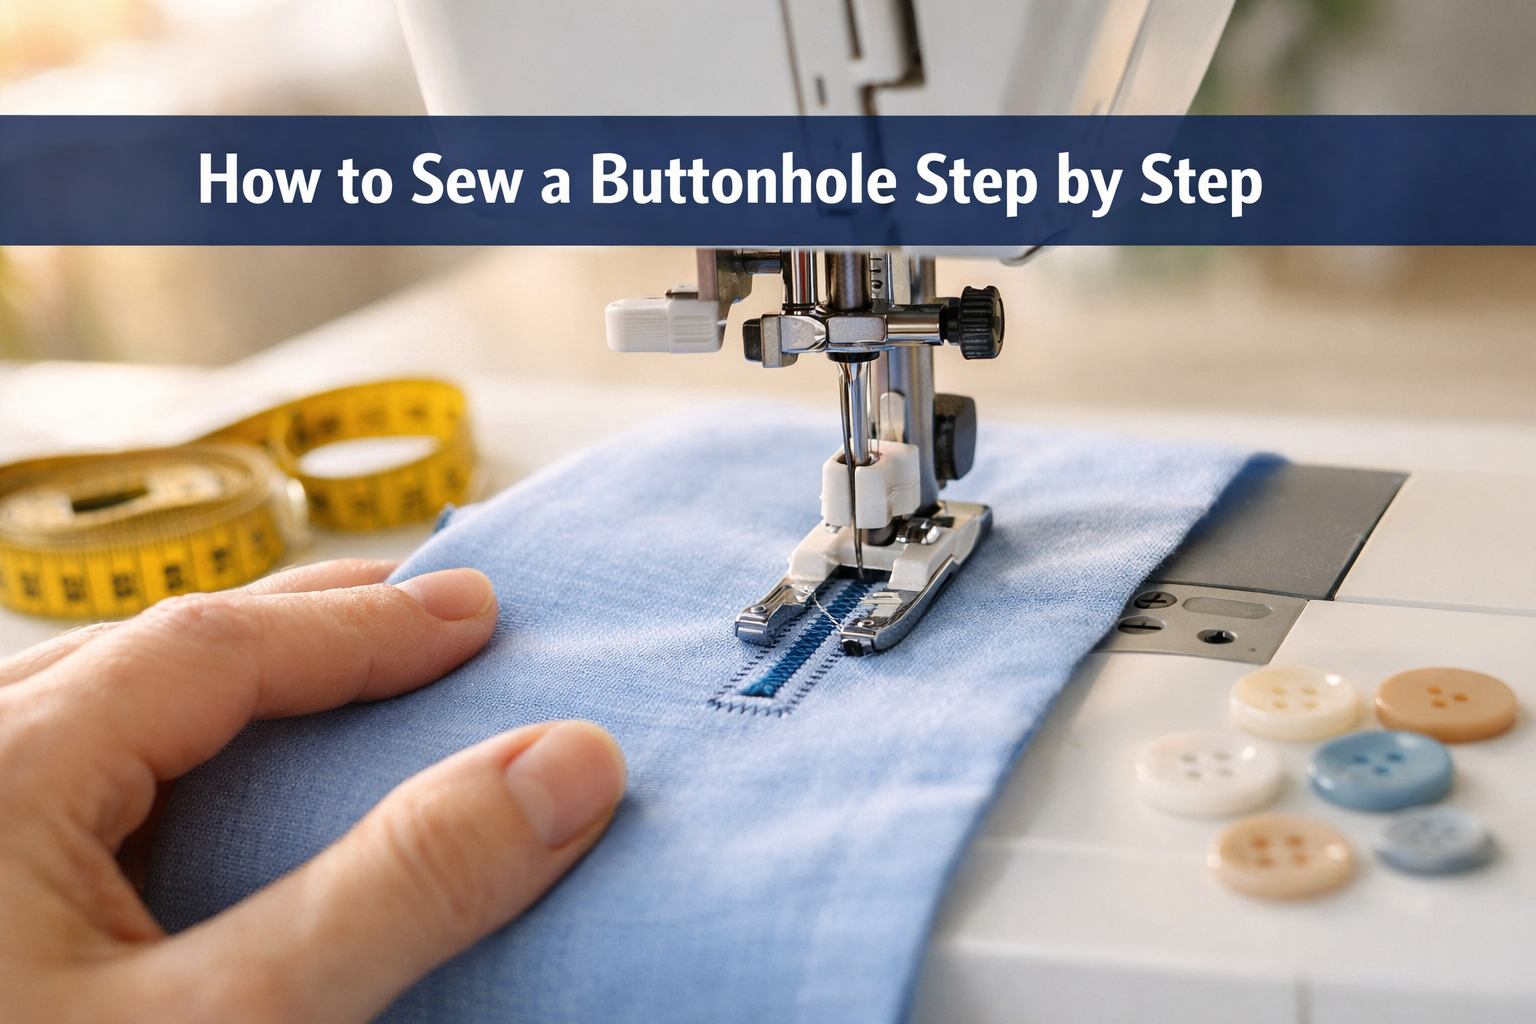
Sewing a buttonhole step by step involves marking the placement on your fabric, selecting the correct buttonhole foot and stitch setting on your machine, stabilizing the fabric with interfacing, stitching the buttonhole using your machine’s automatic or manual function, and carefully cutting it open with a seam ripper or small scissors. Most modern sewing machines have built-in buttonhole functions that create professional results in under two minutes per buttonhole when properly set up.
Key Takeaways
- Always use interfacing behind buttonholes to prevent stretching and fraying, even on medium-weight fabrics
- Mark placement carefully using the button diameter plus 1/8 inch (3mm) for length, positioned at least 5/8 inch from the fabric edge
- Test first on scrap fabric with the same layers and interfacing you’ll use on your project
- Buttonhole feet have special grooves underneath that guide the dense zigzag stitching and prevent fabric bunching
- Automatic buttonholes are easier for beginners and more consistent than manual 4-step buttonholes
- Cut carefully using a seam ripper from the center outward, placing pins at each end as stoppers
- Tension adjustments may be needed, slightly looser than normal straight stitching prevents puckering
- Thick fabrics like denim require a larger needle (size 100/16), walking foot, and slower stitching speed
What Is a Buttonhole in Sewing?
A buttonhole is a reinforced slit in fabric designed to hold a button securely while allowing it to pass through for fastening garments. The opening is surrounded by dense zigzag stitching (called a buttonhole stitch or bar tack) that prevents the fabric from fraying or tearing under repeated use.
Buttonholes consist of four main parts:
- Two parallel sides (called beads or legs) made of tight zigzag stitches
- Two bar tacks at each end that reinforce the stress points where the button pushes through
- The opening between the stitches, cut after sewing
- Interfacing layer behind the fabric that stabilizes the entire structure
Most garment buttonholes are horizontal (perpendicular to the fabric edge) because they distribute stress better when the button pulls against the opening. Vertical buttonholes are used on plackets and bands where the button doesn’t experience pulling force.
The standard buttonhole is about 1/8 inch (3mm) longer than the button diameter to allow easy passage without straining the stitches.
How to Mark Buttonhole Placement on Fabric
Mark buttonhole placement before you start sewing to ensure even spacing and proper alignment. Measure your button diameter and add 1/8 inch (3mm) for the buttonhole length, this extra space accounts for the button’s thickness.
Step-by-step marking process:
- Determine the center line where buttons will sit (usually the garment’s center front or back)
- Mark the first buttonhole at least 5/8 inch from the top edge to prevent tearing
- Space remaining buttonholes evenly, typically 2-3 inches apart for shirts, 3-4 inches for jackets
- Draw the buttonhole length using a fabric marking pen or tailor’s chalk
- Mark the button position on the opposite fabric piece by overlapping the layers and marking through the buttonhole center
Common mistake: Placing buttonholes too close to the edge (less than 1/2 inch) creates weak points that tear easily. Always leave at least 5/8 inch from the finished edge.
For horizontal buttonholes, position the button 1/8 inch past the center line toward the garment edge, this ensures the button sits at the center line when fastened, not beyond it.
Buttonhole Foot vs Regular Presser Foot
A buttonhole foot has a deep groove on the underside that allows dense zigzag stitching to pass underneath without crushing or bunching. Regular presser feet lack this groove and will compress the thick stitches, causing uneven tension and puckered fabric.
Key differences:
| Feature | Buttonhole Foot | Regular Presser Foot |
|---|---|---|
| Underside groove | Deep channel for dense stitches | Flat or shallow |
| Button holder | Often includes adjustable guide | None |
| Stitch visibility | Clear view of needle position | Standard view |
| Best for | Buttonholes, bar tacks | Straight stitching, basic zigzag |
Most automatic buttonhole feet include a button holder on the back that measures your button and automatically creates the correct length. You simply place the button in the holder, and the machine calculates the size.
Manual buttonhole feet (for 4-step buttonholes) have measurement markings but require you to control the stitch length and direction changes yourself.
Choose automatic if: You’re a beginner, making multiple buttonholes, or want consistent results every time. Choose manual if your machine doesn’t have an automatic function or you need unusual buttonhole sizes.

1-STEP BUTTONHOLE FOOT, #XC2691051 fits BROTHER CS8060, CS8150, NV500D Automatic button hole foot for Brother sewing machines that do a built-in one step button hole, this...
How to Sew a Buttonhole Step by Step on a Machine
Sewing a buttonhole on a machine requires proper setup, stabilization, and the right stitch settings. This process works for automatic buttonhole functions found on most modern machines.
Complete step-by-step process:
- Apply interfacing to the wrong side of your fabric where the buttonhole will sit (use fusible interfacing for easiest application)
- Mark the buttonhole position and length on the right side of the fabric
- Attach the buttonhole foot and select the automatic buttonhole stitch on your machine
- Place your button in the foot’s holder (if equipped) or set the length manually
- Position the fabric so the starting mark aligns with the needle
- Lower the presser foot and the buttonhole lever (usually located behind or beside the needle)
- Start sewing without holding the fabric, let the machine feed it automatically
- The machine will stitch the first side, bar tack, second side, and final bar tack automatically
- Raise the presser foot and remove the fabric when complete
- Cut the buttonhole open carefully using a seam ripper or buttonhole chisel
Critical tip: Never pull or push the fabric during buttonhole stitching. The feed dogs and buttonhole mechanism control the movement. Interfering causes uneven stitches.
Test on scrap fabric first using the same number of layers and interfacing as your project. Adjust stitch width and density if needed before sewing on your garment.
For more guidance on sewing machine troubleshooting, check our comprehensive troubleshooting resources.

Sewing Supplies Contents: Instructions and 11.6-inch wide, 30-yard long medium weight white single-sided adhesive, which can adapt to various fabric shapes and sizes. Simply trim the interfacing to the desired pattern and it can be easily used for fabrics of any size

Lightweight Fusible Interfacing: Ideal for adding gentle structure to collars, facings, and craft projects.

<li><b>High-quality Polyester Material</b> - The Pellon PLF36 Fusible Interfacing is made from high-quality 100% Polyester that works for any light and medium-weight fabrics. It’s ideal for use in various types of light fabrics such as linen, broadcloth, chambray, challis, and jersey. It also works well for delicate fabrics.</li>
What Stitch Setting for Buttonholes on Sewing Machine
Most modern sewing machines have a dedicated buttonhole stitch (often marked with a buttonhole icon or number). This setting automatically creates the dense zigzag pattern needed for durable buttonholes.
Typical buttonhole stitch settings:
- Stitch width: 3-5mm (wider for thicker fabric, narrower for delicate materials)
- Stitch length: 0.3-0.5mm (very short for dense coverage)
- Tension: Slightly looser than normal (around 3-4 on machines with 0-9 scales)
- Speed: Slow to medium for better control
For automatic buttonholes: Simply select the buttonhole stitch number (often labeled “BH” or with a buttonhole symbol). The machine handles width, length, and density automatically.
For manual 4-step buttonholes: You’ll manually switch between four positions:
- Left side zigzag
- Bottom bar tack
- Right side zigzag
- Top bar tack
Consult your machine’s manual for the exact stitch numbers, they vary by brand. Brother machines typically use stitch 6-9, Singer uses 1-4, and Janome varies by model.
Common mistake: Using stitch length that’s too long (above 0.5mm) creates gaps in the buttonhole that fray quickly. Dense stitching is essential for durability.
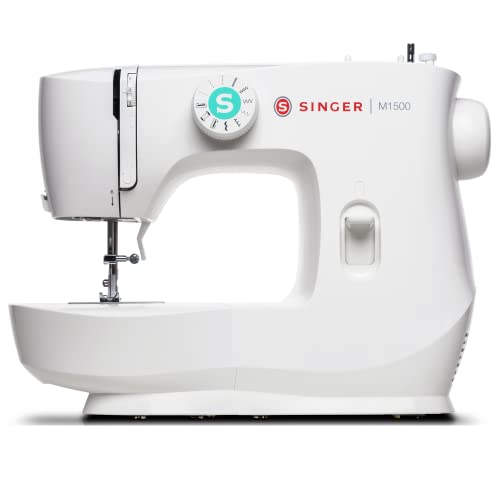
57 STITCH APPLICATIONS: 6 built-in stitches deliver 57 stitch applications, allowing you to sew fashions, piece quilts, create crafts, or handle simple mending. Includes straight, zigzag, blind hem, multi-step zigzag, scallop stitch, and a 4-step buttonhole for versatile sewing.
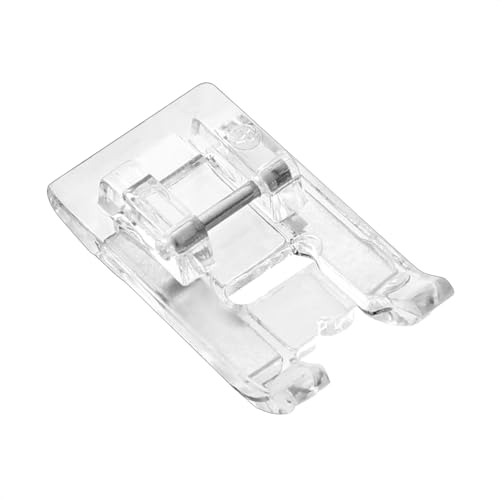
Elevate your sewing experience with TISEKER high-quality premium sewing presser feet. Crafted in Taiwan, these presser feet are meticulously engineered to meet the highest standards of performance and durability.

MODERN DESIGN WITH STRONG POWER: The SINGER Sterling Edition Heavy Duty 4432 stands out with its sleek silver metallic accents, combining functionality with a fresh, contemporary design that enhances any sewing space. In addition to its modern look, the machine offers powerful piercing capabilities, making it ideal for heavy fabrics like denim, canvas, and leather. Its full metal frame ensures long-lasting durability, providing a sturdy base for sewing through both thick materials and delicate fabrics like silk and chiffon with precision.
How to Sew a Buttonhole by Hand Without a Machine
Hand-sewn buttonholes require only a needle, thread, and scissors, making them ideal for delicate fabrics, historical garments, or when a machine isn’t available. The process takes 10-15 minutes per buttonhole but creates beautiful, durable results.
Hand buttonhole process:
- Mark and cut the buttonhole opening first (opposite of machine method)
- Thread a sharp needle with buttonhole twist thread or doubled all-purpose thread
- Anchor the thread at one end with a few small stitches
- Work buttonhole stitch along one side: insert needle from back to front 1/8 inch from the cut edge, loop thread under the needle point, pull tight to create a knot at the edge
- Continue stitching closely spaced (about 1/16 inch apart) along the entire side
- Create a bar tack at the end using 3-4 satin stitches perpendicular to the opening
- Stitch the second side in the same manner
- Finish with a bar tack and secure thread on the wrong side
Pro tip: Use a buttonhole chisel or sharp embroidery scissors to cut the opening cleanly. Place a cutting mat underneath to protect your work surface.
Hand buttonholes work best on light to medium-weight fabrics. For thick materials like wool coats, machine buttonholes are more practical and durable.
The traditional tailor’s buttonhole stitch creates a small knot at the fabric edge with each stitch, providing exceptional durability and a professional finish.

Why Does My Buttonhole Keep Jamming?
Buttonhole jamming happens when thread bunches underneath the fabric, the needle hits the presser foot, or the feed dogs can’t move the dense stitching properly. This is usually caused by incorrect tension, wrong foot attachment, or lack of stabilization.
Most common jamming causes and fixes:
- Missing or incorrect foot: Always use a buttonhole foot with the proper groove, regular feet compress stitches and cause jams
- No interfacing: Fabric without stabilization stretches and bunches under dense stitching; always use interfacing
- Tension too tight: Loosen upper tension by 1-2 numbers to allow the dense zigzag to form properly
- Dull or bent needle: Replace with a fresh sharp or microtex needle before sewing buttonholes
- Lint buildup: Clean the bobbin area and feed dogs, buttonhole stitching creates more lint than regular sewing
- Wrong thread: Use quality thread (not bargain or old thread that breaks easily)
Troubleshooting steps:
- Remove the fabric and clean the bobbin area thoroughly
- Rethread both top and bobbin, ensuring thread passes through all guides
- Insert a new needle (size 80/12 for medium fabric, 90/14 for heavier)
- Test on scrap fabric with interfacing before trying again
If jamming persists, your machine may need professional servicing. Check our guide on how often to service a sewing machine for maintenance schedules.
Common mistake: Pulling the fabric while the machine stitches causes the feed dogs to lose control, resulting in jams. Let the machine feed the fabric automatically.
How to Cut Open a Buttonhole Without Ruining It
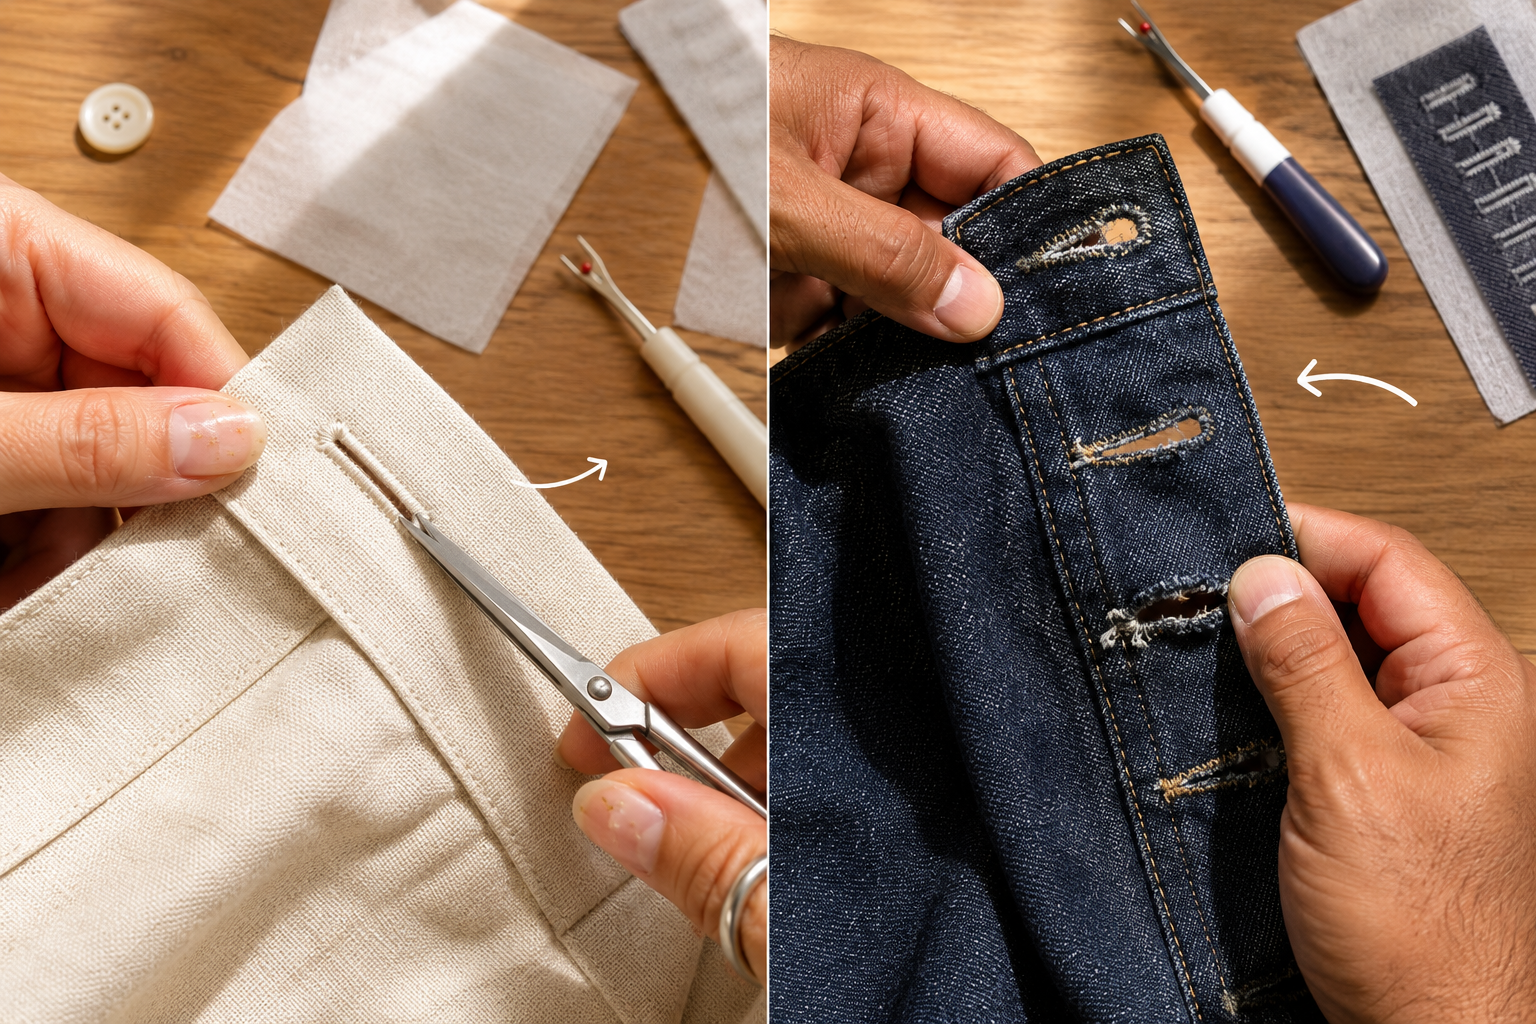
Cutting a buttonhole open requires precision and the right tools to avoid cutting through the bar tacks or side stitches. Use a seam ripper, buttonhole chisel, or small sharp scissors for clean results.
Safest cutting method using a seam ripper:
- Place straight pins horizontally across each bar tack as stoppers
- Insert the seam ripper in the center of the buttonhole
- Cut toward one end, stopping when you reach the pin
- Repeat from center toward the other end
- Remove pins and check that the opening is complete
- Trim any loose threads carefully with scissors
Alternative method using a buttonhole chisel:
Place a cutting mat under the fabric, position the chisel in the center of the buttonhole, and press down firmly in one motion. This creates a clean cut instantly but requires practice to avoid cutting too far.
For small buttonholes (under 1/2 inch): Use sharp embroidery scissors to cut from one end to the other in a single snip, staying centered between the stitched sides.
Critical warning: Never cut from one end toward the other without pins as stoppers, it’s too easy to cut past the bar tack and ruin the buttonhole. The pin method prevents this mistake.
If you accidentally cut through a bar tack, reinforce it immediately with hand stitching or a few machine bar tacks before the buttonhole frays further.
Can You Sew Buttonholes on Thick Fabric Like Denim?
Yes, you can sew buttonholes on thick fabrics like denim, canvas, and upholstery material by using the right needle, adjusting your machine settings, and adding proper stabilization. Heavy-duty fabrics require more preparation than lightweight materials.
Setup for thick fabric buttonholes:
- Needle: Size 100/16 or 110/18 jeans/denim needle
- Thread: Heavy-duty or topstitching thread (size 40 or heavier)
- Interfacing: Two layers of medium-weight fusible interfacing for extra stability
- Presser foot pressure: Reduce if your machine allows (prevents fabric compression)
- Stitch width: Slightly wider (4-5mm) for better coverage on thick material
- Speed: Slow to medium to prevent needle breakage
Special technique for very thick fabrics:
Use a walking foot attachment if your buttonhole foot allows it, or switch to a manual 4-step buttonhole with a walking foot. This prevents the top layer from shifting during the dense stitching.
Common mistake: Using a regular-weight needle on denim causes skipped stitches and broken needles. Always upgrade to a heavy-duty needle for thick fabrics.
For extremely thick materials (like leather or multiple layers of canvas), consider using bound buttonholes instead, these are fabric-faced openings that don’t require dense machine stitching through thick layers.
Test on scrap fabric first, using the exact same number of layers as your project. Thick fabrics often need tension adjustments and slower stitching speeds for clean results.
Buttonhole Size Chart for Different Button Sizes
Buttonhole length should equal the button diameter plus 1/8 inch (3mm) for flat buttons, or diameter plus height plus 1/8 inch for domed or shank buttons. This ensures the button passes through easily without straining the stitches.
Standard buttonhole sizing:
| Button Diameter | Flat Button Buttonhole | Domed Button Buttonhole |
|---|---|---|
| 1/4 inch (6mm) | 3/8 inch (10mm) | 1/2 inch (12mm) |
| 3/8 inch (10mm) | 1/2 inch (13mm) | 5/8 inch (16mm) |
| 1/2 inch (13mm) | 5/8 inch (16mm) | 3/4 inch (19mm) |
| 5/8 inch (16mm) | 3/4 inch (19mm) | 7/8 inch (22mm) |
| 3/4 inch (19mm) | 7/8 inch (22mm) | 1 inch (25mm) |
| 1 inch (25mm) | 1-1/8 inch (28mm) | 1-1/4 inch (32mm) |
How to measure your button:
Place the button flat on a ruler and measure the widest point (diameter). For domed buttons, also measure the height from the back to the highest point. Add these measurements together, then add 1/8 inch.
Quick test method: Make a test buttonhole on scrap fabric and try your button. It should slide through with slight resistance, not too loose (button falls out) or too tight (fabric strains).
Special cases:
- Toggle buttons: Add 1/4 inch extra length to accommodate the thick toggle shape
- Decorative buttons: Measure the widest decorative element, not just the button base
- Shank buttons: Measure diameter plus shank length plus 1/8 inch
Always test on scrap fabric before sewing buttonholes on your finished garment. It’s easier to adjust the size on a test piece than to fix a too-small buttonhole on your project.
Do I Need Interfacing for Buttonholes?
Yes, you need interfacing for buttonholes on nearly all fabrics to prevent stretching, fraying, and distortion from the dense zigzag stitching. Even medium-weight fabrics like cotton and linen require stabilization because buttonhole stitches are much denser than regular seams.
Why interfacing is essential:
- Prevents stretching during the dense zigzag stitching process
- Stops fraying at the cut edges of the buttonhole opening
- Distributes stress when the button pulls against the fabric
- Creates crisp edges that maintain their shape through repeated use
- Supports the bar tacks which bear the most stress
Best interfacing types for buttonholes:
- Lightweight fabrics (silk, voile, lawn): Lightweight fusible interfacing or silk organza
- Medium-weight fabrics (cotton, linen, chambray): Medium-weight fusible interfacing
- Heavy fabrics (denim, canvas, wool): Two layers of medium-weight fusible or one layer of heavy-weight
- Knits and stretchy fabrics: Knit interfacing or lightweight fusible tricot
Application method:
Cut interfacing pieces at least 1 inch larger than the buttonhole area. Fuse to the wrong side of the fabric before marking buttonhole placement. The interfacing should extend beyond all buttonholes in the area.
Only skip interfacing if: You’re working with very heavy, non-fraying fabrics like thick felt or boiled wool that won’t stretch under stitching. Even then, interfacing improves durability.
Common mistake: Using woven interfacing on knit fabrics creates stiff, uncomfortable buttonholes. Always match interfacing type to fabric stretch.
Automatic Buttonhole vs Manual Buttonhole: Which Is Better?
Automatic buttonholes are better for beginners and consistent results because the machine controls all four steps in one continuous process. Manual buttonholes offer more control for experienced sewers working with unusual sizes or challenging fabrics.
Automatic buttonhole advantages:
- Consistency: Every buttonhole is identical in size and stitch density
- Speed: Completes in 30-60 seconds with no user intervention
- Ease: Simply select the stitch, lower the lever, and press the pedal
- Button sensing: Many machines measure the button automatically
- Fewer mistakes: No risk of forgetting a step or switching at the wrong point
Manual (4-step) buttonhole advantages:
- Size flexibility: Create any length buttonhole without machine limitations
- Stitch control: Adjust width and density mid-buttonhole if needed
- Works on older machines: Available on vintage and basic machines without automatic functions
- Better for thick fabrics: Allows you to slow down or stop at difficult points
Performance comparison:
Most sewers find automatic buttonholes produce more professional results with less practice. Manual buttonholes require experience to achieve even stitching and proper bar tack placement.
Choose automatic if: You’re making garments with multiple buttonholes, you’re a beginner, or you want consistent results every time.
Choose manual if: Your machine doesn’t have an automatic function, you need unusual buttonhole sizes, or you’re working with very thick or delicate fabrics that need extra control.
Modern machines often include both options. Start with automatic to build confidence, then experiment with manual for special situations.
How to Fix a Buttonhole That Came Out Uneven
Fix an uneven buttonhole by reinforcing it with hand stitching, covering it with a decorative patch, or (as a last resort) removing it completely and re-sewing in a slightly different position. The best fix depends on how visible the buttonhole is and how uneven the stitching appears.
For slightly uneven stitching:
- Hand-stitch over thin areas using buttonhole stitch or whip stitch with matching thread
- Add bar tacks by hand at the ends if machine bar tacks are weak
- Trim loose threads and press with a steam iron to even out the appearance
For severely uneven buttonholes:
- Carefully remove the buttonhole stitching using a seam ripper
- Patch the holes with a small piece of matching fabric fused to the wrong side
- Re-mark the buttonhole position (slightly offset from the original if needed)
- Add fresh interfacing over the patched area
- Stitch a new buttonhole after testing settings on scrap fabric
Decorative cover-up options:
- Fabric-covered buttons with hand-sewn thread loops instead of buttonholes
- Decorative appliqué or patch over the buttonhole area
- Frog closures or toggle buttons that don’t require buttonholes
- Snap fasteners hidden behind decorative buttons
Prevention tips:
- Always test on scrap fabric with the same layers and interfacing
- Check that the buttonhole foot is properly attached and the lever is lowered
- Ensure fabric is flat and smooth before starting (no wrinkles or folds)
- Don’t pull or push the fabric during stitching
If multiple buttonholes are uneven, the problem is likely machine settings or technique rather than a one-time mistake. Review your tension settings and test again before continuing.
What Tension Should I Use for Buttonholes?
Use slightly looser tension for buttonholes than for regular straight stitching, typically one to two numbers lower on your machine’s tension dial. This allows the dense zigzag stitches to form properly without puckering the fabric or creating thread loops on the underside.
Recommended tension settings:
- If normal stitching uses 4-5: Set buttonhole tension to 3-4
- If normal stitching uses 3-4: Set buttonhole tension to 2-3
- For thick fabrics: May need to loosen one additional number
- For delicate fabrics: Start at normal tension and test first
How to test buttonhole tension:
- Sew a test buttonhole on scrap fabric with the same layers and interfacing as your project
- Check the top: Stitches should lie flat without puckering
- Check the bottom: Bobbin thread should be barely visible, not looping
- Check the sides: Both sides should look identical in density and appearance
Signs of incorrect tension:
- Too tight: Fabric puckers, stitches look stretched, thread breaks frequently
- Too loose: Loops of bobbin thread visible on top, stitches look messy
- Unbalanced: One side looks different from the other (check threading)
Common mistake: Tightening tension when stitches look loose actually makes the problem worse. Buttonholes need slightly looser tension than you might expect.
If adjusting tension doesn’t fix the problem, check your threading (both top and bobbin), needle condition, and thread quality. Old or cheap thread causes more tension problems than any other factor.
For persistent tension issues, consult our complete tension troubleshooting guide.
Common Mistakes When Sewing Buttonholes for Beginners
Beginners often skip interfacing, forget to lower the buttonhole lever, or cut the opening before testing the buttonhole, all mistakes that result in failed buttonholes and wasted fabric. Learning these common errors helps you avoid them on your first projects.
Top 10 beginner buttonhole mistakes:
- Skipping the test buttonhole: Always test on scrap fabric with the same layers before sewing on your project
- Forgetting interfacing: Even medium-weight fabrics need stabilization for durable buttonholes
- Not lowering the buttonhole lever: This small lever (usually behind the needle) must be down or the machine won’t stitch properly
- Using the wrong foot: Regular presser feet don’t have the groove needed for buttonhole stitching
- Cutting before testing: Never cut the buttonhole open until you’ve checked that it’s the right size
- Pulling the fabric: Let the machine feed the fabric automatically, pulling causes uneven stitches
- Placing buttonholes too close to the edge: Leave at least 5/8 inch from the finished edge
- Using a dull needle: Fresh sharp needles prevent skipped stitches and thread breaks
- Wrong buttonhole size: Measure your button and add 1/8 inch, don’t guess
- Cutting without pins: Always place pins at the bar tacks as stoppers before cutting
How to recover from mistakes:
- Wrong size: If too small, carefully remove stitching and re-sew larger; if too large, use a larger button or add a snap behind it
- Cut too far: Hand-stitch the damaged bar tack immediately to prevent further fraying
- Uneven stitching: Reinforce with hand stitching or cover with a decorative element
Prevention checklist:
✓ Interfacing applied
✓ Buttonhole marked accurately
✓ Buttonhole foot attached
✓ Buttonhole lever lowered
✓ Test buttonhole completed
✓ Button fits through test
✓ Pins placed at bar tacks
Following this checklist eliminates 90% of buttonhole problems before they happen.
FAQ
How long does it take to sew a buttonhole?
An automatic buttonhole takes 30-60 seconds to stitch once your machine is set up. Manual 4-step buttonholes take 2-3 minutes. Hand-sewn buttonholes require 10-15 minutes each. Setup time (marking, interfacing, testing) adds 5-10 minutes for your first buttonhole.
Can I sew buttonholes without a buttonhole foot?
No, you need a buttonhole foot with a groove underneath to create proper buttonholes. Regular presser feet compress the dense stitching and cause uneven, puckered results. Buttonhole feet cost $10-25 and are essential for quality buttonholes.
Why is my buttonhole foot not moving?
The buttonhole lever is probably not lowered. This small lever (usually located behind or beside the needle) must be in the down position to engage the buttonhole mechanism. Check your machine manual for the exact location.
How do I know what size buttonhole to make?
Measure your button diameter and add 1/8 inch (3mm) for flat buttons. For domed or shank buttons, measure diameter plus height, then add 1/8 inch. Always test on scrap fabric to confirm the button fits through comfortably.
Can you make buttonholes on knit fabric?
Yes, but use knit interfacing (not woven) to maintain stretch, a ballpoint needle, and slightly looser tension. Test thoroughly on scraps because knits can stretch during stitching. Consider using snaps or elastic loops instead for very stretchy knits.
What’s the difference between a keyhole buttonhole and a regular buttonhole?
Keyhole buttonholes have a round end (like a keyhole shape) that accommodates the button shank, used mainly on jackets and coats with thick buttons. Regular buttonholes have bar tacks at both ends and work for most flat or slightly domed buttons.
Do all sewing machines have buttonhole functions?
Most modern machines have at least a 4-step manual buttonhole function. Machines made after 2000 often include automatic one-step buttonholes. Very basic or vintage machines may not have buttonhole stitches, check your manual or look for buttonhole symbols on the stitch selector.
How do you fix a buttonhole that’s too small?
Carefully remove the bar tack at one end using a seam ripper, extend the stitching to the new length, and create a new bar tack. Alternatively, use a smaller button or add a snap fastener behind the decorative button.
Why does my buttonhole look different on each side?
Unbalanced tension or incorrect threading causes one side to look different from the other. Rethread both top and bobbin completely, check that thread passes through all guides, and test tension on scrap fabric. Both sides should look identical when properly threaded.
Can you sew buttonholes on leather?
Yes, but use a leather needle (size 90/14 or 100/16), longer stitch length (0.5mm instead of 0.3mm), and a Teflon or roller foot if available. Test on scrap leather first. Consider bound buttonholes or grommets for thick leather instead of machine-stitched buttonholes.
What thread is best for buttonholes?
Use quality all-purpose polyester thread (size 50) for most buttonholes. Heavy-duty or topstitching thread (size 40) works better for thick fabrics like denim. Avoid bargain thread and old thread, both break easily during the dense buttonhole stitching.
How far apart should buttonholes be spaced?
Space buttonholes 2-3 inches apart on shirts and blouses, 3-4 inches apart on jackets and coats, and 4-6 inches apart on cardigans. The first buttonhole should sit at the fullest part of the bust or chest, with others spaced evenly above and below.
Conclusion
Learning how to sew a buttonhole step by step transforms your sewing projects from homemade to professional. The key elements, proper interfacing, accurate marking, the right buttonhole foot, correct tension settings, and careful cutting, work together to create durable, attractive buttonholes that last through years of wear.
Start with automatic buttonholes on medium-weight cotton fabric to build confidence. Test every buttonhole on scrap fabric before sewing on your project. Keep your machine clean and use fresh needles for each project to prevent jamming and stitch problems.
Next steps to master buttonholes:
- Practice on scrap fabric until you can create consistent buttonholes without testing
- Experiment with different fabrics and button sizes to understand how settings change
- Try hand-sewn buttonholes on a small project like a pillowcase or tote bag
- Learn bound buttonholes for tailored jackets and coats
- Keep a buttonhole sample book with notes on settings for different fabrics
Remember that even experienced sewers test their buttonholes first. The few minutes spent on a test sample prevent hours of frustration and wasted fabric. With practice, buttonholes become one of the most satisfying skills in your sewing repertoire, that professional finishing touch that elevates every garment you create.


