


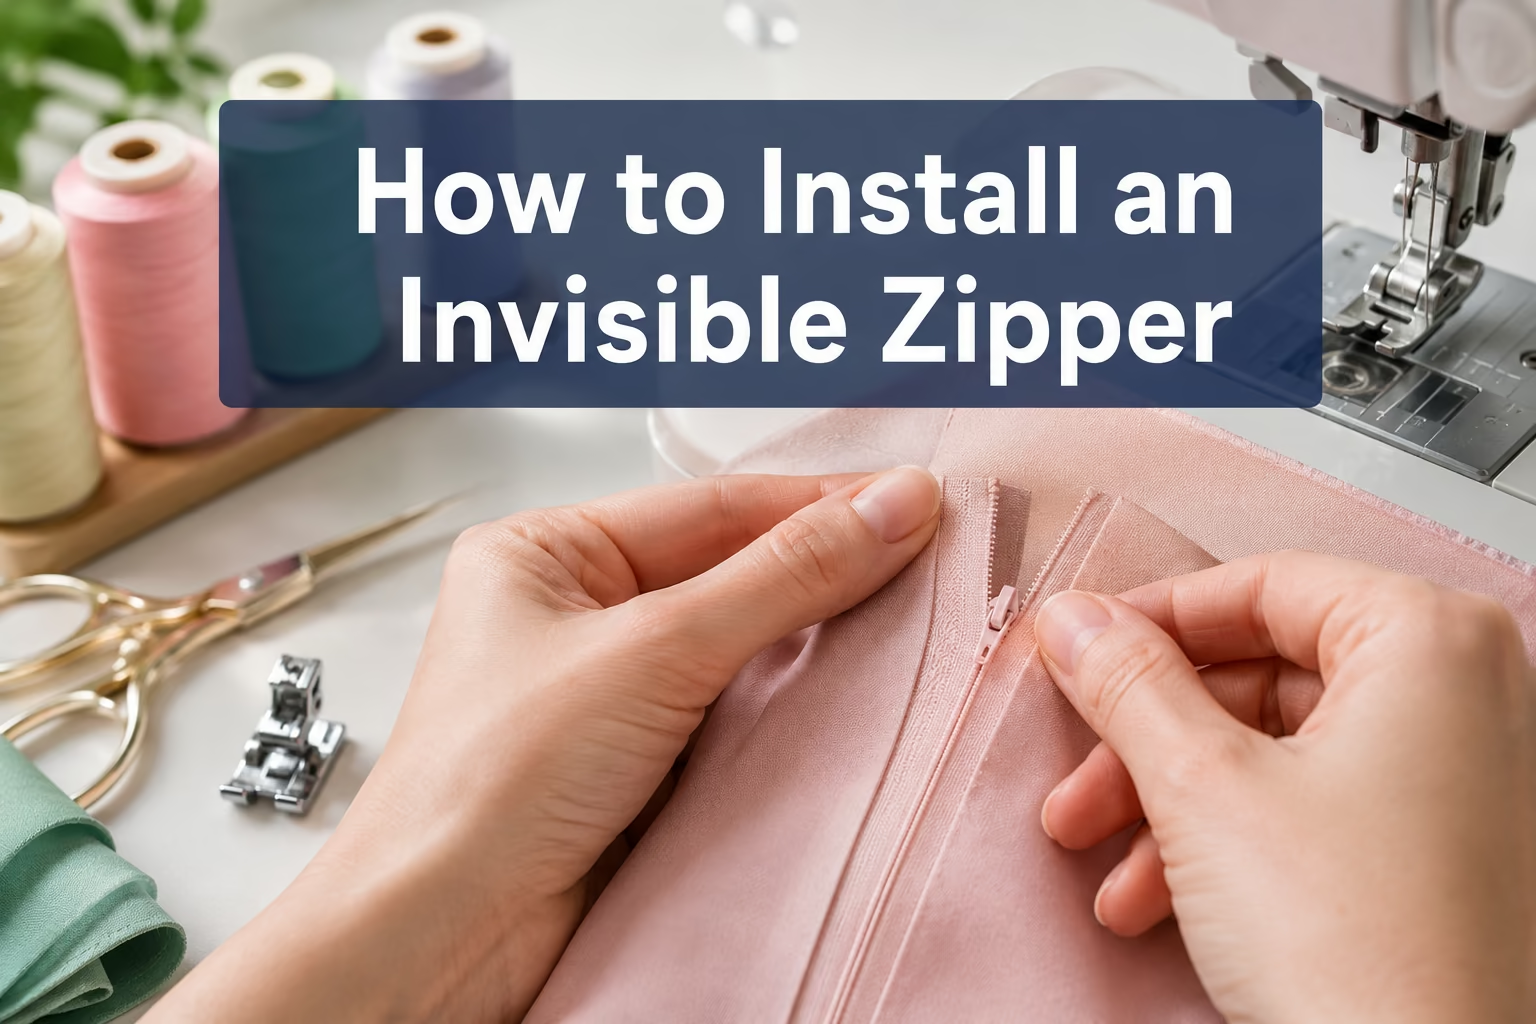
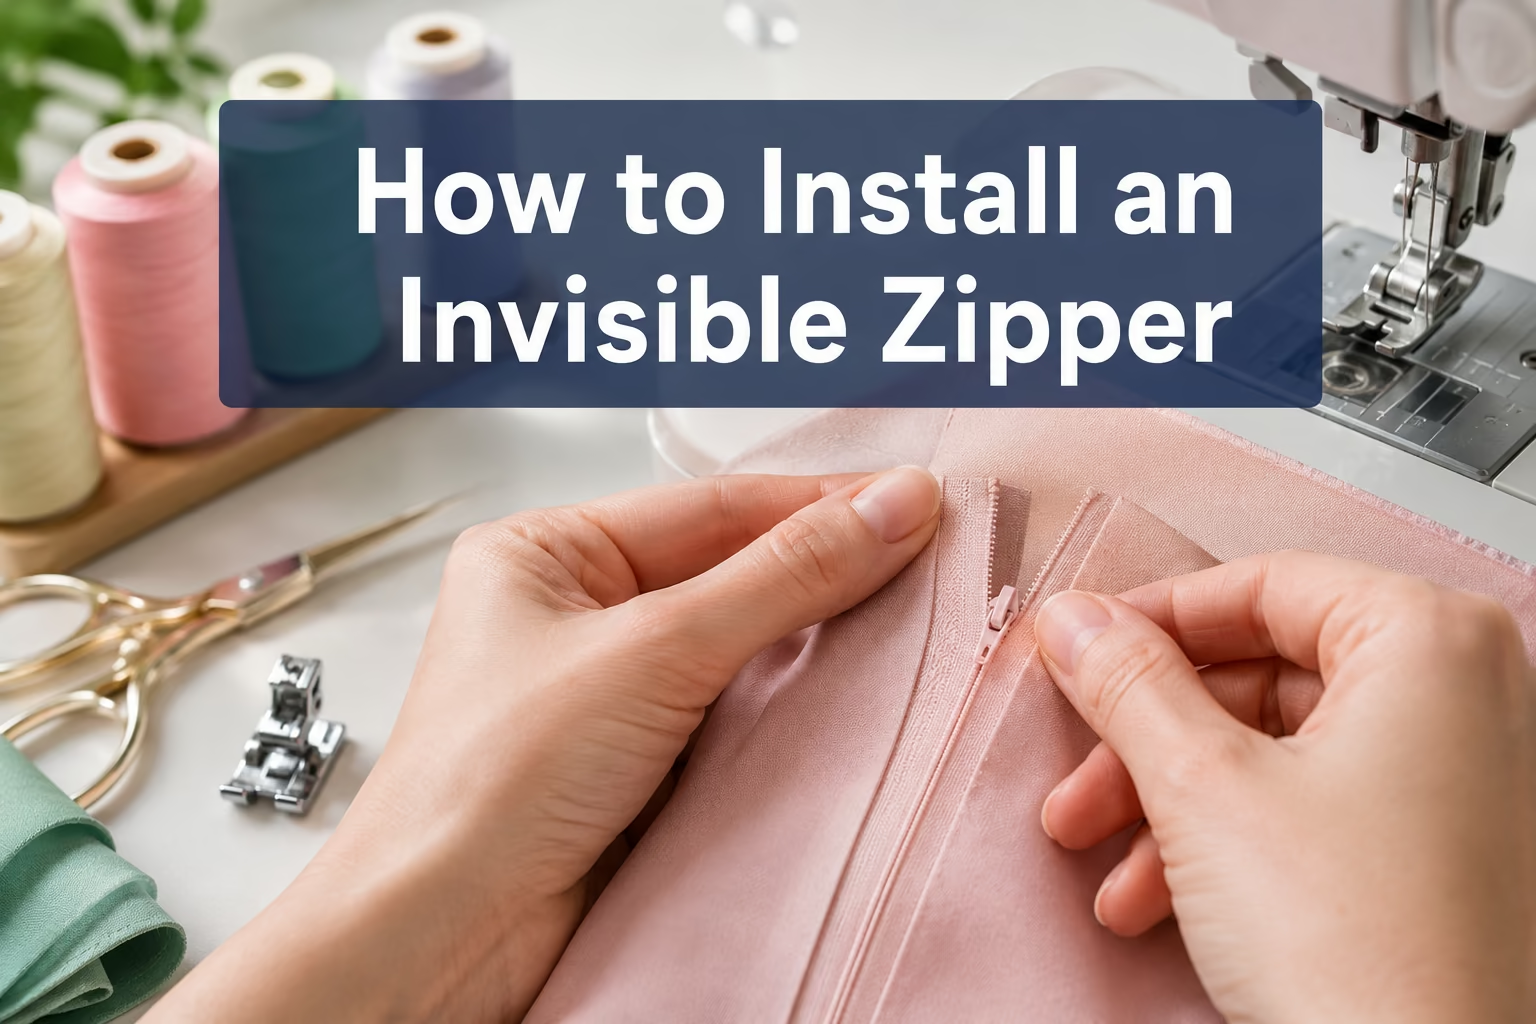
Quick Answer
Installing an invisible zipper requires sewing the zipper into the seam before closing the rest of the seam, using an invisible zipper foot to stitch close to the coiled teeth while they’re unrolled. The zipper is sewn face-down to the right side of the fabric, with each tape attached separately to opposite seam allowances. When done correctly, the zipper disappears into the seam and only the pull tab remains visible.
Key Takeaways
- Invisible zippers install differently: Sew the zipper first, then close the seam below it, unlike regular zippers that go in after the seam is sewn
- Special foot recommended: An invisible zipper foot with grooves unrolls the teeth for accurate stitching, though workarounds exist
- Seam allowance matters: Use 5/8-inch seam allowances for easiest installation; smaller allowances increase difficulty
- Press before sewing: Iron the zipper tape flat to unroll the coiled teeth before pinning to fabric
- Face-down installation: Pin the zipper right side down to the right side of fabric, opposite to regular zipper application
- Puckering has fixes: Wavy seams usually result from stretched fabric, incorrect tension, or sewing too far from the teeth
- Fabric compatibility: Works best on woven fabrics like cotton, linen, and lightweight wool; challenging on knits and very thick materials
- Cost-effective: Invisible zippers typically cost $2-8 each at fabric stores and online retailers
What Is an Invisible Zipper and How Is It Different from a Regular Zipper?
An invisible zipper has coiled teeth that sit behind the zipper tape rather than on top of it, making the zipper disappear into the seam when installed correctly. Only the small pull tab remains visible on the finished garment. Regular zippers have teeth mounted on the front of the tape and create a visible line of stitching and hardware on the garment’s right side.
The construction differences affect how each zipper type installs:
- Invisible zippers install with the zipper face-down on the right side of fabric, sewn before the seam is closed
- Regular zippers install after the seam is partially sewn, with the zipper face-up and topstitching visible
- Teeth position: Invisible zipper teeth hide behind the tape; regular zipper teeth sit on top
- Seam appearance: Invisible zippers create a continuous seam line; regular zippers interrupt the seam with visible hardware
- Common uses: Invisible zippers suit formal dresses, skirts, and garments where hardware shouldn’t show; regular zippers work for jeans, jackets, and casual wear where durability matters more than appearance
The invisible zipper’s hidden teeth make it more elegant but slightly less durable than a regular zipper of the same size. For most dresses and skirts, this trade-off favors appearance over the extra strength you’d need for heavy-duty applications.
What Tools Do You Need to Install an Invisible Zipper?
You need an invisible zipper (matching your garment length), an invisible zipper foot for your sewing machine, thread matching your fabric, pins or clips, scissors, an iron, and your sewing machine. The specialized foot is the most important tool because its grooves unroll the zipper teeth and guide your stitching right next to them.
Essential tools checklist:
- Invisible zipper foot: Has a groove on the underside that holds the coiled teeth while you sew
- Invisible zipper: Purchase one inch longer than the opening for ease of handling
- Iron and pressing surface: Critical for pressing the zipper tape flat before installation
- Pins or fabric clips: To hold the zipper in position without shifting
- Sharp scissors or seam ripper: For trimming and corrections
- Matching thread: Polyester or cotton thread that blends with your fabric
- Fabric marker or chalk: For marking seam lines if needed
- Regular zipper foot: To finish the seam below the zipper stop
Most invisible zipper feet are universal and fit standard low-shank machines, but check your machine’s compatibility before purchasing. The foot typically costs $5-15 and works for all future invisible zipper projects. If you sew frequently, this one-time investment pays for itself quickly.

【5 FEET. EVERY ZIPPER. ZERO STRESS】Wide. Narrow. Invisible. Concealed. This presser invisible zipper foot set has every zipper foot you'll ever need. No more running to the store mid-project because you don't have the right foot. Just grab the one you need and keep sewing.

👌Invisible zipper presser foot: Invisible zipper sewing machine presser foot allows you to easily and accurately make beautiful and professional hidden zippers. <br><br>

Invisible Zipper Presser Foot: Concealed Invisible Zipper Sewing Machine Presser Foot allows you to create beautiful and professional concealed zippers with ease and precision.
Do I Need a Special Foot to Sew an Invisible Zipper?
Yes, an invisible zipper foot makes installation significantly easier and produces better results because its grooves unroll the coiled teeth and position your needle exactly where it needs to stitch. While you can technically install an invisible zipper without this foot using a regular zipper foot, the results are usually less professional with the zipper more visible in the finished seam.
Why the specialized foot matters:
The invisible zipper foot has a groove or channel on its underside that holds the coiled zipper teeth upright and unrolled as you sew. This allows your needle to stitch in the narrow space right next to the teeth, which is what makes the zipper truly invisible. A regular zipper foot can’t unroll the teeth or guide your stitching as close, leaving a visible gap between the seam and the zipper.
If you must work without the special foot:
- Use a regular zipper foot positioned to sew as close as possible to the teeth
- Manually unroll the teeth with your fingernail or a pin as you sew
- Accept that the zipper will be slightly more visible than with the proper foot
- Sew slowly and check your positioning frequently
For beginners learning how to install an invisible zipper, investing in the proper foot eliminates frustration and produces results you’ll be proud to show off.

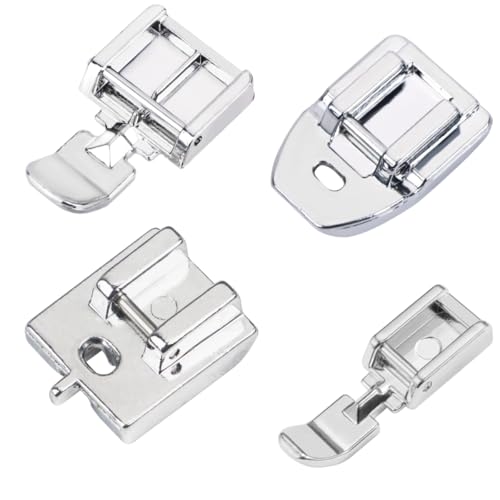
4 Essential Zipper Feet: Complete set includes wide zipper foot, narrow zipper foot, invisible zipper foot, and concealed zipper foot to handle every zipper sewing need

3 Style High Quality Concealed Invisible Zipper Presser Foot.

High Quality SA128 Concealed Zipper Foot For Brother
How Much Seam Allowance for Invisible Zipper Installation?
Use a 5/8-inch seam allowance for invisible zipper installation, which is the standard seam allowance for most commercial patterns and provides enough fabric width to accommodate the zipper tape and stitching. Smaller seam allowances like 1/2 inch work but require more precision, while larger allowances like 3/4 inch give you extra room for adjustments.
The seam allowance affects how the zipper sits in the finished garment:
- 5/8 inch (standard): Easiest for beginners, matches most pattern instructions, provides adequate fabric for the zipper tape width
- 1/2 inch: Works for lightweight fabrics but leaves less room for error; the zipper tape may extend beyond the seam allowance
- 3/4 inch or 1 inch: Gives extra insurance for thick fabrics or if you’re learning, but wastes fabric and may create bulk
Common mistake: Sewing the zipper with one seam allowance and the rest of the seam with a different allowance creates a jog in the seam line. Mark your seam allowance clearly before you start and maintain it consistently from the zipper through the entire seam.
For more guidance on choosing the right seam allowance for different projects, see our complete seam allowance guide.
Should I Install the Zipper Before or After Sewing the Seam?
Install the invisible zipper before sewing the seam closed. This is the opposite of regular zipper installation and is the key difference in technique. You sew each side of the zipper tape to the open seam allowances first, then use a regular zipper foot to close the seam below the zipper stop.
Correct installation sequence:
- Prepare the fabric: Press the seam allowances under at the zipper placement, but do not sew the seam yet
- Press the zipper: Use an iron to flatten the zipper tape and unroll the coiled teeth
- Pin first side: Place the zipper face-down on the right side of one fabric piece, aligning the teeth with the seam line
- Sew first side: Stitch close to the teeth using the invisible zipper foot
- Pin second side: Align the other zipper tape to the opposite fabric piece
- Sew second side: Stitch the second tape in place
- Close the seam: Switch to a regular zipper foot and sew the seam below the zipper, starting as close as possible to the zipper stitching
Why this order matters: The invisible zipper foot can only access the teeth when the seam is open. Once you close the seam, you can’t get the foot into position to sew close enough to the teeth. Trying to install an invisible zipper after sewing the seam results in visible gaps and puckering.
Step-by-Step: How to Install an Invisible Zipper
Installing an invisible zipper follows a specific sequence that differs from regular zipper application. Follow these steps for professional results every time.
Step 1: Prepare Your Fabric and Zipper
Press your fabric pieces and mark the seam line where the zipper will go. Do not sew this seam yet. Press the zipper tape flat with a warm iron (not too hot or you’ll melt the coils), which unrolls the teeth and makes them easier to sew next to. The zipper should be at least 1 inch longer than your opening.
Step 2: Position the First Zipper Tape
Open the zipper completely. Place the zipper face-down on the right side of the fabric, with the coiled teeth aligned exactly on the seam line. The zipper tape should extend into the seam allowance, and the top of the zipper should align with the top edge of your fabric (or 5/8 inch below the top if you have a facing or waistband). Pin or clip in place.
Step 3: Sew the First Side
Attach your invisible zipper foot. Lower the foot so the coiled teeth sit in the groove. Sew from the top of the zipper down toward the zipper stop, keeping the teeth in the foot’s groove. Sew as far as you can until the zipper foot hits the zipper pull, typically stopping about 2 inches from the bottom. Backstitch to secure.
Step 4: Attach the Second Zipper Tape
Close the zipper. Align the second fabric piece right sides together with the first, matching the seam line. Open the zipper again. Position the unsewn zipper tape face-down on the second fabric piece, aligning the teeth with the seam line. Pin in place, making sure the fabric pieces align correctly at the top and bottom.
Step 5: Sew the Second Side
Sew the second zipper tape exactly like the first, starting from the top and sewing as close as possible to the teeth until you reach the zipper pull. The stitching should be parallel to the first side. Backstitch to secure.
Step 6: Close the Seam Below the Zipper
Close the zipper. Switch to a regular zipper foot or standard presser foot. Starting just above where your zipper stitching ended, sew the rest of the seam closed using your standard seam allowance. Try to start as close as possible to the zipper stitching to avoid a gap, but don’t stress if there’s a tiny gap, it won’t show when the zipper is closed.
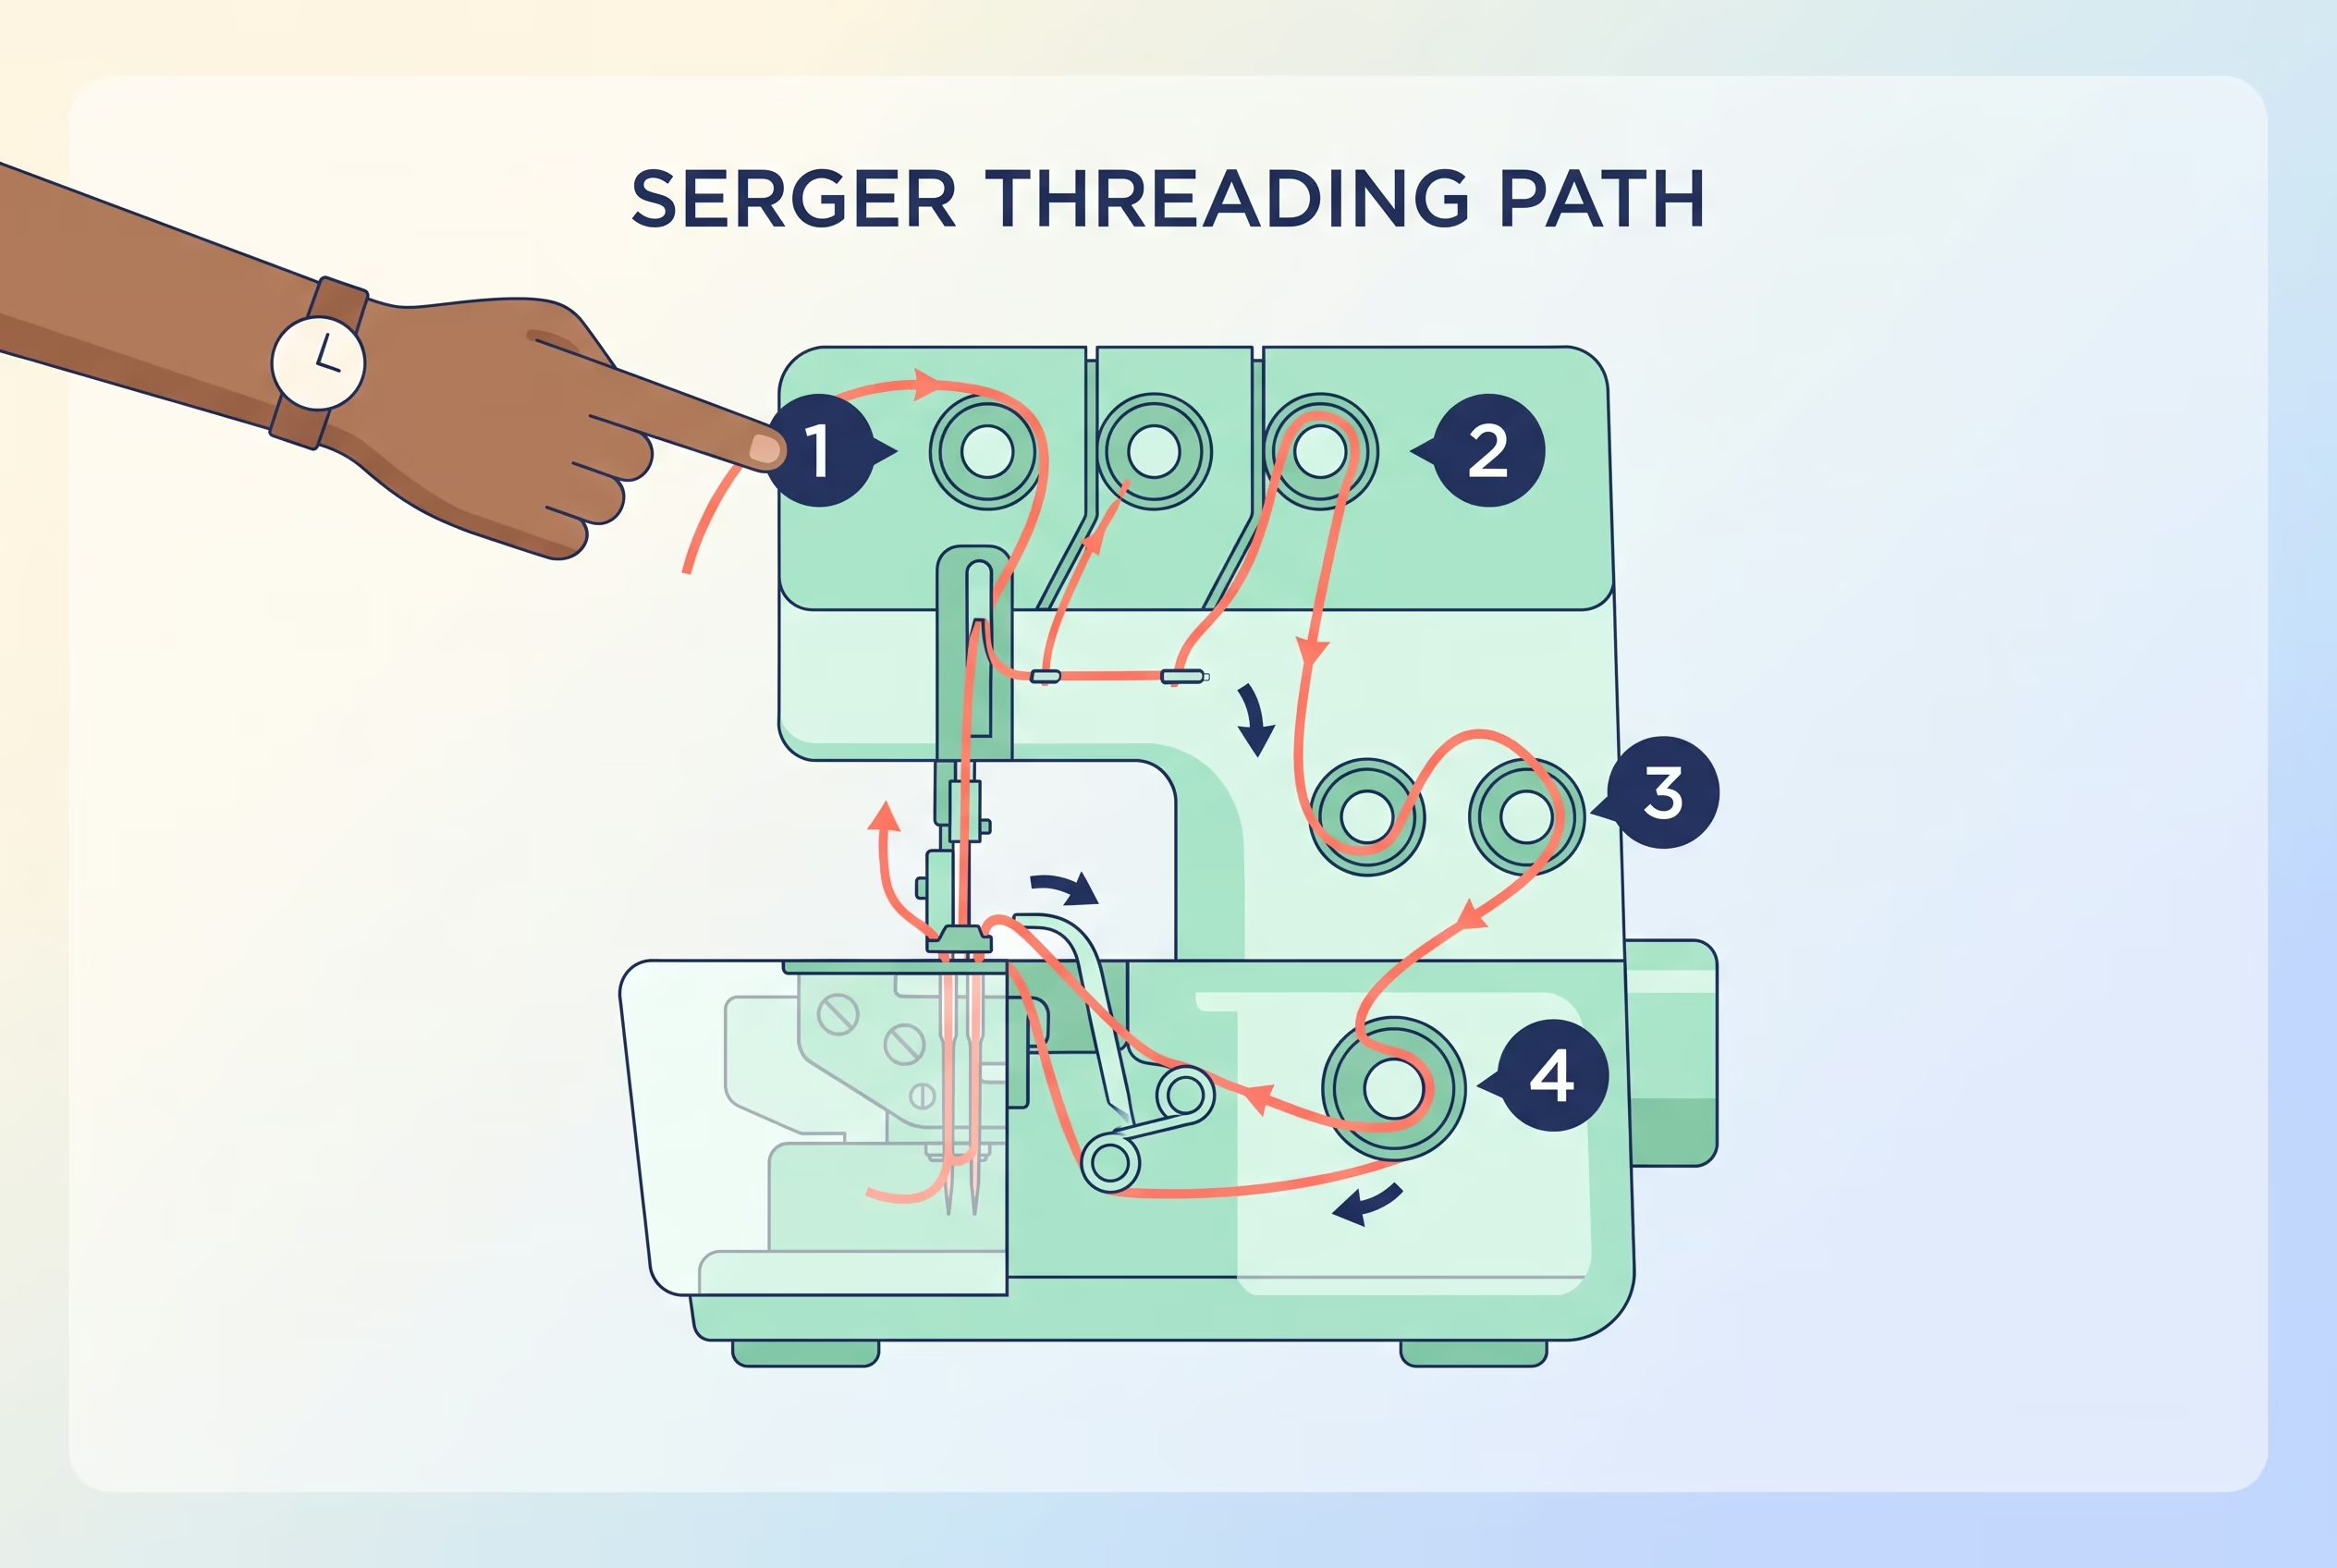
Step 7: Finish the Seam Allowances
Press the seam allowances open below the zipper. Finish the raw edges with your preferred seam finishing method (serging, zigzag, or pinking). Press the entire seam from the right side, being careful not to melt the zipper teeth with a too-hot iron.
Invisible Zipper vs Regular Zipper: Which Is Easier to Sew?
Regular zippers are generally easier for beginners because they’re more forgiving of small mistakes and don’t require a specialized foot. Invisible zippers demand more precision in positioning and pressing, but once you understand the technique, they’re not significantly harder, just different. The learning curve for invisible zippers is steeper initially but levels off quickly with practice.
Difficulty comparison:
| Aspect | Invisible Zipper | Regular Zipper |
|---|---|---|
| Specialized foot needed | Yes, strongly recommended | Optional, helpful but not essential |
| Positioning precision | High, teeth must align exactly with seam line | Moderate, some wiggle room |
| Installation sequence | Zipper first, then seam | Seam first, then zipper |
| Pressing requirements | Critical, must press tape flat | Minimal |
| Visibility of mistakes | Low, errors hide in the seam | High, topstitching shows everything |
| Durability | Good for dresses, lighter use | Better for high-stress areas |
| Learning curve | Steeper initially | Gentler |
Choose invisible zippers when: You want a clean, elegant finish on dresses, skirts, or formal wear where the zipper shouldn’t be a design element. The hidden installation is worth the extra care.
Choose regular zippers when: You need maximum durability (jeans, jackets, bags), want the zipper to be a visible design feature, or are working with very thick or difficult fabrics.
For most garment sewing, learning how to install an invisible zipper expands your skills and opens up more pattern options, especially for dresses and formalwear.
What Fabrics Work Best with Invisible Zippers?
Invisible zippers work best on lightweight to medium-weight woven fabrics like cotton, linen, rayon, lightweight wool, and silk because these fabrics press well and don’t add bulk to the seam. The zipper tape lays flat against these materials, and the teeth hide completely in the seam. Avoid very thick fabrics, heavy knits, or stretchy materials that won’t hold the zipper securely.
Ideal fabric choices:
- Cotton and cotton blends: Quilting cotton, poplin, broadcloth, lawn
- Linen and linen blends: Dress-weight linen, linen-rayon
- Lightweight wool: Wool crepe, tropical wool, wool challis
- Silk and silk-like fabrics: Silk charmeuse, habotai, rayon, polyester crepe
- Stable knits: Ponte knit, scuba knit (with stabilizer tape on the seam)
Challenging fabrics:
- Heavy denim or canvas: Too thick; the zipper tape won’t lay flat
- Stretchy knits: Jersey, interlock (zipper will ripple unless you stabilize the seam with twill tape)
- Sheer fabrics: Organza, chiffon (zipper tape shows through; use a regular zipper instead)
- Pile fabrics: Velvet, corduroy (fibers catch in the zipper teeth)
- Leather or vinyl: Too stiff; regular zippers work better
Pro tip: When working with knit fabrics, stabilize the seam allowance with a strip of lightweight fusible interfacing or twill tape before installing the invisible zipper. This prevents the fabric from stretching and creating waves.
Why Does My Invisible Zipper Pucker After Sewing?
Puckering happens when the fabric stretches during sewing, when thread tension is too tight, or when the zipper tape isn’t pressed flat before installation. The most common cause is pulling or stretching the fabric as you guide it through the machine, which creates excess fabric that bunches up along the seam. Incorrect thread tension pulls the fabric into waves.
Common causes and fixes:
- Stretched fabric during sewing: Let the machine feed the fabric naturally without pulling or pushing. Use pins to hold the zipper in place and remove them just before the needle reaches them.
- Thread tension too tight: Reduce your upper thread tension slightly. Test on scrap fabric with the same zipper until the seam lays flat.
- Zipper tape not pressed: Always press the zipper tape flat with an iron before pinning. Unpressed tape has curled edges that create bulk.
- Sewing too far from teeth: Stitching too far from the teeth leaves a gap that shows and can cause the fabric to pucker. Use the invisible zipper foot’s groove to guide your stitching.
- Mismatched fabric pieces: If the two fabric pieces aren’t cut identically or aren’t aligned properly, one side will have excess fabric that puckers. Pin carefully and check alignment before sewing.
How to fix a puckered zipper: Remove the stitching with a seam ripper, press the fabric and zipper flat, and reinstall the zipper with correct tension and no stretching. It’s frustrating but yields better results than trying to live with a wavy seam.
How to Fix a Wavy Seam After Installing an Invisible Zipper
A wavy seam after installing an invisible zipper usually means the fabric was stretched during sewing or the seam allowances weren’t pressed properly. The best fix is to remove the zipper stitching, press everything flat, stabilize the seam if needed, and reinstall the zipper without stretching the fabric. Prevention is easier than fixing, but wavy seams are repairable.
Step-by-step fix:
- Remove the zipper: Use a seam ripper to carefully remove the stitching on both sides of the zipper. Work slowly to avoid damaging the fabric or zipper.
- Press everything flat: Press the fabric pieces and the zipper tape with steam to remove any waves or distortion.
- Stabilize if needed: If your fabric is stretchy or bias-cut, fuse a strip of lightweight interfacing to the wrong side of the seam allowance before reinstalling.
- Reinstall carefully: Follow the installation steps again, this time letting the machine feed the fabric naturally without any pulling or pushing from your hands.
- Check tension: If the waves return, your thread tension is too tight. Reduce it and test on scraps.
Prevention tips: Use a walking foot if your fabric is slippery or stretchy (though you’ll need to switch to the invisible zipper foot for the actual zipper installation). Pin generously to prevent shifting. Sew slowly and stop frequently to check that the fabric isn’t bunching.
For more troubleshooting help with common sewing issues, see our guide on why thread bunches under fabric.
Can I Install an Invisible Zipper Without an Invisible Zipper Foot?
Yes, you can install an invisible zipper without the specialized foot by using a regular zipper foot and manually unrolling the teeth as you sew, but the results will be less professional with the zipper more visible in the finished seam. The regular zipper foot can’t get as close to the teeth, leaving a small gap that shows when the zipper is closed. For occasional projects, this workaround is acceptable, but for best results, invest in the proper foot.
Workaround technique:
- Press the zipper tape thoroughly to unroll the teeth as much as possible
- Use your fingernail or a pin to hold the teeth unrolled as you position the fabric
- Attach a regular zipper foot and position it as close as possible to the teeth
- Sew slowly, using your fingers to keep the teeth unrolled and out of the way
- Accept that the zipper will be slightly more visible than with the proper foot
When this works well enough: If you’re making a muslin or test garment, sewing for yourself rather than a client, or working with a print fabric where a slightly visible zipper won’t show much, the regular zipper foot produces acceptable results.
When to use the proper foot: For formal wear, gifts, garments you’re selling, or any project where you want truly invisible results, the specialized invisible zipper foot is worth the $5-15 investment. It pays for itself in time saved and frustration avoided.
Is an Invisible Zipper Strong Enough for Pants?
Invisible zippers are strong enough for most pants, especially dress pants, trousers, and lightweight casual pants, but they’re not ideal for jeans or heavy-duty work pants that experience high stress at the fly. The zipper’s strength depends on its length, the quality of the teeth, and whether the seam experiences constant tension. For most garment sewing, a 7-inch or 9-inch invisible zipper provides adequate strength.
Strength considerations:
- Dress pants and trousers: Invisible zippers work perfectly and create a clean, professional finish
- Lightweight casual pants: Chinos, linen pants, summer pants, invisible zippers are fine
- Jeans and heavy denim: Use a regular metal zipper for durability; the fly experiences too much stress for an invisible zipper
- Skirts and dresses: Invisible zippers are ideal and plenty strong for these applications
- Children’s clothing: Invisible zippers work well and are strong enough for typical wear
Durability factors: A quality invisible zipper from a reputable brand (YKK, Coats & Clark) is stronger than a cheap one. Longer zippers distribute stress better than short ones. Proper installation with stitching close to the teeth also improves strength.
When to choose a regular zipper instead: If the garment will be worn by someone who’s hard on clothes, if it’s workwear or activewear, or if the zipper is in a high-stress area like a tight-fitting fly, use a regular zipper for peace of mind.
Where to Buy Invisible Zippers and How Much Do They Cost?
Buy invisible zippers at fabric stores (Joann, Hobby Lobby), online retailers (Amazon, Wawak, Mood Fabrics), or directly from zipper manufacturers (YKK). Prices range from $2-8 per zipper depending on length, quality, and where you buy. Buying in multi-packs online often reduces the per-zipper cost to $1-3, making them affordable for frequent sewers.
Where to shop:
- Local fabric stores: Joann, Hobby Lobby, independent fabric shops, convenient but limited color selection, typically $3-6 per zipper
- Online fabric retailers: Mood Fabrics, Wawak, Fabric.com, wider color selection, bulk discounts, $2-5 per zipper
- Amazon: Convenient, fast shipping, multi-packs available, $1.50-4 per zipper in packs
- Zipper manufacturers: YKK direct, Coats & Clark, best quality, professional-grade, $3-8 per zipper
Price factors:
- Length: 7-inch zippers cost less than 22-inch zippers
- Brand: YKK costs more but offers better quality and durability
- Quantity: Buying 10-packs reduces per-zipper cost significantly
- Color: Common colors (black, white, navy) cost less than specialty colors
Pro tip: Stock up on common colors in your most-used lengths (9-inch, 14-inch, 22-inch) when they’re on sale. Having zippers on hand eliminates the frustration of stopping a project to wait for shipping.
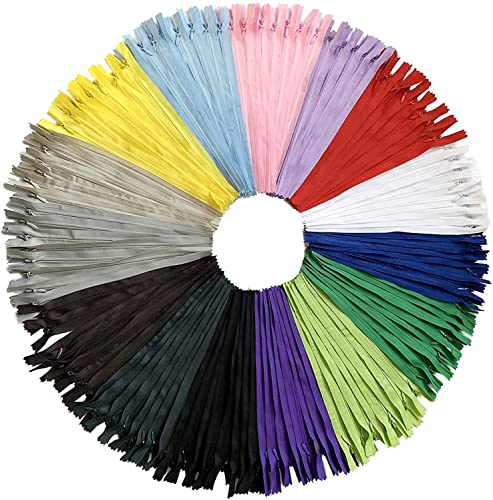
Invisible Zippers Colorful Zippers kit : 15 assorted Invisible colors(each colors x 2 pieces zippers).

Color: 20 Colors of white, yellow, lemon yellow, red, wine red, orange, pink, rose red, green, deep green, light green, sky blue, light blue, deep blue, purple, light purple, grey, black, beige, light brown

Zippers kit : 10 pieces zippers, as shown in the picture.
Common Mistakes When Sewing Invisible Zippers for Beginners
The most common mistakes beginners make when learning how to install an invisible zipper include not pressing the zipper tape flat, sewing too far from the teeth, installing the zipper after sewing the seam, and using incorrect thread tension. These errors make the zipper visible, create puckering, or result in a gap in the seam. Understanding these pitfalls helps you avoid them.
Top mistakes and how to avoid them:
Skipping the pressing step: Always press the zipper tape flat before pinning. Unpressed tape has curled edges that prevent close stitching.
Sewing the seam first: Install the invisible zipper before closing the seam, not after. This is the opposite of regular zipper installation.
Not using the invisible zipper foot: The specialized foot is essential for professional results. A regular foot can’t get close enough to the teeth.
Stitching too far from the teeth: The stitching should be right next to the coiled teeth, in the narrow space the invisible zipper foot creates. Stitching too far away leaves a visible gap.
Pulling or stretching the fabric: Let the machine feed the fabric naturally. Pulling creates waves and puckering.
Misaligning the fabric pieces: Pin carefully to ensure both fabric pieces align at the top, bottom, and along the seam line. Misalignment creates uneven seams.
Wrong thread tension: Too-tight tension pulls the fabric into waves. Test on scraps and adjust as needed.
Not backstitching: Secure the beginning and end of your stitching with backstitches to prevent the zipper from pulling out.
Forgetting to open the zipper: Open the zipper before sewing the second side, or you won’t be able to turn the garment right side out.
Using the wrong seam allowance: Maintain consistent seam allowance throughout the zipper and the rest of the seam to avoid jogs.
Learning curve tip: Practice on scrap fabric with a spare zipper before installing one in your actual project. The practice run builds confidence and helps you understand how the foot and zipper work together.
FAQ
How long does it take to install an invisible zipper?
Installing an invisible zipper takes 15-30 minutes for experienced sewers and 45-60 minutes for beginners. The time includes pressing the zipper, pinning both sides, sewing, and closing the seam below the zipper. With practice, the process becomes faster and more intuitive.
Can you shorten an invisible zipper?
Yes, shorten an invisible zipper by sewing several tight zigzag stitches across the teeth at your desired length to create a new stop, then cutting off the excess below the new stop. This works best when you need to shorten by 1-3 inches. For longer adjustments, buy the correct length.
Do invisible zippers work on stretch fabrics?
Invisible zippers work on stable knits like ponte or scuba knit if you stabilize the seam allowance with fusible interfacing or twill tape before installing. Very stretchy knits like jersey are challenging because the fabric stretches and creates waves. For maximum stretch, use a regular zipper instead.
What’s the difference between an invisible zipper and a concealed zipper?
An invisible zipper and a concealed zipper are the same thing, different terms for a zipper with coiled teeth that hide behind the tape. Some patterns use “concealed,” others use “invisible,” but they refer to the same zipper type and installation method.
Can you install an invisible zipper by hand?
Yes, you can hand-sew an invisible zipper using a backstitch or prick stitch close to the teeth, but it’s time-consuming and difficult to achieve the precision needed for truly invisible results. Machine sewing with the proper foot produces better, faster results for most sewers.
Why won’t my zipper close smoothly after installation?
If the zipper won’t close smoothly, the two sides may be misaligned, the stitching may be too close to the teeth (catching them), or the fabric may be caught in the zipper. Check that both fabric pieces align correctly and that no threads or fabric are trapped in the teeth.
How do you install an invisible zipper in a dress with a lining?
Install the invisible zipper in the fashion fabric first, then hand-sew the lining to the zipper tape using a slip stitch or fell stitch. The lining should cover the zipper tape on the inside, creating a clean finish. Some sewers prefer to catch the lining in the machine stitching, but hand-sewing gives more control.
Can you use an invisible zipper in a pillow?
Yes, invisible zippers work beautifully in pillow covers, creating a seamless look with no visible hardware. Install the zipper in one seam before sewing the pillow together. This technique is popular for decorative throw pillows where you want a clean, professional finish.
What size invisible zipper do I need?
Choose an invisible zipper 1-2 inches longer than your opening for ease of installation. Common lengths are 7, 9, 14, 18, and 22 inches. For dresses, 22 inches is standard for a center-back zipper. For skirts, 7 or 9 inches works for side or back zippers.
How do you remove an invisible zipper without damaging fabric?
Use a seam ripper to carefully cut the stitches on both sides of the zipper, working slowly to avoid cutting the fabric. Slide the ripper under each stitch and cut upward. Remove all thread bits with tweezers or tape. Press the fabric flat before reinstalling a new zipper.
Do you need to interface the seam for an invisible zipper?
Interfacing isn’t required for most woven fabrics, but it helps stabilize knits, bias-cut seams, or very lightweight fabrics that tend to stretch. Fuse a 1-inch strip of lightweight interfacing to the wrong side of the seam allowance before installing the zipper if your fabric needs extra support.
Can you install an invisible zipper with a walking foot?
No, a walking foot is too wide to get close enough to the invisible zipper teeth. Use the specialized invisible zipper foot for the zipper installation, but you can use a walking foot to sew the seam below the zipper if your fabric is slippery or thick.
Conclusion
Learning how to install an invisible zipper transforms your garment sewing by giving you access to elegant, professional finishes on dresses, skirts, and formal wear. While the technique differs from regular zipper installation, requiring you to sew the zipper before closing the seam, the process becomes intuitive with practice. The key steps are pressing the zipper tape flat, using an invisible zipper foot to stitch close to the teeth, and maintaining consistent seam allowances throughout the installation.
Start with a practice zipper on scrap fabric to build confidence before tackling your actual project. Invest in a quality invisible zipper foot, it’s the single most important tool for success and costs less than $15. Choose woven fabrics for your first attempts, and don’t skip the pressing step. With these fundamentals in place, you’ll achieve professional results that make your handmade garments look store-bought.
Next steps: Purchase an invisible zipper foot if you don’t have one, practice the technique on scrap fabric, and choose a simple dress or skirt pattern that calls for an invisible zipper. The skills you build now will serve you for years of beautiful sewing projects ahead.


