Quick Answer: Learning how to sew a straight line requires practicing proper hand positioning, watching the seam guide instead of the needle, and using consistent fabric feeding techniques. Most beginners can achieve consistently straight seams within 2-4 hours of focused practice using simple drills on paper or scrap fabric, starting at slow speeds and gradually building muscle memory.
Key Takeaways
- Watch the seam guide, not the needle, your eyes should track the fabric edge along the marked guide on your machine’s throat plate
- Practice on paper first, printed lines give instant visual feedback without wasting fabric or thread
- Start slow, use the slowest machine speed or hand-wheel control until muscle memory develops
- Hands guide, don’t push, gentle steering from the sides prevents fabric distortion and needle deflection
- Consistent seam allowances matter more than perfection, even slightly wavy stitches are fine if they maintain the same distance from the edge
- Fabric choice affects difficulty, medium-weight quilting cotton is easiest for beginners; slippery or stretchy fabrics require more experience
- Most beginners need 2-4 hours of drill practice to develop reliable straight-seam skills
- Machine settings should be simple, straight stitch, medium length (2.5-3mm), moderate tension, and all-purpose presser foot
What Is the Best Way to Practice Sewing Straight Lines as a Beginner
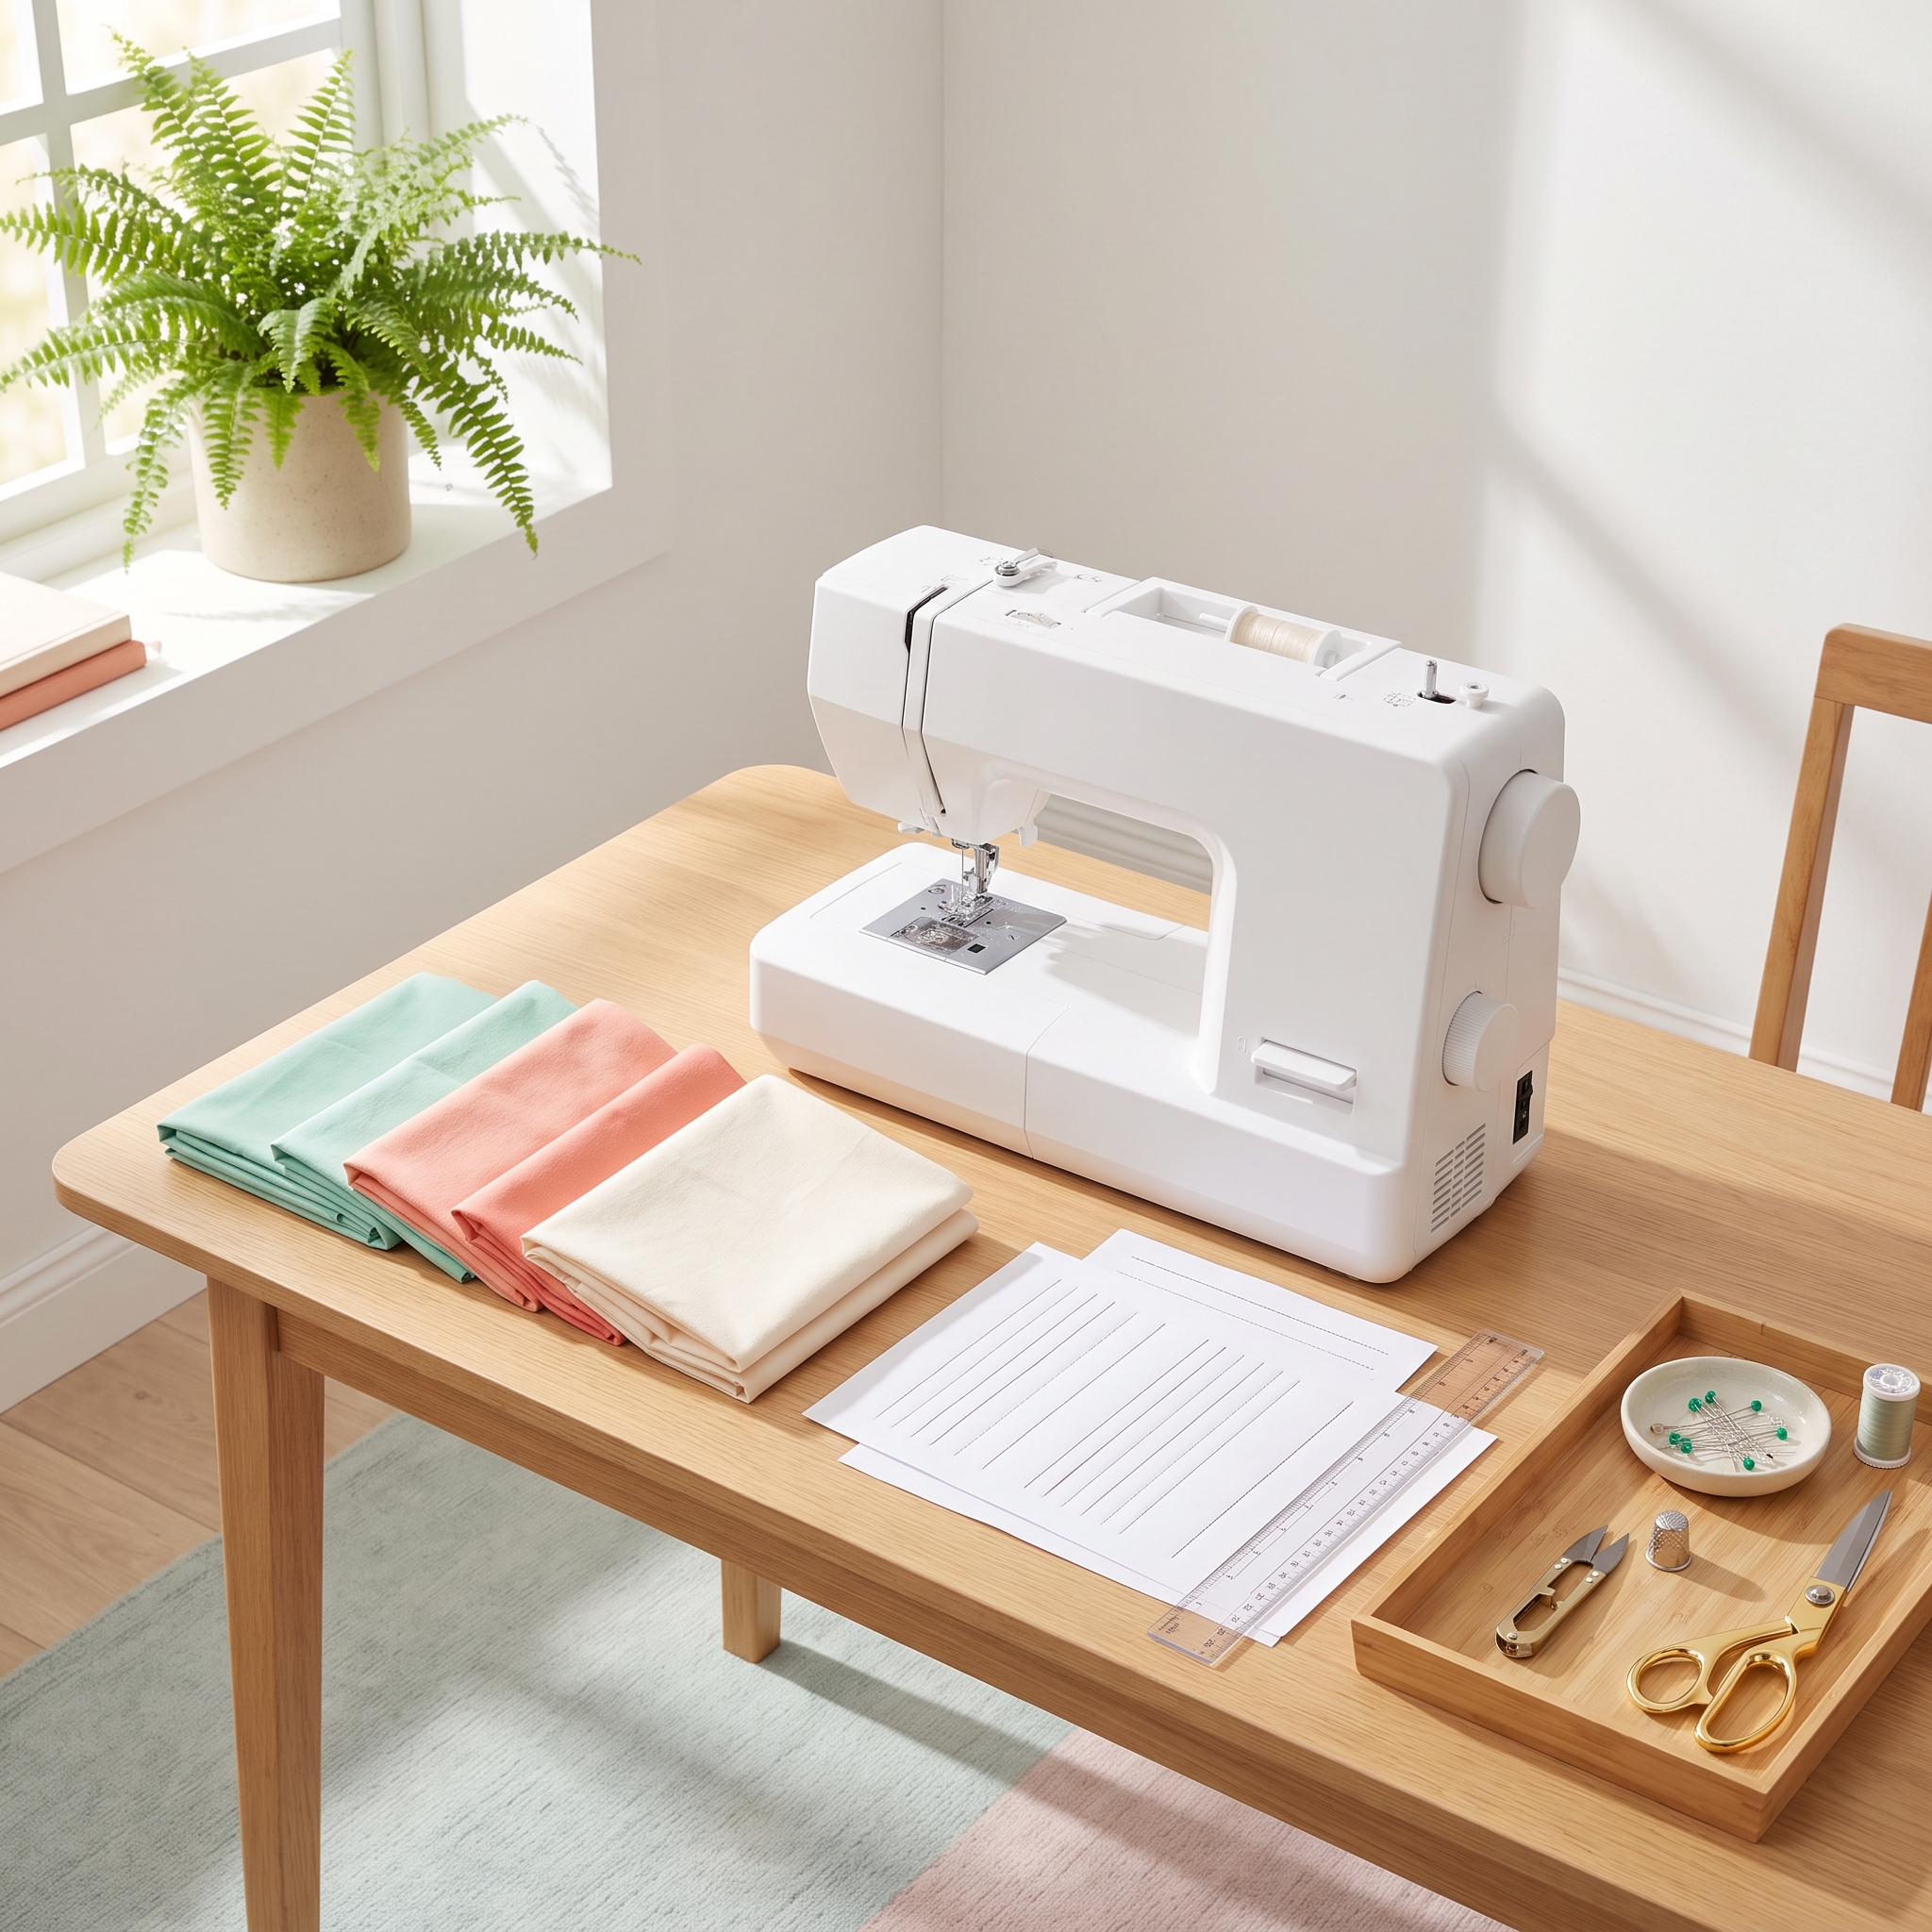
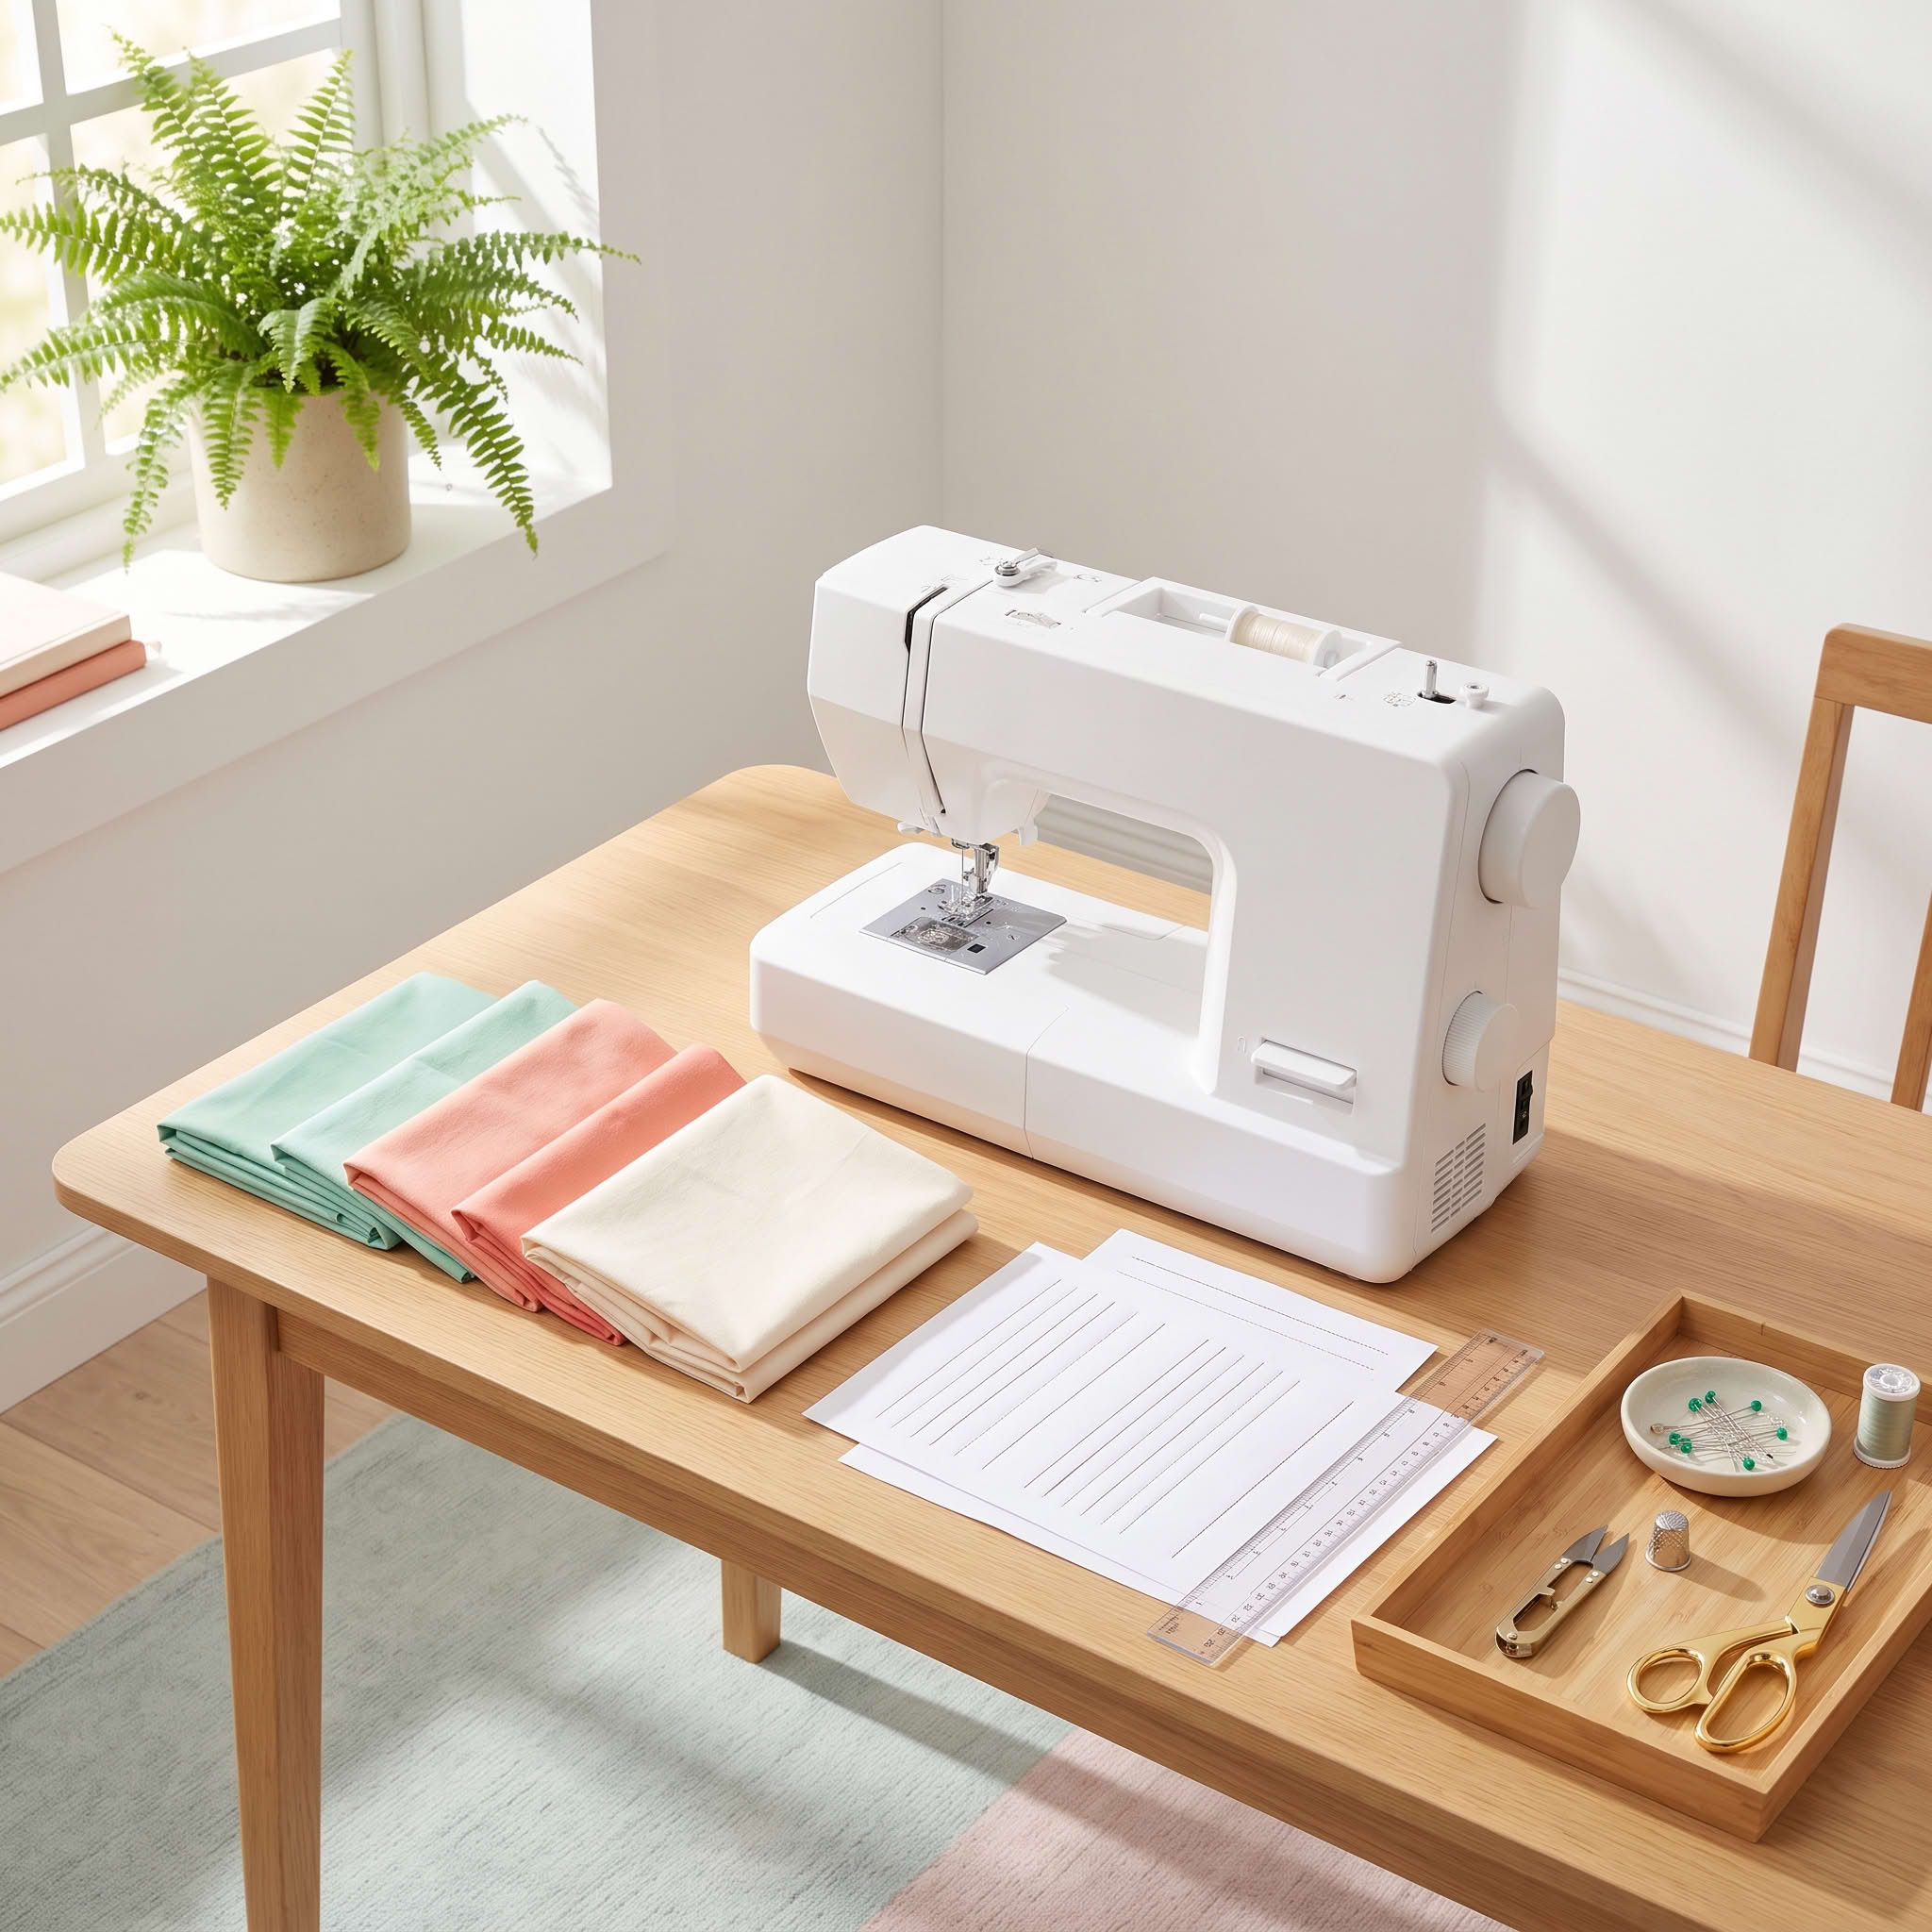
The most effective practice method combines paper drills with fabric exercises, starting with unthreaded machine practice to build confidence. Begin by printing or drawing straight lines on paper, then “sew” along them with an unthreaded machine to focus purely on steering without worrying about thread tension or stitch quality.
Recommended practice progression:
- Unthreaded paper drills (15-20 minutes), sew along printed straight lines, curves, and zigzags to develop hand-eye coordination
- Threaded paper practice (10-15 minutes), repeat with thread to see your actual stitch path and identify steering errors
- Scrap fabric with drawn lines (20-30 minutes), use washable fabric markers to draw guidelines on muslin or cotton
- Seam guide practice (30+ minutes), sew parallel lines using only the throat plate markings, no drawn lines
- Real seam practice (ongoing), join two fabric pieces with consistent seam allowances
Pro tip: Practice in 15-minute focused sessions rather than marathon hours. Your hands and eyes fatigue quickly when learning new motor skills, and shorter sessions with breaks produce better muscle memory retention.
The key advantage of paper practice is immediate visual feedback. When your stitch line veers off the printed line, you see the error instantly and can correct your hand position. This creates a faster learning loop than fabric-only practice where you might not notice subtle drift until you’ve sewn several inches.

✅Newly Upgraded Sewing Kit- Including more than 200pcs sewing accessories in this sewing set -43XL sewing thread ( Extra Black & White threads,5 rainbown threads ,and the length has been upgraded from 120 yards to 150 yards),2 Professional scissors,1 seam ripper ,1 pin cushion,1 tape mesure,30 needles,30 buttons etc.

Complete Sewing Kit-The travel sewing kit contains all the necessary tools that are required for performing basic repairs-a scissor, threads (18 colors), 30 sewing needles, shirt buttons, seam ripper, needle threader tools and a foldable tape measure.

【Package includes】- 1 pcs curved nose tweezers, 1 pcs double-ended fluff brush, 1 pcs needle board screwdriver and 4 pcs screwdrivers, 7 pcs in total. Different styles of screwdrivers, a sufficient number of tools are sufficient for your daily cleaning and repair needs.
How Do I Keep My Fabric From Shifting When Sewing Straight
Fabric shifting happens when uneven pressure, incorrect handling, or feed dog issues cause the top and bottom layers to move at different speeds. The solution involves proper pinning, correct hand positioning, and ensuring your machine’s feed dogs are working correctly.
Essential techniques to prevent shifting:
- Pin perpendicular to the seam line every 2-3 inches, with pin heads toward the fabric edge for easy removal
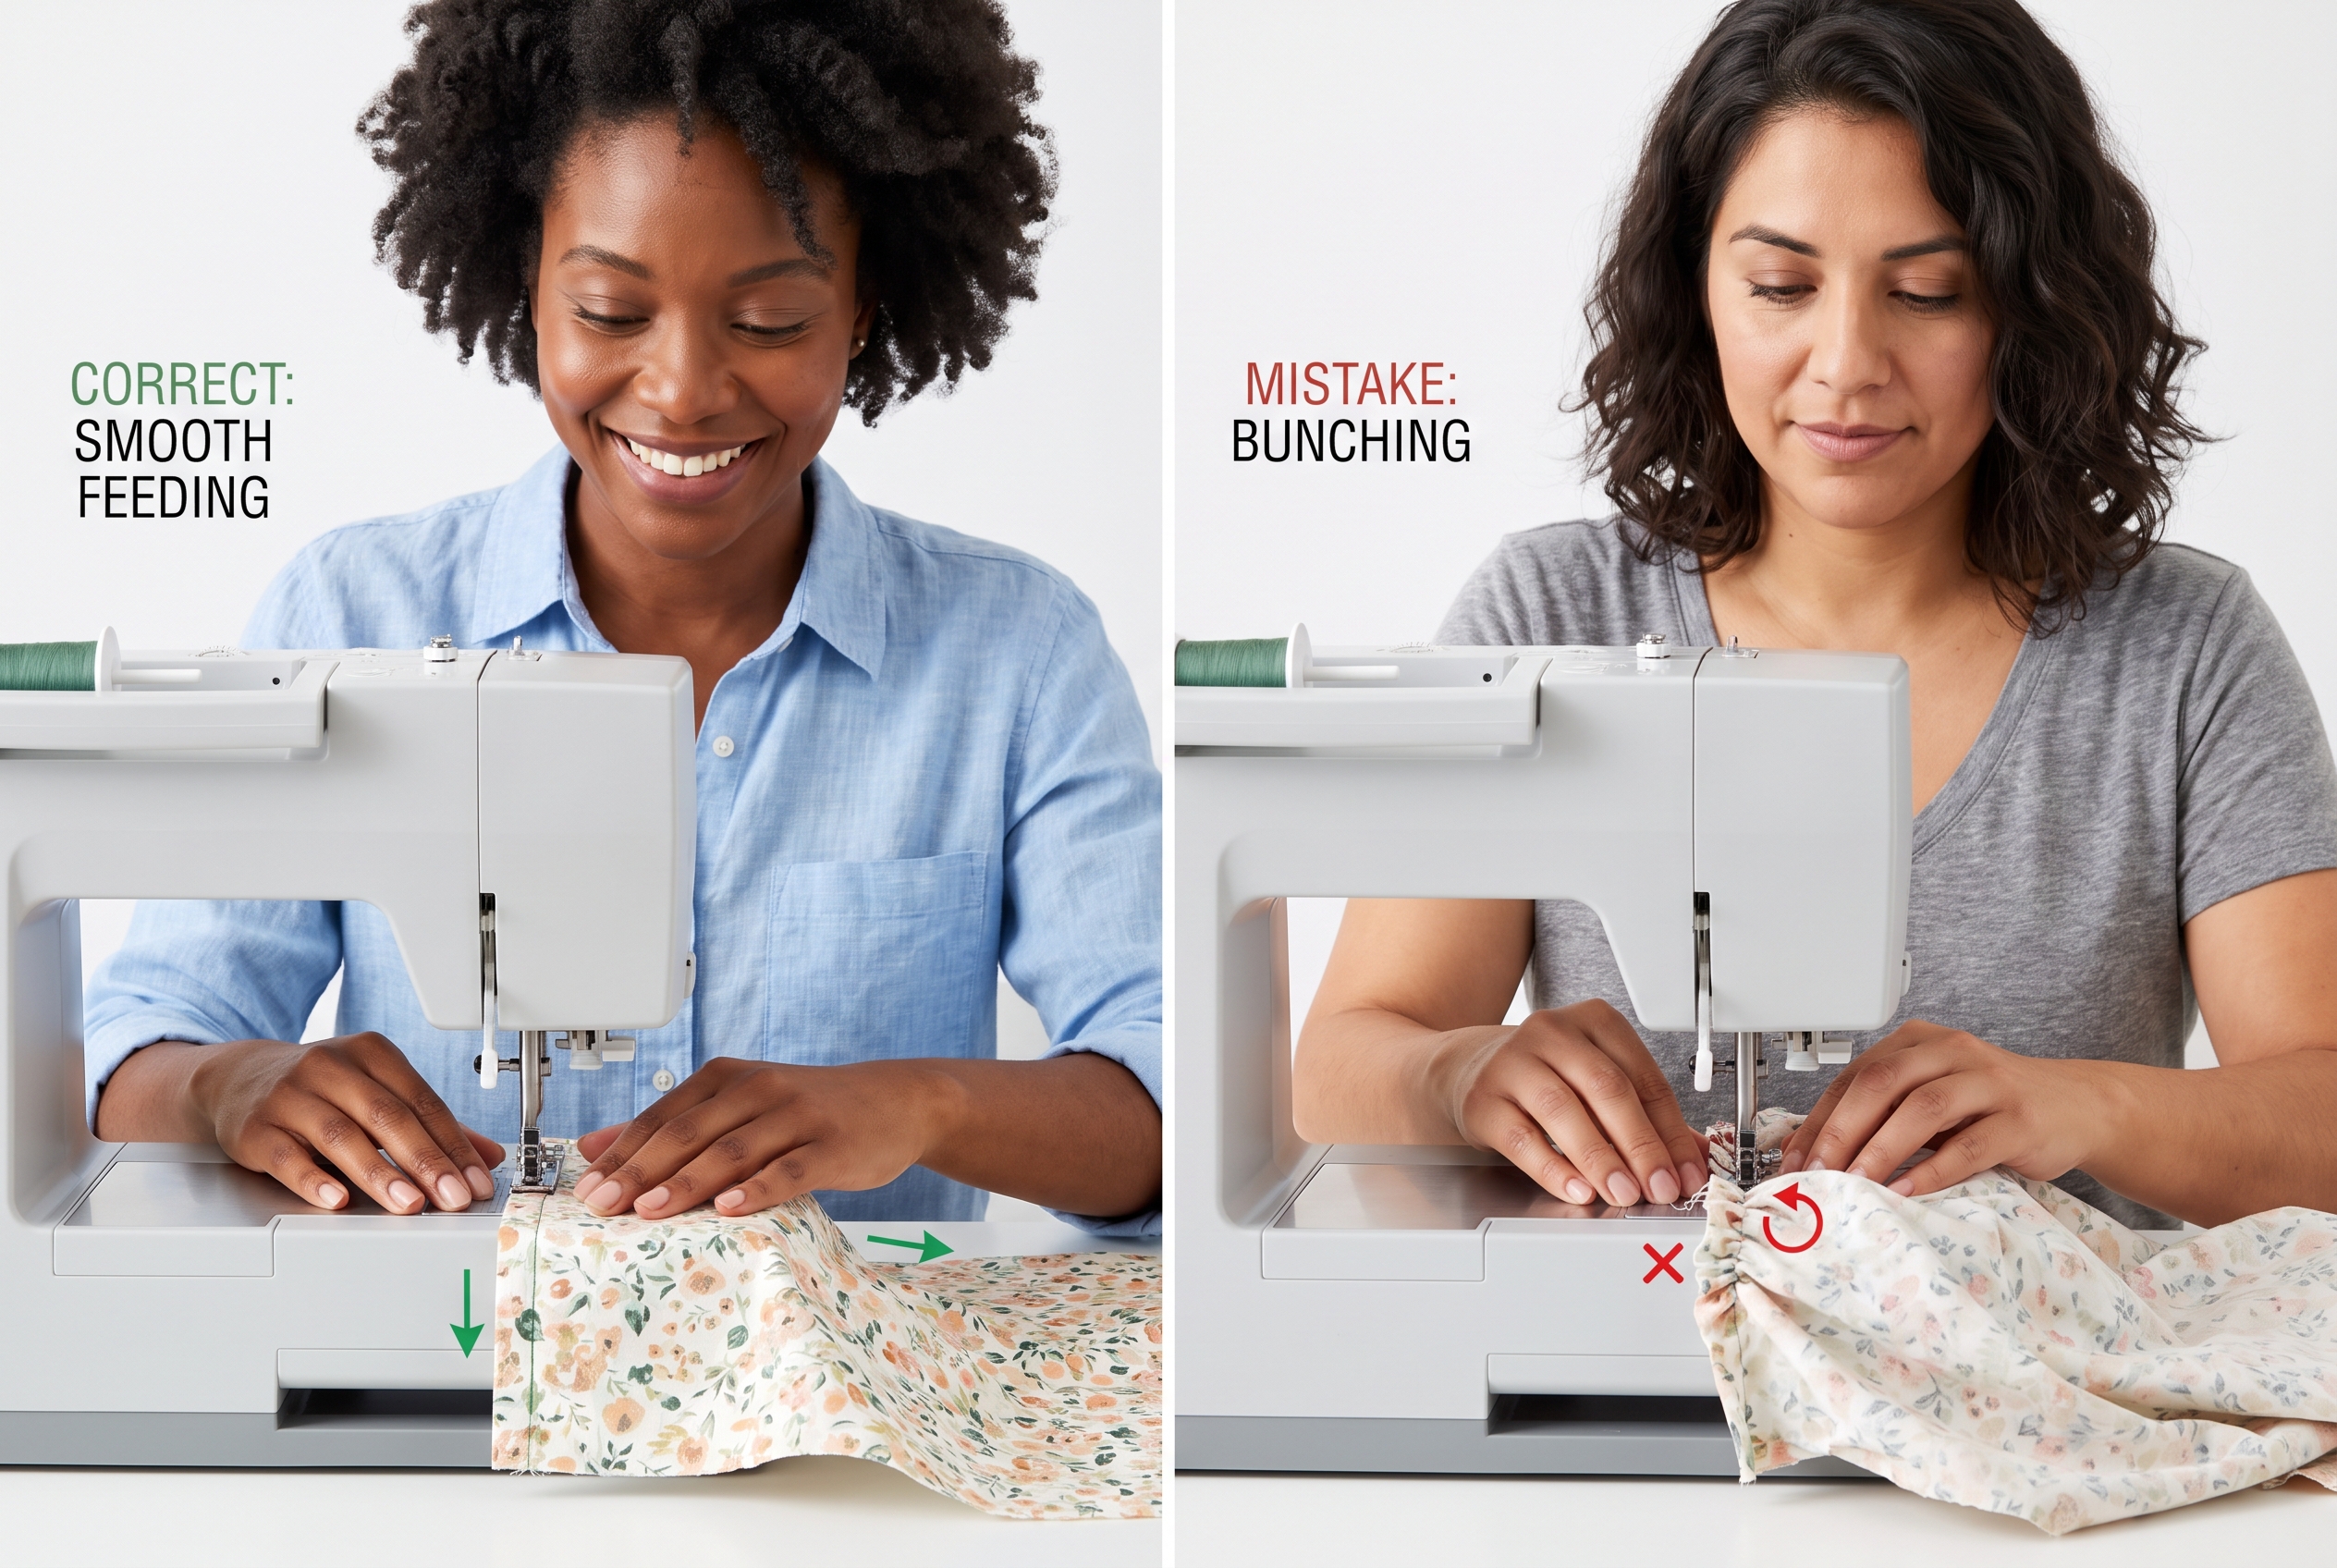
- Use both hands as guides, place your left hand in front of the presser foot and right hand behind it, applying gentle equal pressure
- Never pull or push the fabric, let the feed dogs do the work while you simply steer
- Check presser foot pressure, too light allows slippage, too heavy causes drag (medium pressure works for most fabrics)
- Clean feed dogs regularly, lint buildup reduces grip and causes uneven feeding
For slippery or lightweight fabrics:
- Use a walking foot (even-feed foot) that grips both layers simultaneously
- Place tissue paper or tear-away stabilizer under the fabric
- Reduce presser foot pressure slightly
- Lengthen your stitch slightly (3.0-3.5mm)
Common mistake: Beginners often grip fabric too tightly and inadvertently pull it, fighting against the feed dogs. Your hands should float alongside the fabric, barely touching, providing directional guidance only. Think of yourself as a guardrail, not an engine.
If your top layer consistently ends up longer than the bottom layer after sewing, your presser foot pressure is too heavy or your feed dogs need cleaning. If the bottom layer travels faster, pressure is too light or the feed dogs are worn.
Sewing Machine Settings for Practicing Straight Stitches
For straight-line practice, use a straight stitch (stitch #1 on most machines), stitch length of 2.5-3.0mm, balanced tension (usually 4-5 on a 0-9 dial), and the standard all-purpose presser foot. These settings work for 90% of practice fabrics and create visible, easy-to-evaluate seams.
Optimal beginner practice settings:
| Setting | Recommended Value | Why It Matters |
|---|---|---|
| Stitch type | Straight stitch | Simplest stitch with no side-to-side needle movement |
| Stitch length | 2.5-3.0mm | Long enough to see clearly, short enough for control |
| Tension | 4-5 (balanced) | Prevents puckering or loose loops that distract from line practice |
| Speed | Slowest setting or hand-wheel | Gives time to make steering corrections |
| Presser foot | All-purpose foot | Clear visibility and works with most fabrics |
| Needle | Universal 80/12 or 90/14 | Appropriate for quilting cotton and muslin |
Speed control is critical for beginners. If your machine has a speed limiter or slider, set it to the slowest position. Many modern machines also have a “start/stop” button that eliminates the need for a foot pedal, giving you better control. Some sewists even practice using only the hand wheel (the large wheel on the right side of the machine) for the first few drills, advancing one stitch at a time.
Needle position adjustment: If your machine allows left/right needle position changes, keep it centered for initial practice. Once you’re comfortable, experiment with moving the needle position to create different seam allowances without moving your fabric, this is an advanced technique but useful to know exists.
Don’t adjust tension during practice unless you see obvious problems (loops on top or bottom, puckering). Tension troubleshooting is a separate skill, and constantly fiddling with it distracts from the primary goal of learning to steer straight.

Set of 5 regular point universal sewing machine needles, size 80/12


Why Does My Sewing Machine Veer Off to the Side When I Try to Sew Straight
Veering typically results from uneven hand pressure, watching the needle instead of the guide, or mechanical issues like a bent needle or uneven feed dogs. The most common culprit is unconsciously pushing or pulling the fabric with one hand more than the other, creating a curved path.
Diagnosis checklist:
- Check your needle, a bent or dull needle deflects to one side; replace it and test again
- Verify feed dog alignment, look under the presser foot to ensure feed dogs are centered and rising evenly
- Test with hands off, sew a line without touching the fabric; if it’s straight, your hands are the problem
- Examine your hand position, are both hands equidistant from the needle, applying equal light pressure?
- Assess your viewing angle, are you looking at the seam guide or fixating on the needle?
The “hands-off test” is revealing. Place fabric under the presser foot, lower the foot, and sew a few inches without touching the fabric at all. If the line is straight, your machine is fine and you’re inadvertently steering incorrectly. If it still veers, you have a mechanical issue.
Mechanical causes and fixes:
- Bent needle: Replace immediately; bent needles cause skipped stitches and directional drift
- Incorrect needle insertion: The flat side of the needle shank must face the correct direction (usually toward the back)
- Feed dog height: If feed dogs don’t rise above the throat plate, they can’t grip fabric properly
- Presser foot not parallel: A tilted or damaged foot creates uneven pressure
Technique causes and fixes:
- Dominant hand syndrome: Right-handed sewists often push with their right hand; consciously lighten that hand’s pressure
- Needle fixation: Train yourself to watch the fabric edge at the seam guide, not the hypnotic up-down of the needle
- Anticipatory steering: Beginners often steer where they think the fabric will go rather than where it is; stay present with the current position
Practice the “one-hand drill”, sew using only your left hand in front of the presser foot, right hand in your lap. Then reverse it. This isolates which hand is causing problems and helps you feel the difference between guiding and forcing.
Hand Sewing vs Machine Sewing for Learning Straight Lines
Machine sewing is more effective for learning straight seams because it provides consistent stitch length and speed, allowing you to focus purely on steering and fabric control. Hand sewing teaches different skills (tension control, stitch formation) but is slower and introduces variables that complicate the straight-line learning process.
Machine sewing advantages for straight-line practice:
- Consistent stitch length eliminates one variable
- Faster feedback loop (sew more inches in less time)
- Builds the specific muscle memory needed for machine projects
- Seam guides and throat plate markings provide built-in rulers
- Easier to see and correct drift in real-time
Hand sewing advantages:
- Portable practice anywhere without electricity
- Develops thread tension awareness
- Useful for repairs and areas machines can’t reach
- Slower pace may feel less intimidating initially
- Teaches fundamental stitch mechanics
The verdict: If your goal is to make machine-sewn projects (garments, quilts, home decor), practice straight lines on the machine. Hand sewing is a valuable supplementary skill but won’t directly transfer to machine steering ability. The motor skills are too different, hand sewing is about consistent pull and tension, while machine sewing is about gentle guidance and spatial awareness.
Exception: If you don’t yet own a sewing machine or have severe machine anxiety, hand-sewing practice on straight lines can build general sewing confidence and teach you about seam allowances, fabric behavior, and stitch visibility. Just know you’ll still need dedicated machine practice later.
Many experienced sewists recommend learning both eventually, but in sequence: machine basics first (including straight seams), then hand-sewing techniques for finishing and repairs.
What Kind of Fabric Should I Use for Straight Line Sewing Practice
Medium-weight quilting cotton is ideal for practice because it’s stable, opaque enough to see markings, affordable, and behaves predictably without stretching or slipping. Avoid knits, silks, or anything slippery or stretchy until you’ve mastered straight seams on woven cotton.
Best practice fabrics (ranked easiest to hardest):
- Quilting cotton, the gold standard for beginners; stable, forgiving, widely available
- Muslin, inexpensive plain cotton, perfect for drills you’ll throw away
- Cotton broadcloth, similar to quilting cotton but slightly lighter
- Linen, stable but can be stiff; good for intermediate practice
- Cotton poplin, smooth and crisp; slightly more challenging than quilting cotton
Fabrics to avoid during initial practice:
- Knits (jersey, interlock), stretch in all directions and require different techniques
- Silk, rayon, polyester satin, slippery and shift unpredictably
- Fleece or minky, thick, shifts easily, obscures seam guides
- Sheer fabrics (chiffon, organza), too delicate and transparent for learning
- Denim or canvas, too thick for beginners; requires needle and tension adjustments
Why quilting cotton wins: It has enough body to feed smoothly through the machine without bunching, enough tooth (surface texture) to prevent slipping, and comes in endless prints that make it easy to see your stitching line. It’s also what you’ll use for many beginner projects, so practice directly translates.
Color and print considerations: Choose light to medium solid colors or small prints for practice. Dark fabrics make it harder to see pencil or chalk markings. Large bold prints can be visually distracting and make it difficult to judge if your seam is straight.
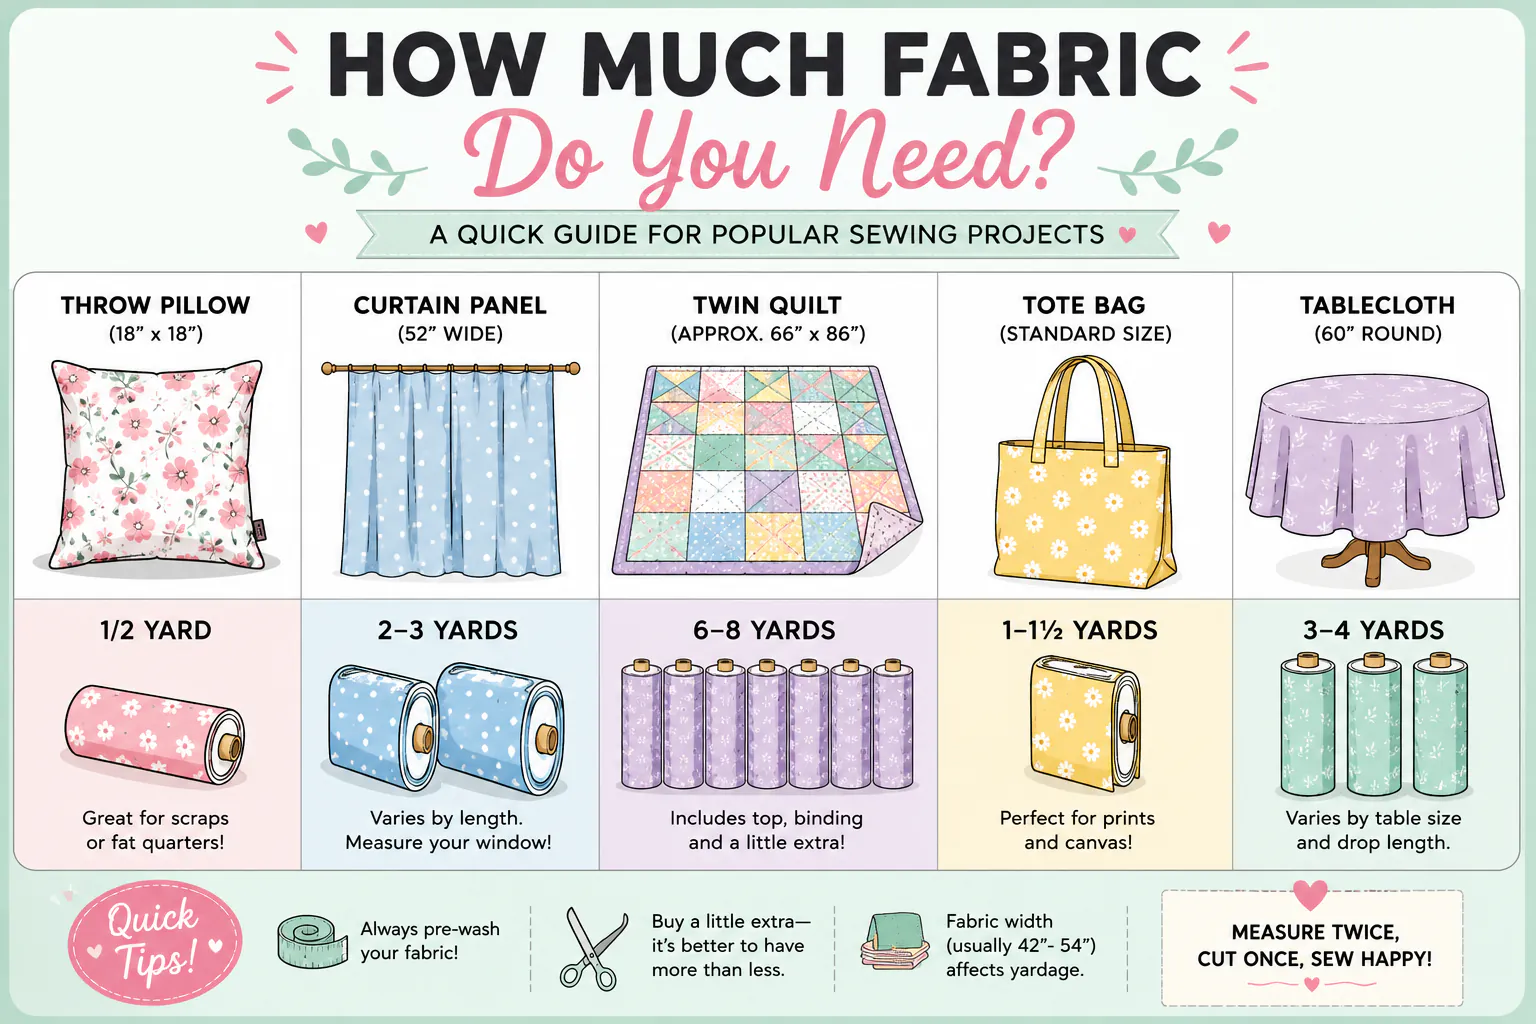
How much to buy: A half-yard of quilting cotton provides dozens of practice seams. Cut it into 6-inch by 12-inch rectangles for individual drills. Many fabric stores sell “fat quarters” (18″ x 22″) for $3-5, which is plenty for a week of practice.
How Long Does It Take to Learn to Sew a Straight Line Consistently
Most beginners achieve consistently straight seams within 2-4 hours of focused practice spread over several sessions, though “consistently straight” means within 1/8 inch of the intended seam line, not perfection. Functional straightness for real projects typically develops faster than the precision needed for advanced techniques like piecing or topstitching.
Realistic timeline:
- Session 1 (30-45 min): Understand machine basics, complete paper drills, sew first fabric lines with major wobbles
- Session 2 (30-45 min): Noticeable improvement, occasional drift, developing awareness of hand pressure
- Session 3 (30-45 min): Consistent straightness for 6-8 inches at a time, can self-correct mid-seam
- Session 4+ (30 min each): Reliable straight seams on practice fabric, ready for simple projects
Factors that speed up learning:
- Previous experience with hand-eye coordination tasks (drawing, gaming, sports)
- Practicing in short, focused sessions rather than long fatiguing ones
- Using proper lighting and comfortable seating position
- Getting immediate feedback (paper practice, sewing with a friend)
- Staying relaxed, tension in shoulders and hands impairs fine motor control
Factors that slow down learning:
- Skipping paper drills and jumping straight to fabric
- Practicing when tired or distracted
- Using inappropriate fabric (slippery, stretchy, or too thick)
- Incorrect machine setup (wrong needle, poor lighting, uncomfortable height)
- Perfectionism that causes frustration and tension
What “straight enough” means: For most sewing projects, seams need to be within 1/8 inch (3mm) of the intended seam line. This level of accuracy is sufficient for garment construction, quilting, and home decor. Exhibition-quality work or precision piecing might require tighter tolerances, but that’s an advanced goal, not a beginner requirement.
Don’t compare yourself to experienced sewists. Someone who’s been sewing for years has muscle memory you haven’t built yet. Their hands know where to be without conscious thought. You’ll get there, but it requires the same kind of practice time as learning to write neatly or play an instrument.
Do I Need a Special Presser Foot to Sew Straight Lines
No, the standard all-purpose presser foot that comes with your machine is sufficient for learning and sewing straight lines. Specialized feet like edge-stitching feet or quarter-inch feet can help with specific tasks later, but they’re not necessary for basic straight-seam skills and can actually complicate learning by adding extra variables.
The all-purpose foot provides:
- Clear visibility of the needle and fabric
- Adequate pressure for most woven fabrics
- Compatibility with straight stitches and basic techniques
- Simplicity, no extra features to learn or adjust
Optional feet that can help (but aren’t required):
- Walking foot (even-feed foot): Prevents shifting on slippery or multiple layers; useful for quilting and matching plaids, but not necessary for basic practice
- Quarter-inch foot: Has a guide exactly 1/4″ from the needle; popular for quilting but can be replicated with throat plate markings
- Edge-stitching foot: Has a center guide blade for topstitching close to edges; advanced technique, not for beginners
- Clear/open-toe foot: Better visibility for decorative work; doesn’t improve straight-seam accuracy
When to consider a specialty foot: After you’ve mastered basic straight seams with the all-purpose foot and encounter a specific challenge. For example, if you start quilting and notice your layers shifting despite careful pinning, a walking foot solves that problem. But buying it before you need it just adds expense and confusion.
The throat plate is more important than the foot. Those engraved lines on the metal plate around the feed dogs are your seam guides. Most machines have markings at 1/4″, 3/8″, 5/8″, and 1″ from the needle. Learning to align your fabric edge with these guides is the core skill, regardless of which foot is attached.
Beginner mistake: Buying multiple specialty feet before understanding what they do or why you’d need them. The all-purpose foot handles 80% of sewing tasks. Focus on mastering it before exploring alternatives.

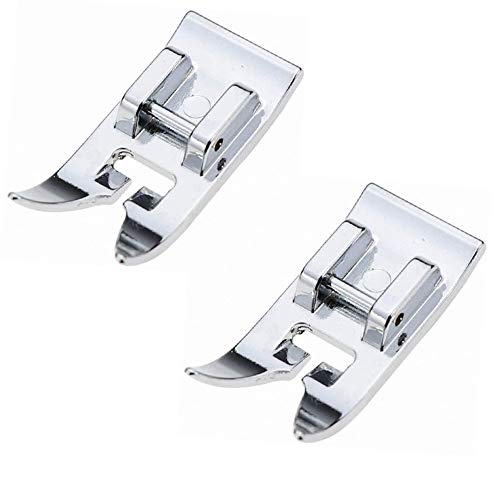
TISEKER High Quality General Purpose Presser Foot.

Versatile Stitching Options: Its wide opening allows you to effortlessly create a variety of stitches, including zig zag, decorative, heirloom, and stretch stitches. Whether you're working on a basic straight stitch or experimenting with intricate designs, this foot is designed to meet all your stitching needs.
High Quality Premium Sewing Feet From TFBOY
Common Mistakes Beginners Make When Trying to Sew Straight
The most common mistakes are watching the needle instead of the seam guide, gripping the fabric too tightly, sewing too fast, and failing to practice on paper before fabric. These errors create a frustrating cycle where poor technique produces crooked seams, which damages confidence and makes the next attempt even worse.
Top 10 beginner mistakes:
- Needle fixation, staring at the needle’s up-down motion instead of the fabric edge at the seam guide
- Death grip, clutching fabric so tightly that hands can’t make smooth steering adjustments
- Speed demon, running the machine at full speed before developing control
- Push-pull syndrome, actively pushing or pulling fabric instead of letting feed dogs do the work
- Inconsistent seam allowance, focusing on “straight” but ignoring whether the seam is the correct distance from the edge
- Skipping paper practice, jumping straight to fabric without building basic steering skills
- Poor posture, sitting too high, too low, or at an angle that strains neck and shoulders
- Inadequate lighting, trying to sew in dim conditions where seam guides are hard to see
- Wrong fabric choice, practicing on slippery, stretchy, or thick materials
- Perfectionism paralysis, expecting flawless seams immediately and quitting when they’re not perfect
The needle-watching trap explained: Your brain wants to watch the most dramatic action (the needle stabbing up and down), but that’s not where steering decisions happen. Steering happens at the seam guide, where the fabric edge should align. It’s like driving a car by watching the hood ornament instead of the road, you’ll crash.
How to break the needle-watching habit:
- Place a small sticky note on the machine bed blocking your view of the needle
- Practice with the machine unthreaded so there’s less visual interest at the needle
- Consciously repeat “watch the guide, watch the guide” while sewing
- Have someone observe and tap your shoulder when you look at the needle
The speed trap: Beginners often think faster sewing will somehow be easier, like ripping off a bandage. The opposite is true. Slow sewing gives your brain time to process what your eyes see and send correction signals to your hands. Speed comes naturally after muscle memory develops, forcing it early just creates bad habits.
Should I Watch the Needle or the Fabric Edge When Sewing Straight
Watch the fabric edge as it aligns with the seam guide on your machine’s throat plate, not the needle. The needle’s position is fixed; the fabric edge is what moves and requires constant monitoring to maintain the correct seam allowance and straight path.
Why the fabric edge matters more:
- The seam guide shows you where the fabric should be
- The fabric edge shows you where it actually is
- The gap between these two tells you which direction to steer
- The needle just goes up and down in the same spot, no steering information there
Practical technique: Focus your eyes on the point where the fabric edge meets the seam guide line, about 1-2 inches in front of the presser foot. This gives you enough advance warning to make small steering corrections before the fabric reaches the needle. Think of it like looking ahead while driving, not staring at the hood of your car.
The “peripheral vision” approach: Some experienced sewists develop the ability to see both the needle and the seam guide in their peripheral vision without directly looking at either. This comes with practice and isn’t something to force as a beginner. Start by deliberately watching the seam guide, and peripheral awareness will develop naturally.
Exception for specific techniques: When doing very close edge-stitching or topstitching, you might watch the presser foot edge or a specialty foot guide instead of the throat plate markings. But for basic seam construction, the throat plate seam guides are your primary reference point.
Training exercise: Sew a practice seam while consciously counting “guide, guide, guide” in your head, forcing yourself to keep your eyes on the seam guide. If you catch yourself looking at the needle, stop, reposition your gaze, and continue. After 5-10 practice seams, the correct eye position will start to feel natural.
Free Printable Sewing Practice Sheets for Straight Lines
Free printable practice sheets with straight lines, curves, and geometric patterns are widely available online from sewing blogs, machine manufacturers, and educational sites. These sheets let you practice steering without using thread or fabric, providing immediate visual feedback as the needle perforates the paper along (or off) the printed lines.
What to look for in practice sheets:
- Variety of line types: straight horizontal, straight vertical, diagonal, parallel lines at different spacings
- Progression of difficulty: start with widely-spaced lines, advance to narrow spacing
- Clear, bold lines: thin or faint lines are hard to follow
- Standard paper size: 8.5″ x 11″ works with most printers and fits under standard presser feet
- Seam allowance guides: sheets that include 1/4″, 3/8″, and 5/8″ parallel lines teach seam consistency
Recommended practice sheet types:
- Basic straight lines, parallel horizontal lines spaced 1″ apart
- Seam allowance practice, pairs of lines at common seam widths (1/4″, 5/8″)
- Curved lines, gentle curves to develop steering fluidity
- Zigzag patterns, sharp angles to practice directional changes
- Spiral or maze patterns, advanced control exercises
How to use practice sheets effectively:
- Print on standard copy paper (20 lb weight)
- Use an unthreaded machine for the first round (focuses on steering only)
- Sew slowly, following the lines as precisely as possible
- After unthreaded practice, thread the machine and repeat (adds visual feedback)
- Save your practice sheets to see improvement over time
DIY alternative: If you don’t have access to a printer, use a ruler and pencil to draw straight lines on paper. Parallel lines spaced 1/2″ to 1″ apart work perfectly. Graph paper also makes excellent practice material, follow the printed grid lines.
Where to find free sheets: Search “free sewing practice sheets PDF” or check websites of major sewing machine brands (Singer, Brother, Janome often provide free downloads), sewing blogs like So Sew Easy or The Sewing Loft, and Pinterest boards dedicated to beginner sewing.
Paper vs. fabric practice: Paper is stiffer than fabric and doesn’t shift, making it easier in some ways but less realistic. Use paper to build initial steering confidence, then transition to fabric to learn fabric-handling skills. Both are valuable and complementary.
Is Sewing Straight Lines Harder on Thick Fabric or Thin Fabric
Thin, slippery fabrics are generally harder for beginners because they shift easily and provide less tactile feedback, while thick fabrics are easier to control but may require machine adjustments (stronger needle, adjusted presser foot pressure) that beginners aren’t yet comfortable making. Medium-weight stable fabrics like quilting cotton offer the best balance of control and forgiveness.
Thin fabric challenges:
- Shifts and slides under the presser foot
- Can be pulled into the throat plate hole
- Provides less resistance, making it harder to feel steering corrections
- Often transparent, making markings difficult to see
- May pucker or gather if tension isn’t perfect
Thick fabric challenges:
- Requires more needle penetration force (may need a larger needle size)
- Can cause presser foot to tilt if layers are uneven
- Harder to see the seam guide when bulk obscures the throat plate
- May require presser foot pressure adjustment
- Feed dogs may struggle to grip and advance the fabric
The “Goldilocks zone”: Medium-weight woven fabrics (quilting cotton, broadcloth, linen) are “just right” because they:
- Feed smoothly without shifting
- Provide enough resistance for tactile feedback
- Don’t require special machine adjustments
- Show markings clearly
- Behave predictably
Skill progression: Start with medium-weight cotton, then branch out once you’re confident. Try slightly lighter fabrics (cotton lawn) before attempting slippery ones (silk), and slightly heavier fabrics (denim) before very thick ones (canvas or upholstery weight).
Adaptation techniques:
- For thin fabrics: Use tissue paper underneath, reduce presser foot pressure, use a smaller needle
- For thick fabrics: Use a larger needle (90/14 or 100/16), increase presser foot pressure, lengthen stitch slightly
Common beginner mistake: Assuming expensive or “nice” fabric will be easier to sew. Often the opposite is true, luxury fabrics like silk or cashmere are more challenging than basic cotton. Save the good stuff for after you’ve built skills on humble muslin.
How to Fix Wobbly Stitches When Practicing Straight Seams
Wobbly stitches result from inconsistent fabric feeding caused by uneven hand pressure, incorrect machine settings, or mechanical issues like tension problems or a damaged needle. The fix depends on the cause, but most wobbles disappear when you lighten your grip, slow down, and ensure your machine is properly threaded and tensioned.
Diagnostic steps:
- Replace the needle, a bent, dull, or wrong-size needle causes erratic stitches
- Rethread the machine completely, improper threading is the #1 cause of stitch problems
- Check bobbin tension, the bobbin should unwind with slight resistance when held by the thread
- Test with hands off, if stitches are straight without touching the fabric, your hands are the problem
- Verify presser foot pressure, too light or too heavy causes feeding issues
Hand-related wobbles (most common for beginners):
- Symptom: Stitches wobble when you touch the fabric, straight when you don’t
- Cause: Uneven pressure from your hands fighting the feed dogs
- Fix: Lighten your grip dramatically; hands should barely touch the fabric, just guiding direction
Tension-related wobbles:
- Symptom: Stitches loop, pucker, or create wavy seams even without touching fabric
- Cause: Upper or lower tension imbalance
- Fix: Rethread the machine (fixes 80% of tension issues), then adjust tension dial if needed
Mechanical wobbles:
- Symptom: Consistent pattern of wobble (every 3rd stitch, etc.) regardless of handling
- Cause: Timing issue, damaged feed dogs, or bent needle bar
- Fix: Replace needle first; if problem persists, machine needs professional service
Fabric-related wobbles:
- Symptom: Wobbles only on certain fabrics (slippery, stretchy, or very light)
- Cause: Fabric characteristics exceed your current skill level or machine setup
- Fix: Switch to stable medium-weight cotton for practice; return to problem fabric after mastering basics
The “float your hands” drill: Practice sewing with your hands hovering 1/4 inch above the fabric, not touching it at all. This feels weird but proves the machine can sew straight without your help. Then gradually lower your hands until they barely touch, maintaining that light contact. This breaks the habit of gripping and pushing.
Stitch length consideration: Very short stitches (below 2.0mm) show wobbles more obviously than medium-length stitches (2.5-3.0mm). For practice, use 2.5-3.0mm to give yourself a bit more forgiveness while you develop control.
Conclusion
Learning how to sew a straight line is the foundational skill that unlocks all other sewing techniques. With focused practice using the drills outlined above, starting with paper exercises, progressing to medium-weight cotton fabric, watching the seam guide instead of the needle, and maintaining a light touch, most beginners achieve consistent straight seams within just a few hours of practice spread across multiple sessions.
Your action plan:
- Today: Print or draw practice sheets and complete 15 minutes of unthreaded paper drills
- Tomorrow: Repeat paper drills with thread, then cut scrap fabric into practice rectangles
- This week: Complete 3-4 focused 30-minute practice sessions on fabric, gradually increasing speed
- Next week: Start a simple beginner project (pillowcase, tote bag) that applies your new straight-seam skills
Remember that “straight enough” is the goal, not perfection. Seams within 1/8 inch of the intended line are perfectly functional for real projects. The wobbles and occasional drift you see in your early practice are normal and will smooth out as muscle memory develops. Every experienced sewist started exactly where you are now, and every one of them improved through the same process: slow, focused practice with immediate feedback.
The most important habit to build is watching the seam guide, not the needle. This single shift in focus will improve your accuracy more than any other technique adjustment. Pair it with a light touch, slow speed, and medium-weight cotton fabric, and you’ll be sewing confidently straight seams before you know it.
FAQ
How often should I practice sewing straight lines as a beginner? Practice 15-30 minutes daily or every other day for the first two weeks. Short, frequent sessions build muscle memory better than occasional long sessions, and daily practice prevents you from forgetting the feel between sessions.
Can I practice sewing straight lines without a sewing machine? Yes, hand sewing with a running stitch along drawn lines teaches seam awareness and stitch consistency, but it won’t build the specific steering and fabric-handling skills needed for machine sewing. If you plan to sew on a machine, practice on a machine.
What seam allowance should I practice with? Start with 5/8 inch (the most common garment seam allowance) and 1/4 inch (common for quilting). Practicing both teaches you to use different seam guides on your throat plate and builds versatility.
Why do my practice seams look straight but measure inconsistent widths? You’re focusing on the visual line of stitches rather than maintaining consistent distance from the fabric edge. Shift your focus to keeping the fabric edge aligned with the seam guide, even if the stitch line looks slightly wavy at first.
Should I backstitch at the beginning and end during practice drills? No, skip backstitching during pure straight-line drills to keep the focus on steering. Add backstitching practice once your straight seams are consistent, as it’s a separate skill that can distract from line control initially.
How do I know when I’m ready to move from practice to real projects? When you can sew 12 inches of straight seam within 1/8 inch of the intended line consistently (3 out of 4 attempts), you’re ready for simple beginner projects like pillowcases or tote bags that use mostly straight seams.
Is it normal for my shoulders and neck to hurt after practice sessions? Some fatigue is normal when learning new motor skills, but pain indicates poor posture or tension. Check your chair height (elbows should be slightly above the machine bed), take breaks every 15 minutes, and consciously relax your shoulders.
Can I use old bed sheets for sewing practice? Yes, if they’re 100% cotton and not too worn or thin. Avoid jersey-knit sheets (they stretch) and very old threadbare sheets (they’re too fragile). Newer cotton sheets work well for practice.
What’s the difference between a straight seam and a straight stitch? A straight stitch is the stitch type (a simple line of stitches with no zigzag). A straight seam is the result, a seam line that runs straight without curves or wobbles. You use a straight stitch to create a straight seam.
Do expensive sewing machines make it easier to sew straight lines? No, straight-line accuracy depends on your steering skills, not machine price. A $150 machine and a $1,500 machine both require the same hand-eye coordination and technique. Expensive machines offer features like speed control and better lighting that can help, but they don’t sew straight for you.
How can I practice if I don’t have scrap fabric? Use paper (copy paper, newspaper, paper bags), old cotton clothing you were going to discard, or buy a half-yard of the cheapest muslin or quilting cotton at a fabric store (usually $3-5). Thrift stores also sell cotton fabric remnants inexpensively.
Why do my seams look straight while sewing but curved when I hold them up? You’re likely pulling the fabric taut while sewing, which straightens it temporarily. When released, the fabric relaxes and reveals the true curve. Practice sewing without pulling or stretching the fabric, letting it lie naturally under the presser foot.